Welcome to
Ben Franklin Crafts and Frame Shop
We have two great locations to serve you.
Click on the location nearest you to catch up on their latest blog posts, craft projects, products, and inspiration:
Our Ben Franklin Crafts and Frame Shop stores offer everything you need in:
Paper Crafts, DIY Projects, Fine Arts, Jewelry Making, Kids Crafts & Games, Sewing & Quilting, Needle Arts, Custom Framing, Home Décor, Floral and more!
Ben Franklin Crafts and Frame Shop
Mon-Fri 9-7 | Sat 9-6 | Sun 10-6
21121 Hwy 410 E. Bonney Lake, WA 98391
Ben Franklin Crafts and Frame Shop
Mon-Sat 9-7 | Sun 10-6
19505 Hwy 2, Monroe, WA 98272
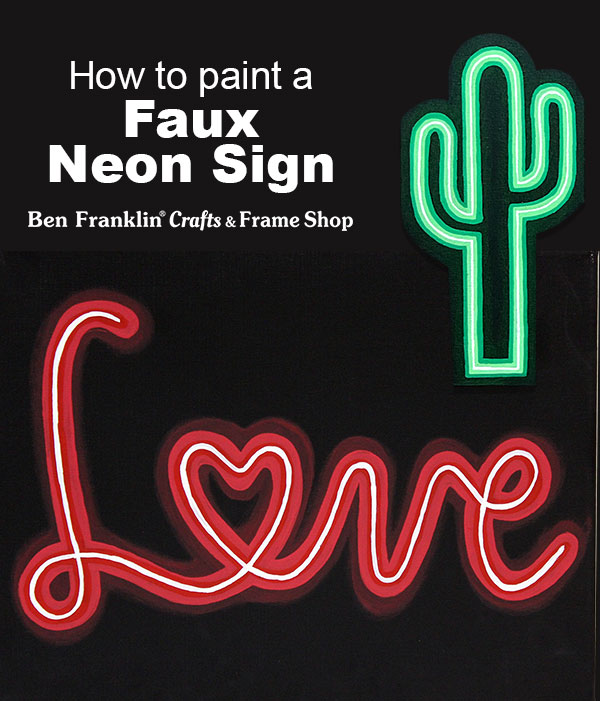
Be inspired!
Visit our Blog page regularly to see some of our latest seasonal craft ideas!
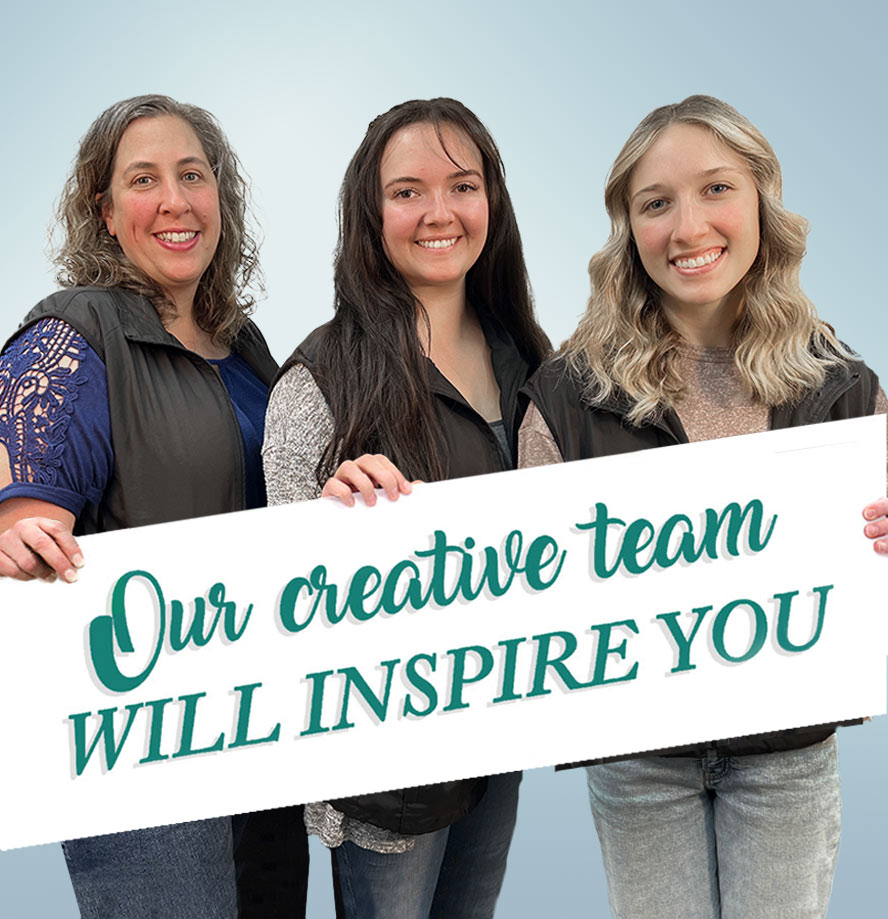
We have amazing designers that are here to inspire you! They create projects using the newest products available in our stores for the latest trends in the craft industry. We’re here to help you with your crafting projects! Visit our Blog page HERE. You can also click on any link below to get started!
Recent Projects
Categories