
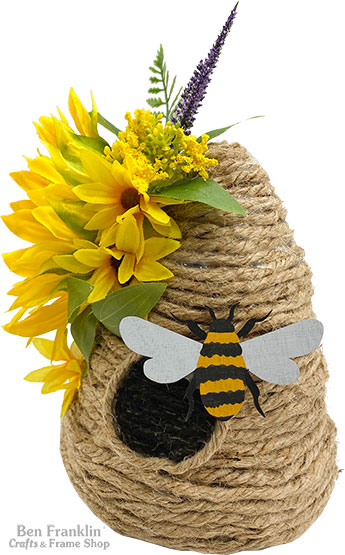
With just a few simple craft supplies, you can make this cute DIY Jute Beehive. It would look adorable on your porch or patio.
We included a video tutorial to show you how easy it is to make this fun craft project.
(Supplies may vary by store, however, special store-to-store orders can be placed with a one-week turnaround. Substitutions will be suggested if a product is no longer available.)
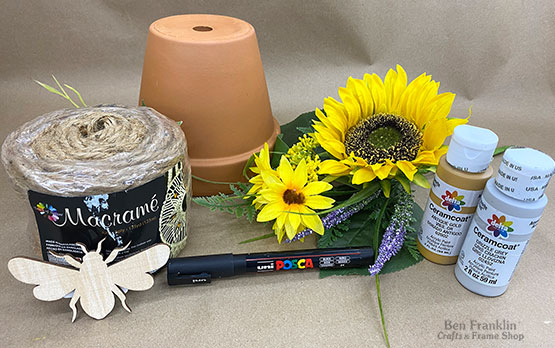
6” Terra Cotta Pot
5 ply Jute Macramé Cord
Wooden Bee Cut-Out
POSCA Paint Pen (black)
Acrylic Paint (colors Antique Gold and Drizzle Grey)
Paint Brush
Your choice of floral picks and stems
Hot Glue Gun & Glue Stick
Scissors
1. Starting at the opening of the terra cotta pot, add lines of hot glue and begin attaching the jute cord. You do not have to add glue all around, but enough to keep the jute cord in place and tight to the pot.
2. Continue wrapping the pot with jute and glue until you get to the base of the pot.
3. Once you reach the base, add some glue onto the jute cord (along the inner/top towards the center of the pot) and continue to wrap the jute. This will finish the dome shape and the top of the beehive.
4. Cut 4” of jute cord and glue this piece in a circle shape on the side of the beehive. Color the inside black with the Posca Pen. Watch the video to see how Grace did it.
5. Glue your floral pieces to the beehive. Refer to our model for placement ideas.
6. Paint the wooden bee cut-out with Acrylic paint and the Posca Pen. Once the bee is dry, glue it onto the beehive. If you don’t have a chance to come to our store to buy the wood bee, you could also cut the shape of a bee out of a piece of thick cardboard.