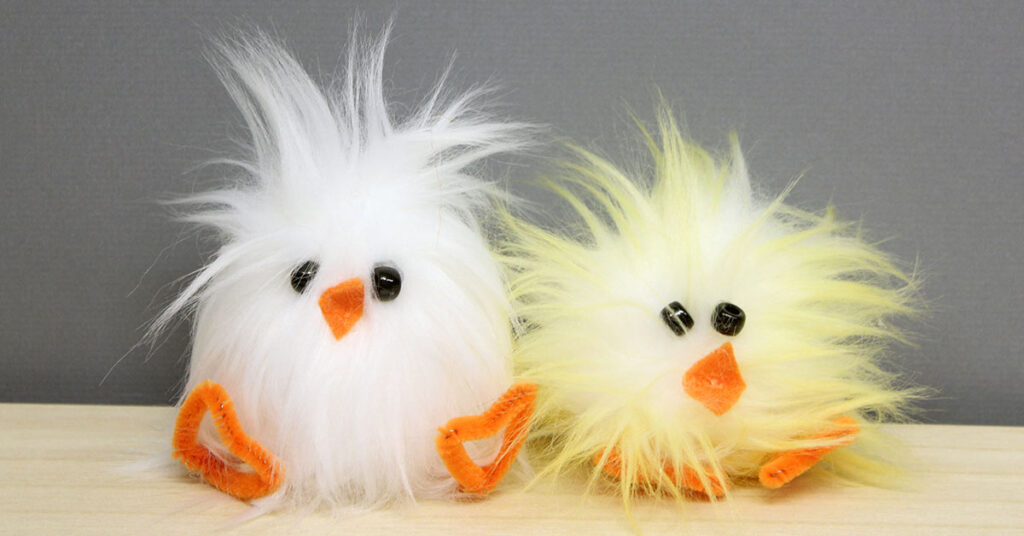
UPDATE: SOLD OUT. Anyone can make these fun Easter Fur Chicks! Add them to your table for Easter dinner, or give one to everyone you know!
SOLD OUT - Supplies included in the kit to make 1 Easter Fur Chick:
(Kits available at our Bonney Lake store.)

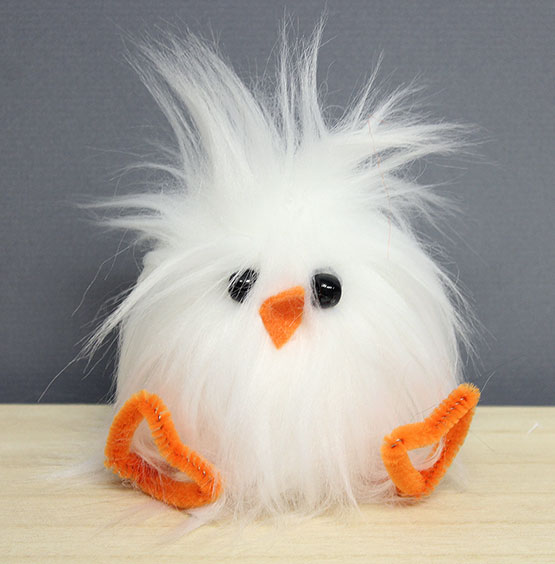
Styrofoam Egg
Faux Fur
Orange Felt
Black Beads (2)
Orange Chenille Stem
A hot glue gun and glue will be needed, but is not included in the kit.
Directions:
UPDATE: Our kit has SOLD OUT.
1. Generously add hot glue to the center of the faux fur piece (about 2 inches in diameter) and then add more hot glue in a line out to the four points of the fur. (be careful, the glue is hot if you press too hard)
2. Place the egg upside down in the glue (the biggest part of the egg will be facing you) and bring each corner of the fur to the top of the egg, tucking in the extra fur as you go.
3. Flip the egg and pull the fur tight to the bottom. Tuck and add more hot glue to pieces that may be sticking out to keep the chick oval shaped.
4. Make the orange feet by cutting the chenille stem in half. Make the feet by bending in about 2 inches. Bend again about 1 inch and bend up to make a V. Bring the end pieces back to the start of the leg and twist off to close. Repeat the same process to make the second leg. Video Tutorial available on our YouTube Channel >
5. Hot glue on the straight end of the chenille stem (leg part) and press hard into the bottom (large end) of the fur egg shape.
6. Add the bead eyes using hot glue to the top and center of the egg shape.
7. Make the nose by folding the orange felt in half and then cut into a triangle with closed end as the widest part. Glue into place to make a beak.
Watch the video for step-by-step instructions. Click HERE.