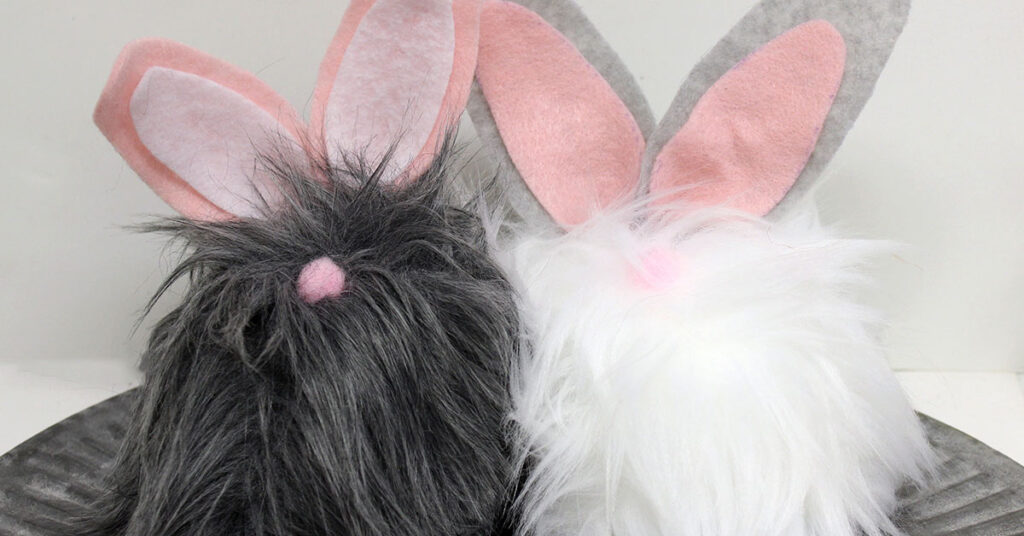
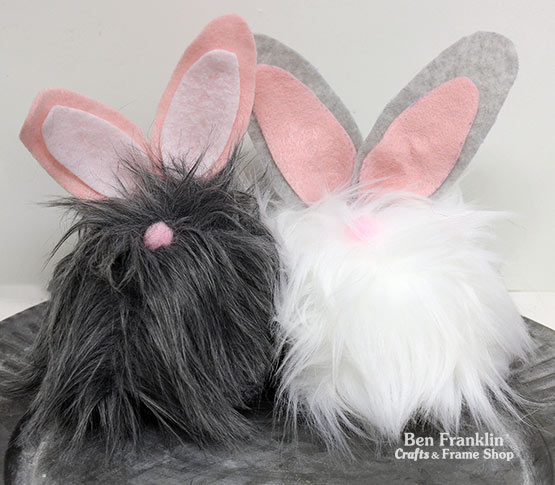
UPDATE: SOLD OUT. It’s not too early to prepare for Easter! Make one of these DIY Fur Bunny for everyone in the family. Make some extra bunnies for your neighbors and friends and place it in their mailbox. What a fun way to celebrate with friends even if they’re not there with you on Easter day.
SOLD OUT - Supplies included in the kit to make one Fur Bunny:
(Kits available at our Bonney Lake store.)

Styrofoam Ball
Faux Fur
Felt (2 colors)
Pink Pompom
Bunny Ear Template
A hot glue gun will be needed, but is not included in the kit.
Directions:
UPDATE: Our kit has SOLD OUT.
Watch the video for step-by-step instructions. Click HERE.
1. Generously add hot glue to the Styrofoam ball and place the piece of faux fur around the shape. Turn and press around in your hands to make the ball shape. (be careful, the glue is hot if you press too hard)
2. Trace 2 large ears and 2 small ears out of the felt. Your choice of color for each size or see sample. Cut out the traced shapes.
3. Hot glue 2 sizes of bunny ears together, smaller on top.
4. Squeeze the bottom of the ear together to make a V and add hot glue to make it stay in position.
5. On the top portion of the ball, away from the fur area that is most open, peel away a little fur and add hot glue to secure the ears to the fur ball.
6. Add the nose by peeling away a little fur towards the top center of the ball, adding hot glue, and placing pompom.