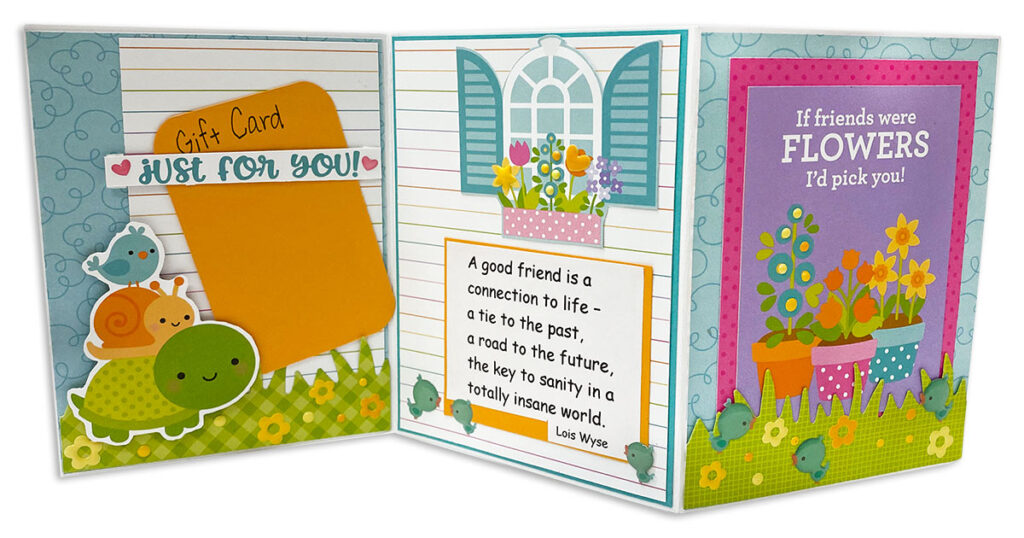
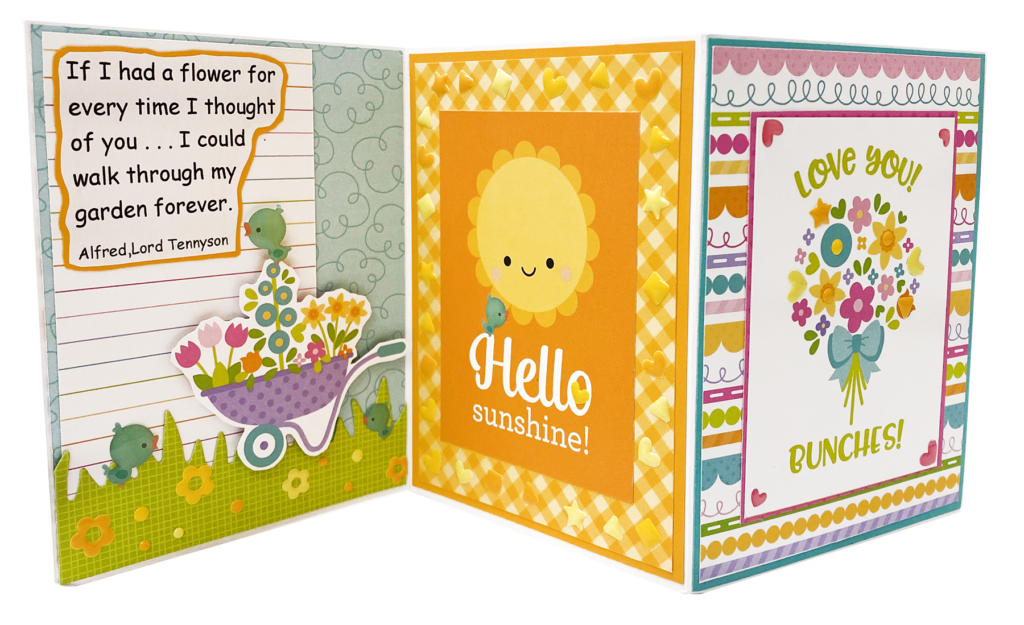
Follow Melanie in her video tutorial to see how easy it is to make this beautiful Z-Card using cut-apart paper. It’s so simple, just start by gluing two blank cards together to create the Z-shaped card. She also added some stickers and quotes to create a personalized card!
Supplies needed to make a Z-Card:
(Supplies may vary by store, however, special store-to-store orders can be placed with a one-week turnaround. Substitutions will be suggested if a product is no longer available.)

2 cards for each Z-Card you want to make
12″x12″ cut-apart papers (we used “Simply Spring” by Doodlebug Paper)
1-3 background papers as desired (to match your cut-apart pieces)
Favorite adhesive (glue or double-sided tape)
Embellishments (optional): Washi Tape, Dimensional Pop-Ups, Diamond Glaze, Stickles, Wink of Stella

Directions:
Watch the video for step-by-step instructions. Click HERE.
1. Take your 2 cards, fold and burnish on score lines.
2. Take one side of each card and attach together using your favorite adhesive (folds facing out). This will create a ‘Z’ shape from the top view.
3. Cut out the desired cut-apart pieces and backgrounds from your paper and begin attaching them to your ‘Z’ card using your favorite glue!
4. Add your favorite embellishments.