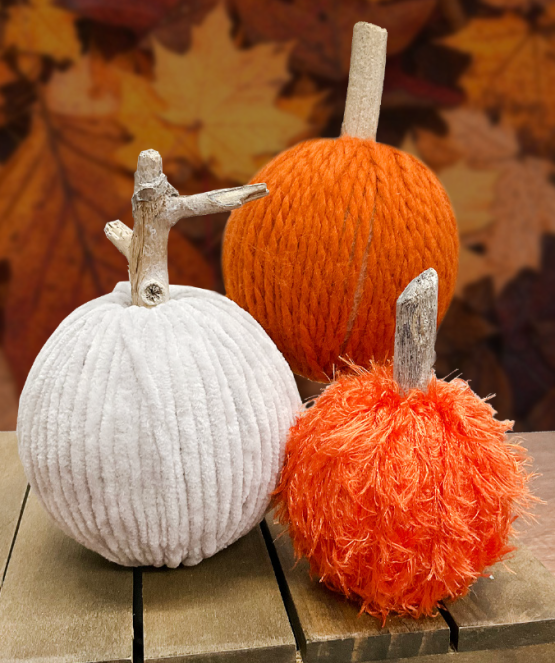
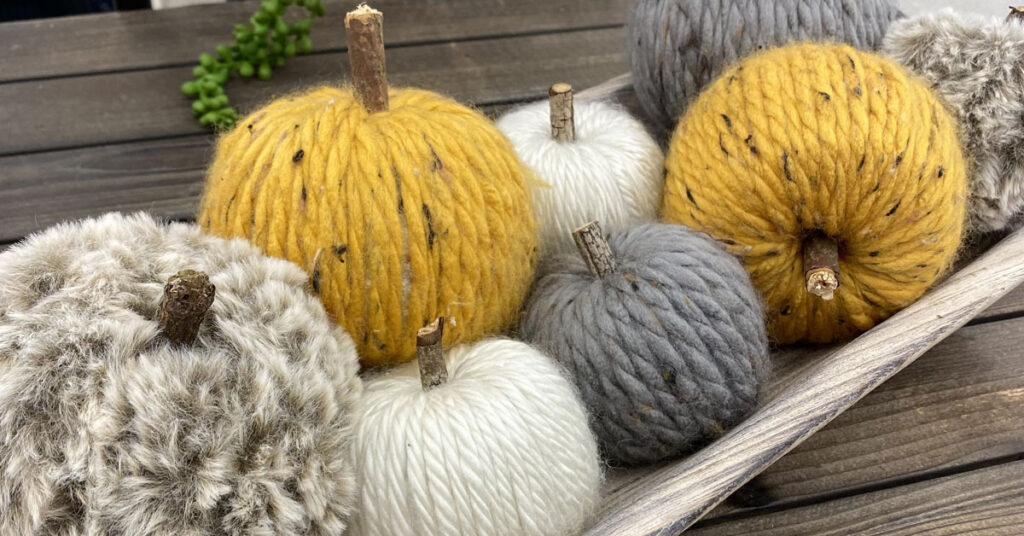
Fall is coming quickly, so we thought we’d give you this fun pumpkin project that you can start working on now, even if you’re still enjoying some beautiful summer days. Invite the kids to make their own collection of pumpkins!
These DIY Yarn Pumpkins are super easy to make. The main supplies that you’ll need are craft foam balls, yarn of your choice, and a drill to make the hole in the foam ball. Let’s get started!
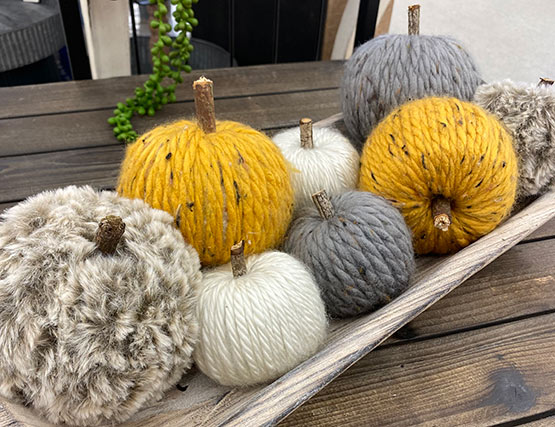
Supplies needed to make DIY Yarn Pumpkins:
(Supplies may vary by store, however, special store-to-store orders can be placed with a one-week turnaround. Substitutions will be suggested if a product is no longer available.)
• Craft foam balls (we used 3” and 4”)
• Yarn (your choice of thickness and color). For the 3” ball, we used approximately 10 yards of thin yarn and for the 4” ball, we used approximately 12 yards of chunky yarn*.
• Yarn needle
• Scissors
• Serrated knife
• Glue (optional)
• Sticks (cut them to the length that you want)
• Drill & 3/4″ drill bit (from home)
*Size of yarn will affect length needed for this project.
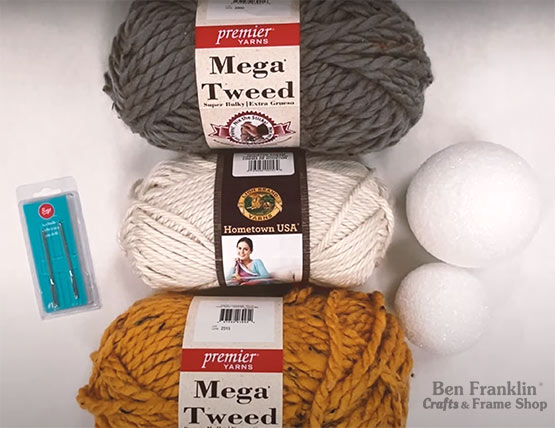
Directions:
Watch the video for step-by-step instructions. Click HERE.
1. Drill a hole through the center of the craft foam ball.
2. Slice the top and the bottom of the foam ball (same sides as the holes) so it sits flat. Shave off more on the bottom end.
3. Measure and cut your yarn.
4. Thread the yarn through the needle and begin wrapping it through the center of the hole and the outside of the foam ball. Stop once you have covered the ball completely or until you have attained the thickness you want.
5. Tuck the end of the yarn into the center hole. If it’s too long, cut off the excess.
6. Insert the stick into the top hole. Glue it in place if you feel that it’s not staying in place tight enough.
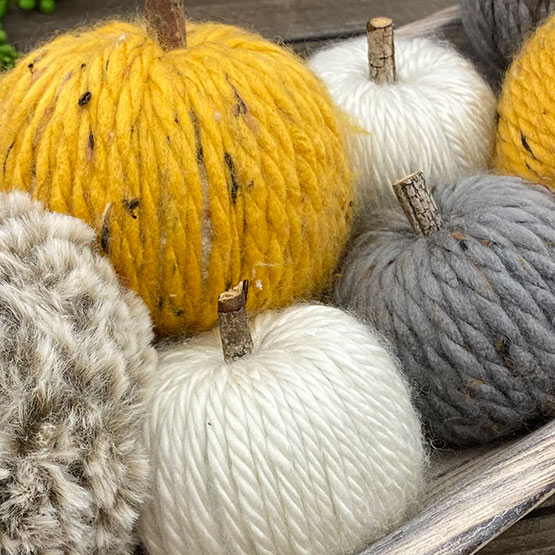
There are many creative ways to make DIY yarn pumpkins!
