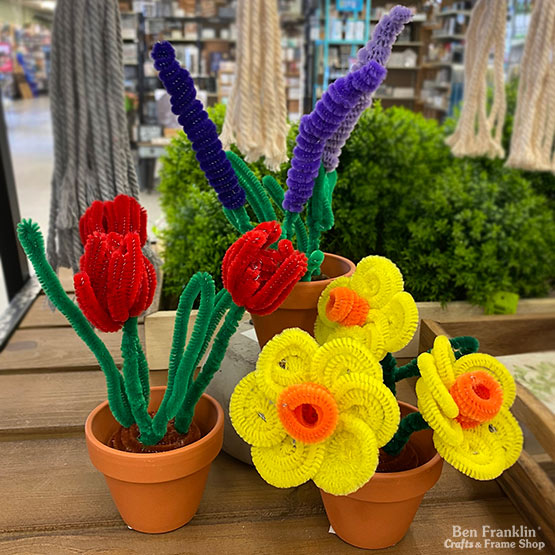
After watching our video tutorial, you’ll be able to make these Chenille Stem Flowers in no time. This would be a great craft to plan for a kids sleepover party. Kids may offer them to Mom for Mother’s Day, or to their teacher to say thank you, or to their friends!
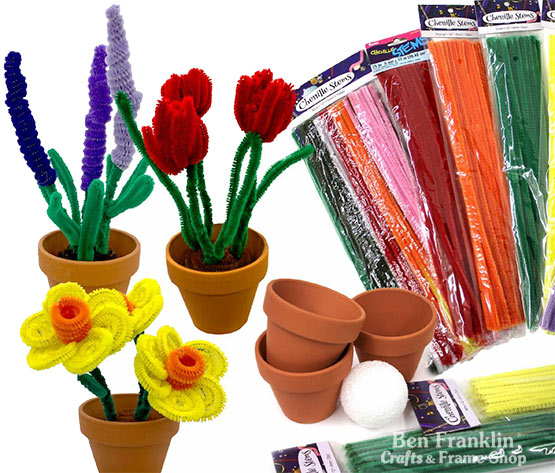
Supplies needed to make Chenille Stem Flowers:
(Supplies may vary by store, however, special store-to-store orders can be placed with a one-week turnaround. Substitutions will be suggested if a product is no longer available.)

• Chenille Stems (colors listed with each flower)
• Terra cotta pots
• Brown paint/Paint brush
• Scissors & ruler
• Hot glue gun & glue sticks
• Foam ball
• Pen/pencil (to help curl the chenille stems)
Directions:
Watch the video for step-by-step instructions. Click HERE.
Basic Directions:
Pot: Paint half of the foam ball with brown paint then glue into pot. Let dry. Attach flowers into foam ball when they’re finished.
Leaf: Bend one green chenille stem in half and curve to make basic leaf shape.
Stem: Fold a green chenille stem in half and twist. Daffodils will have additional steps.
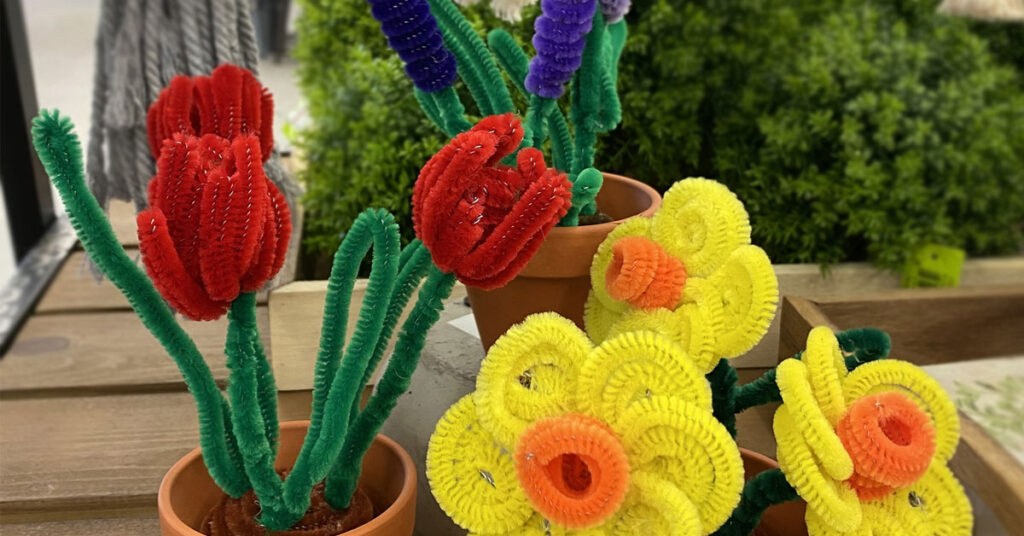
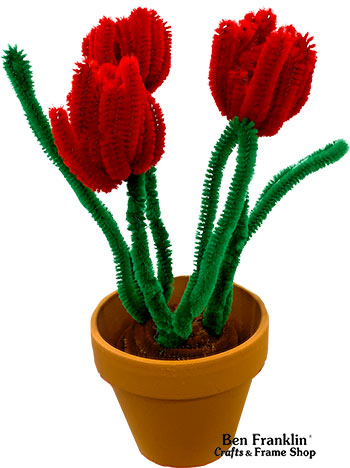
Tulips (6 red chenille stems and 2 green ones for each flower):
Watch the video for step-by-step instructions. Click HERE.
1. Petals – Cut the red chenille stems into thirds. Set one piece aside for later.
2. Fold the remaining (17) in half, then twist.
3. Create the stem.
4. Align the petals and bunch around the top of the green stem, with pointed ends facing up.
5. Use the red chenille piece, from step 1, to tie the petals to the stem (tie closer to the pointed ends).
6. Trim the pointed ends to align evenly.
7. Take each petal and fold upwards. Bend so the petals have a curve to them.
8. Twist the pointed end of a leaf around the stem.
9. Create as many as you’d like and then stick into the foam ball.
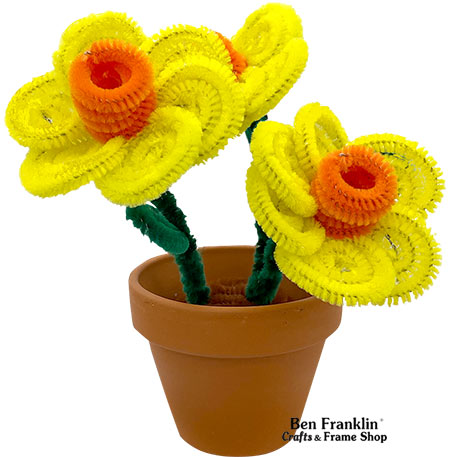
Daffodils (3 yellow, 1 orange and 2 green for each flower):
Watch the video for step-by-step instructions. Click HERE.
1. Center all the yellows like a star, then twist in the center so they stay in place.
2. From the end of one stem, roll tightly like a snail shell. This will create a round petal. Do the same for the remaining chenille stems in the same direction.
3. Fold green with one end 1” longer than the other. Bend to make a “J” shape and loop through the petals. Twist the short end, then create the stem with the remaining length.
4. Take the orange chenille stem and roll like a snail shell only a few twists. Then wrap the remaining around your pinky finger. Pinch tightly to compress the layers.
5. Glue to the center of the yellow petals. Let dry.
6. Twist the pointed end of a leaf around the stem.
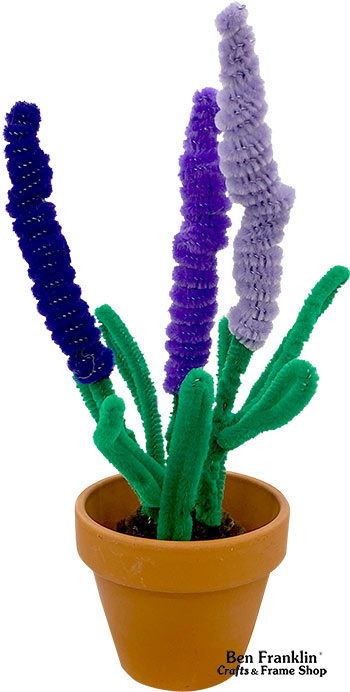
Lavender (2 purple and 2 green for each flower):
Watch the video for step-by-step instructions. Click HERE.
1. Create stem.
2. Take your pen and wrap 1 purple chenille stem around it. Keep it on the pen and squish to condense the height. Repeat with the second purple chenille stem. Have one end of the first chenille stem overlap the second to create an attachment.
3. Replace the pen with the stem from step 1. Align to the end of the purple spiral, then twist the top so the purple covers the green end.
4. Twist the pointed end of a leaf around the stem.