
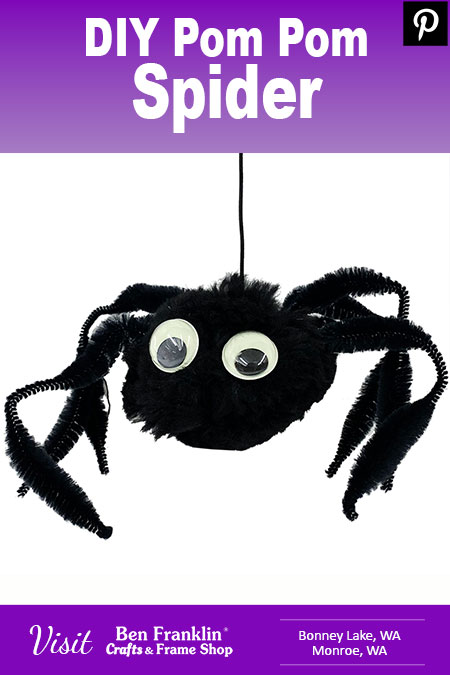
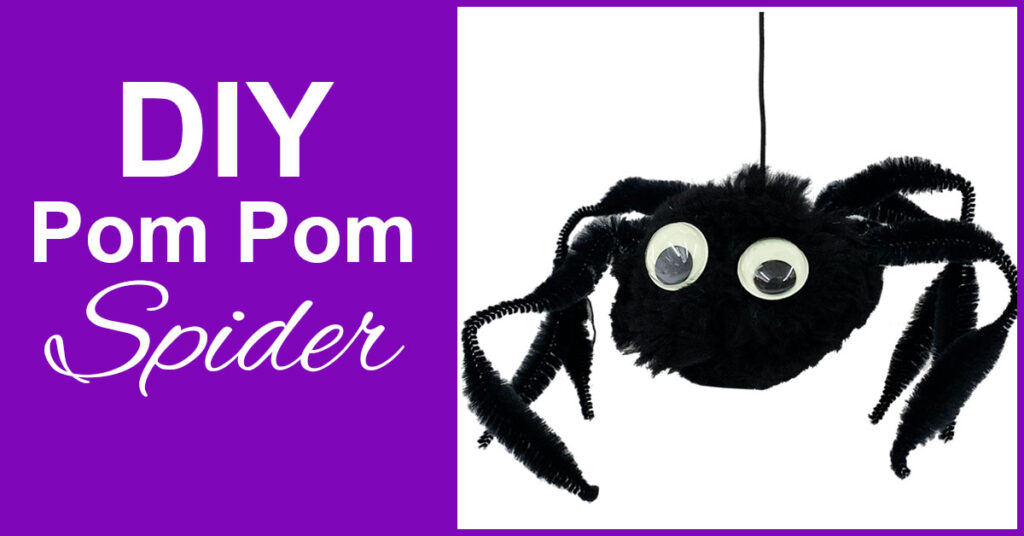
If you’re a little late getting your Halloween decorations out, or if you’re not too sure what easy crafts you could make with the kiddos, this Halloween project is for you. Below are easy-to-follow instructions on how to make DIY Pom Pom Spiders.
(Supplies may vary by store, however, special store-to-store orders can be placed with a one-week turnaround. Substitutions will be suggested if a product is no longer available.)
Black pom pom 3”
4 “bump” chenille stems
Glow in the dark googly eyes
Tacky glue
Black elastic
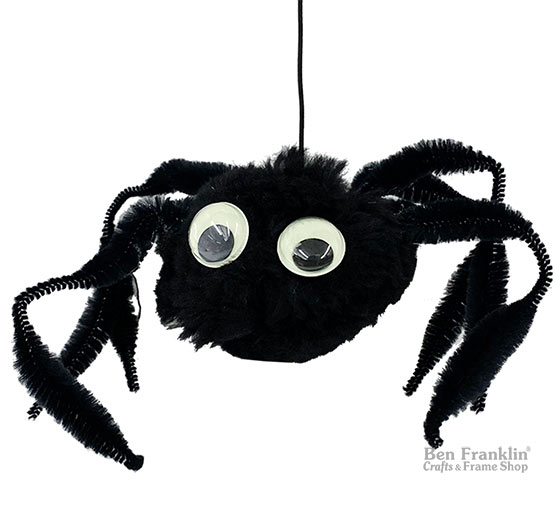
1. Cut a 12” piece of the black elastic and tie around the pom pom. This will allow you to hang your spider wherever you choose.
2. Cut the chenille stems in half and glue them on the sides of the pom pom to create the spider legs. (make sure the elastic is positioned on top of the spider). Fold the chenille pieces to make them look like bent legs.
3. Glue the googly eyes where desired.
Hang your pom pom spider in a doorway, in a window, from the mirror in your car, or wherever you think someone will see it. Have fun!

Huge savings offered throughout both our Bonney Lake and Monroe stores.