
If you love stamping and paper crafting, you will love our Distress Oxide ink pads! These ink pads will provide full coverage on your projects with a chalky-type finish, plus they blend real easily when you combine multiple colors. Check out our unique selection in our paper crafts department and start crafting! Below is a video tutorial and simple instructions on how to use Distress Oxide Inks with stencils.
(Supplies may vary by store, however, special store-to-store orders can be placed with a one-week turnaround. Substitutions will be suggested if a product is no longer available.)
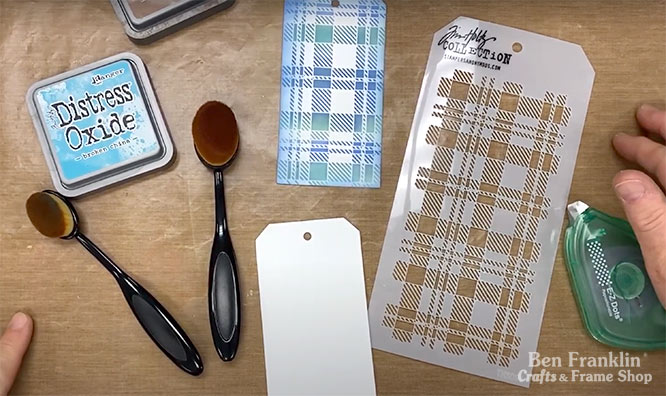
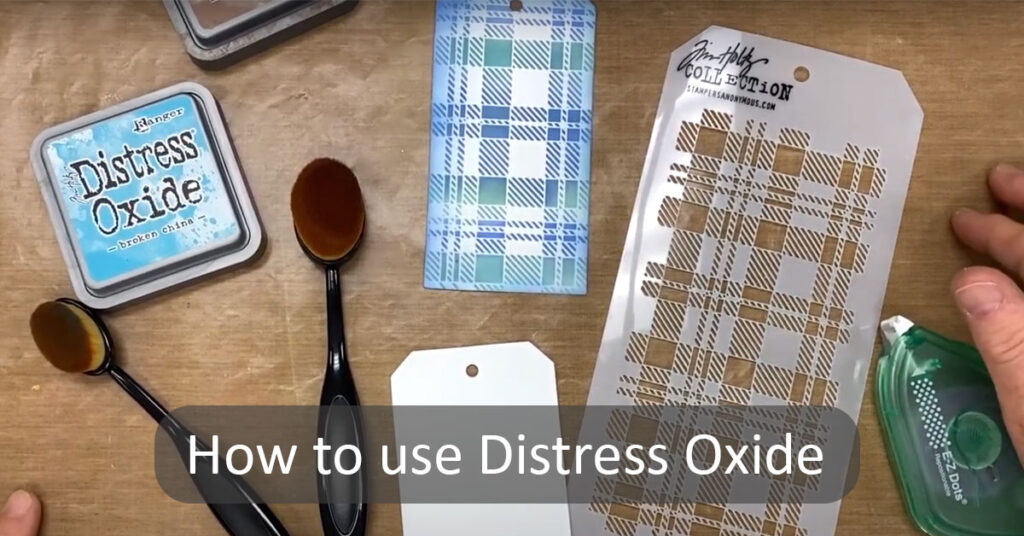
• Ranger Distress Oxide Ink Pad (your choice)
• Paper – we recommend our blending paper
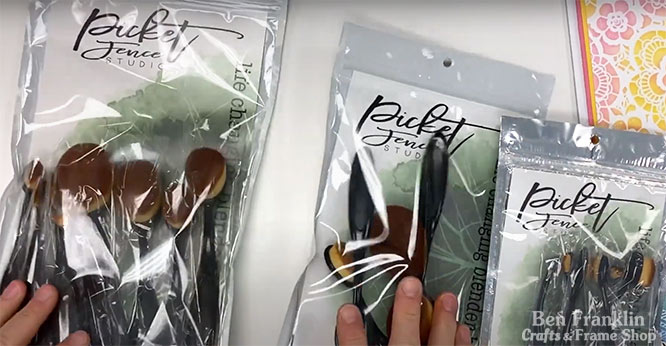
• Blending brushes – we used Picket Fence Studio brushes
• Desired stencil
• Craft mat (optional)
• E-Z Dotz Scrapbook Adhesive (optional)
Watch the video for step-by-step instructions. Click HERE.
1. Place your craft mat on the table to help keep the table clean. It also makes it super easy to clean after you’re done. Just wipe the mat with a damp paper towel.
2. Cut out the desired shape from your paper. In our tutorial, we’ll be applying the Distress Oxide Ink on a tag. You can use our Die Cut Machine to cut any shape you want! We have hundreds of dies to choose from!
3. Add E-Z Dotz to the back of your paper and attach it to the craft mat. This will prevent the paper you’re working on from moving as you blend the distress oxide ink onto it. E-Z Dotz can be removed easily from the paper after you’re done.
4. Add E-Z Dotz to the back of the stencil and attach it on top of the paper. Before pressing down to glue it, move it around to see where you want the design to be on your paper, then press down on it to attach it in place so it doesn’t move when you are brushing on the ink.
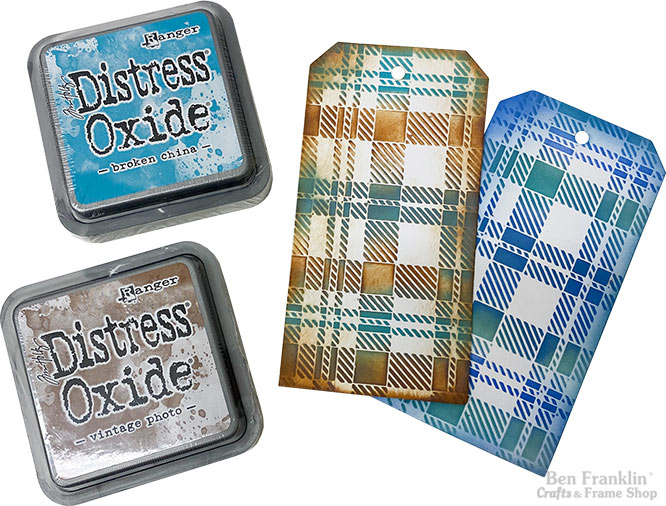
5. Take the blending brush (we’re using the Picket Fence blending brushes) and rub it in a circular motion on the ink pad. Tip: When blending multiple colors together, it’s better to start with lighter color first.
6. In the same circular motion, gently rub the brush on the paper. It will start out light, add more layers for more color. Make sure to watch our video tutorial where Melanie shows you how to do it.
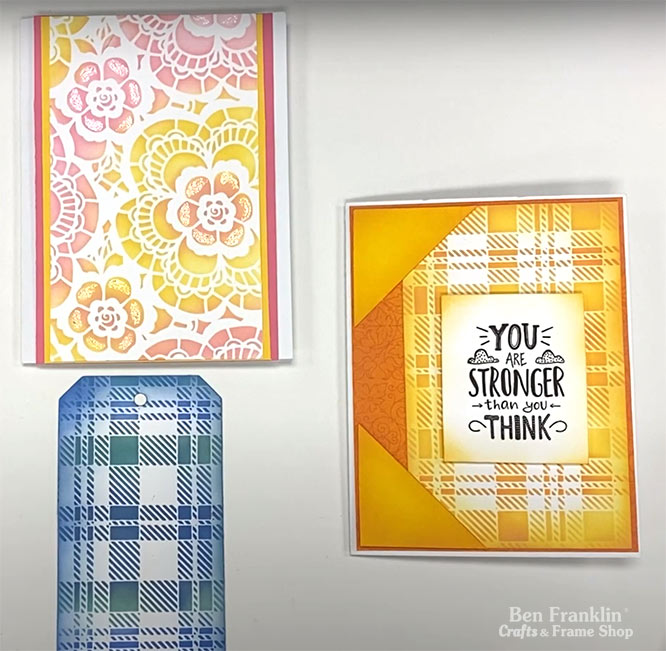
We hope that this “How to use Distress Oxide Inks” instructions and video have inspired you to start making tags, cards or scrapbook backgrounds.

Huge savings offered throughout both our Bonney Lake and Monroe stores.