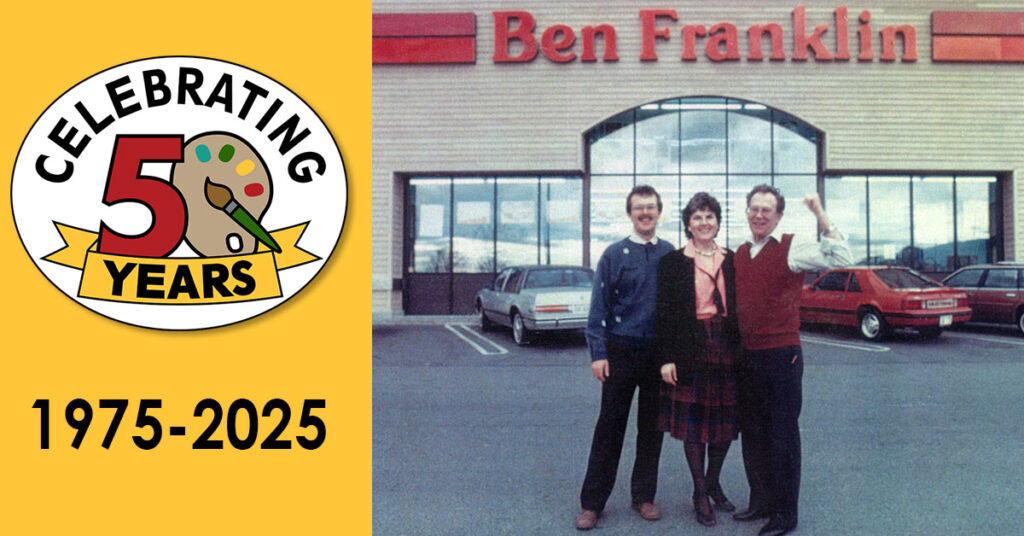
Celebrating 50 Years (1975-2025)
2025 marks a monumental milestone for Ben Franklin Crafts & Frame Shop as we celebrate 50 years of creativity, craftsmanship, and community […]
Celebrating 50 Years (1975-2025) Read More »
2025 marks a monumental milestone for Ben Franklin Crafts & Frame Shop as we celebrate 50 years of creativity, craftsmanship, and community […]
Celebrating 50 Years (1975-2025) Read More »

Watercolor painting is a relaxing and rewarding art form that’s accessible to beginners and experienced artists alike. In this guide, we’ll cover
Watercolor Painting Basics: Tips & Common Questions Read More »
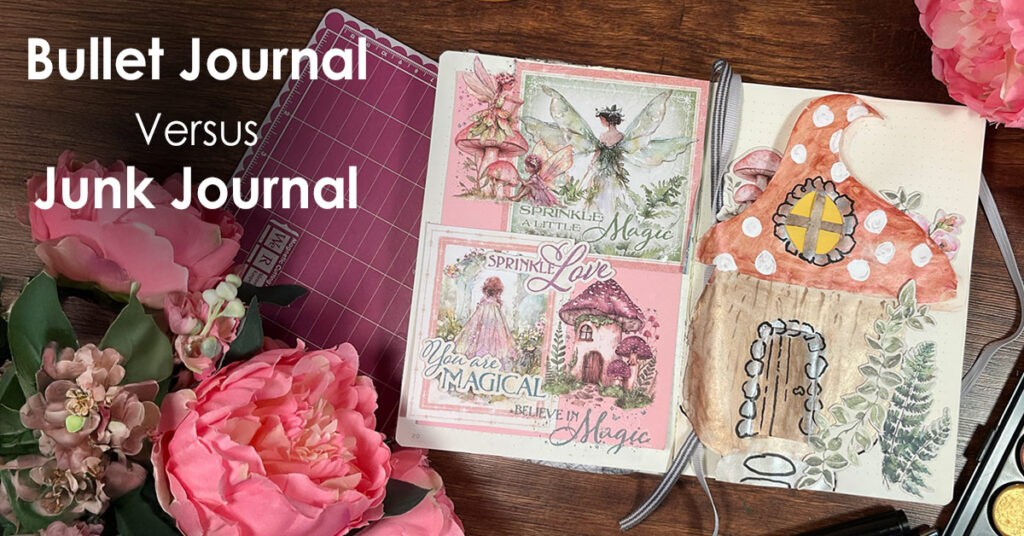
Junk Journal vs Bullet Journal: Which One Inspires You? If you’re drawn to creativity, memory keeping, or simply want a new way
Bullet Journal VS Junk Journal Read More »
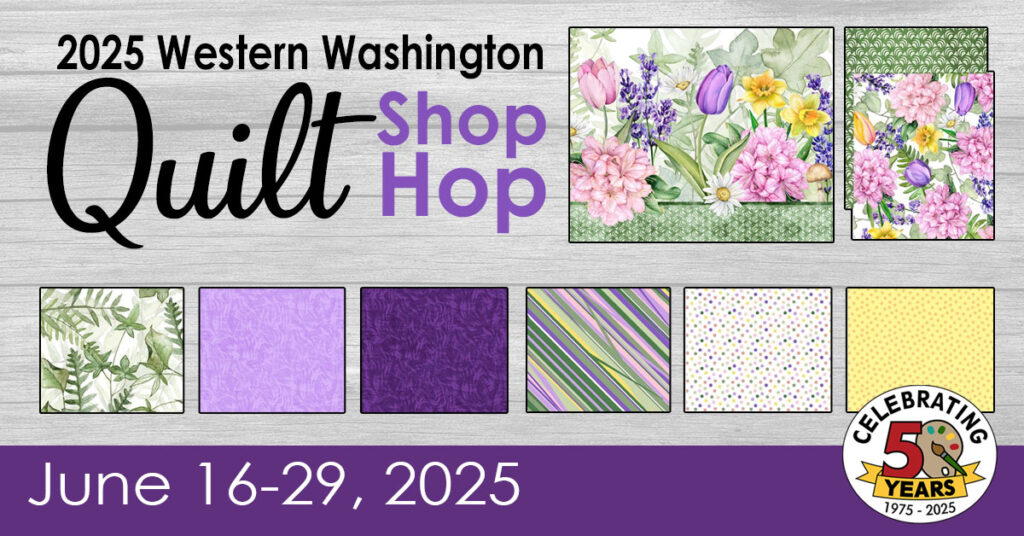
Stitch Your Way Through Summer at the Western Washington Quilt Shop Hop 2025 🧵 If you love quilting, fabric shopping, and a
Western Washington Quilt Shop Hop 2025 Read More »
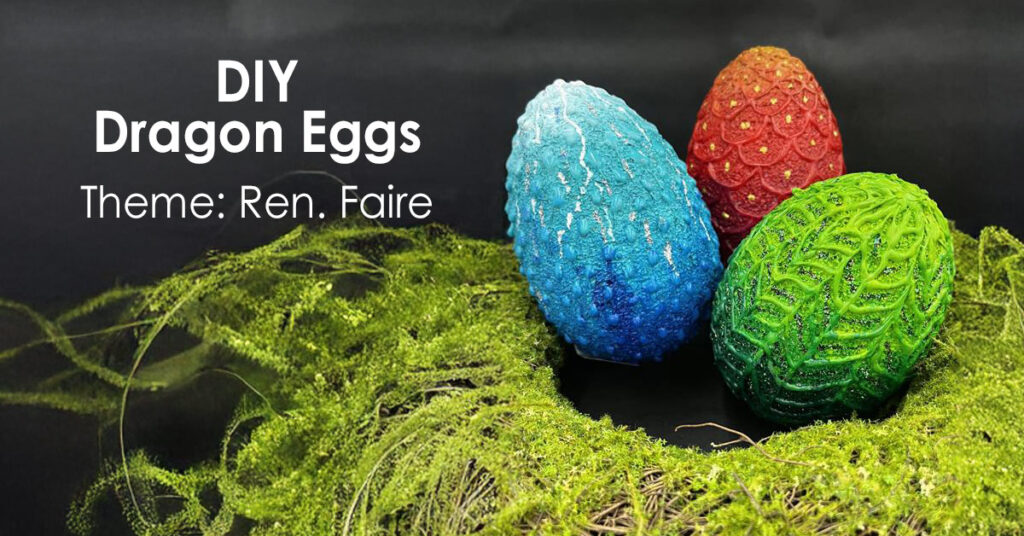
DIY Dragon Eggs: A Magical Craft for Ren Faire Season Get ready for Ren Faire season with a project that’s straight out
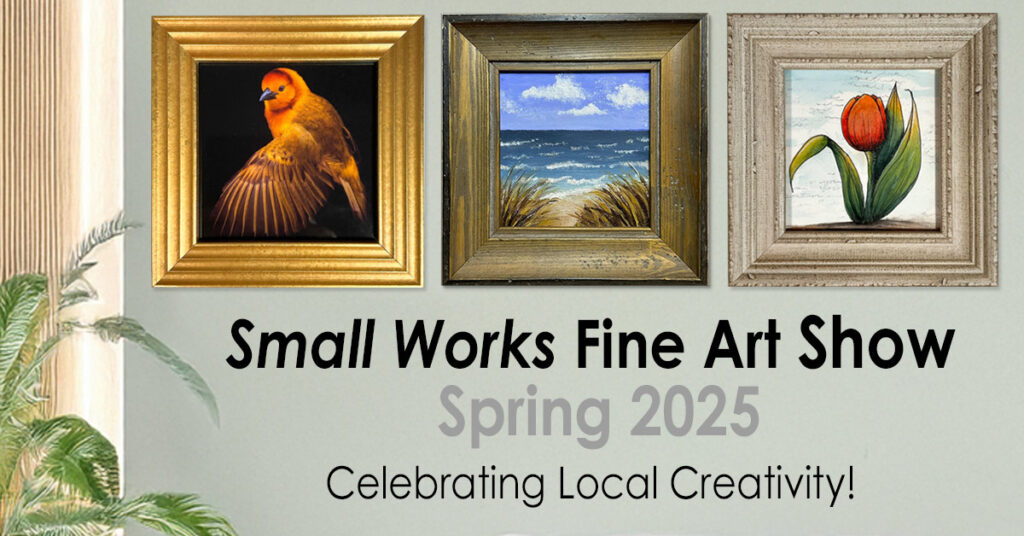
Celebrating Local Creativity: Small Works Fine Art Show at Ben Franklin Frame Shop We just wrapped up our Small Works Fine Art
Small Works Fine Art Show Read More »

Celebrate Your Grad in Style: DIY Party & Decoration Ideas for a Memorable Graduation Graduation season is here, and it’s the perfect
Celebrate Your Grad in Style: DIY Party Ideas Read More »

Whether it’s a delicate cross stitch or a detailed embroidery, a custom frame transforms needlework into an art piece. These one-of-a-kind gifts
Custom Framed Cross Stitch & Embroidery Projects Read More »
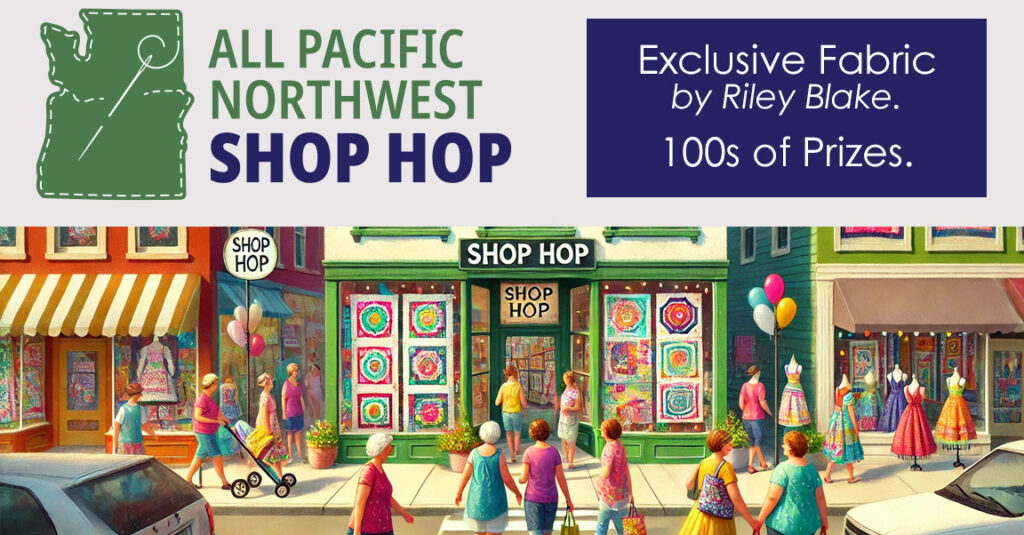
Join Us for the 1st All Pacific Northwest Shop Hop! The excitement is building for the 1st Annual All Pacific Northwest Shop
All Pacific Northwest Shop Hop Read More »
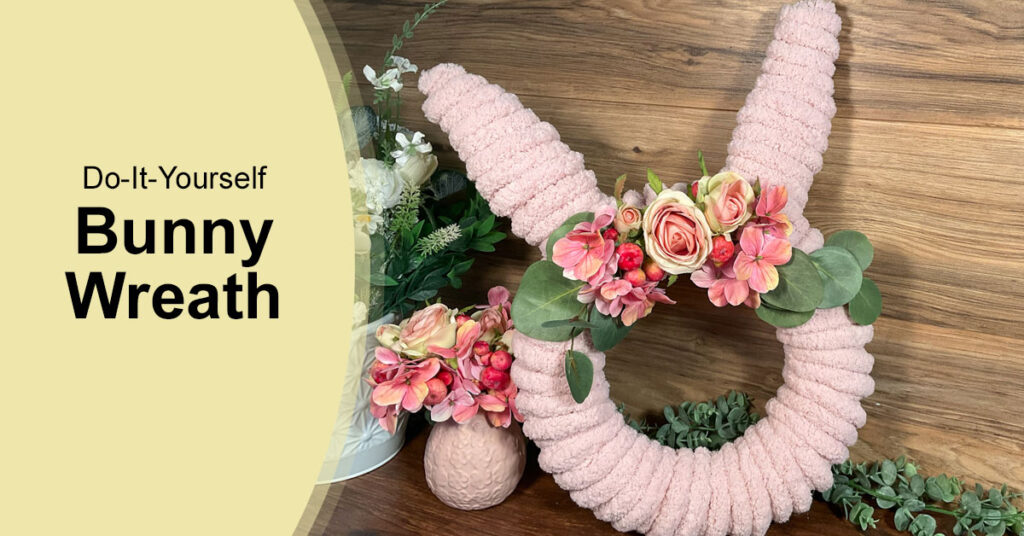
DIY Bunny Wreath: A Cute & Cozy Spring Craft Spring is in the air, and what better way to welcome the season
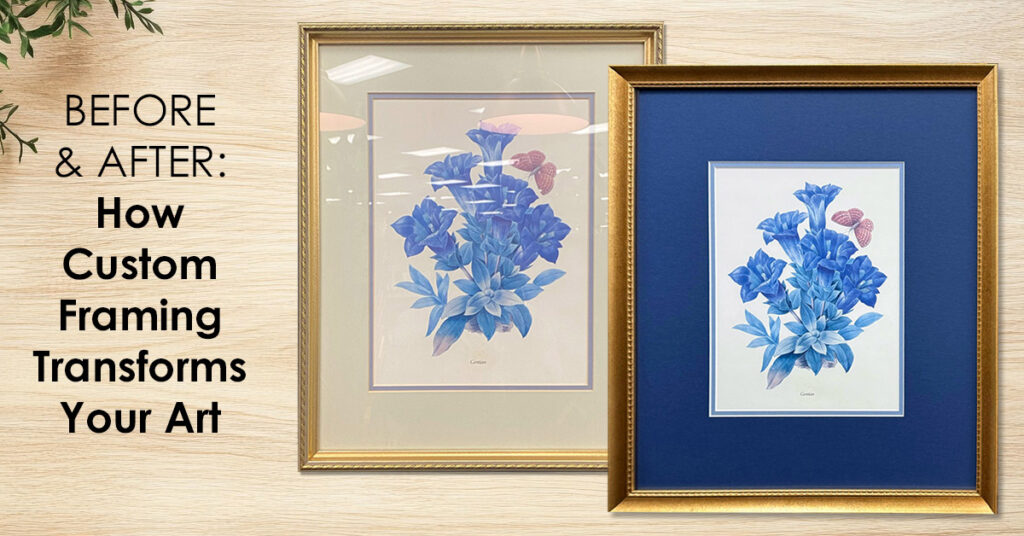
Ever wonder how a new frame can completely change the look of your artwork? In this blog post, Before & After: Custom
Before & After: Custom Framing Transformations Read More »

Huge savings offered throughout both our Bonney Lake and Monroe stores.