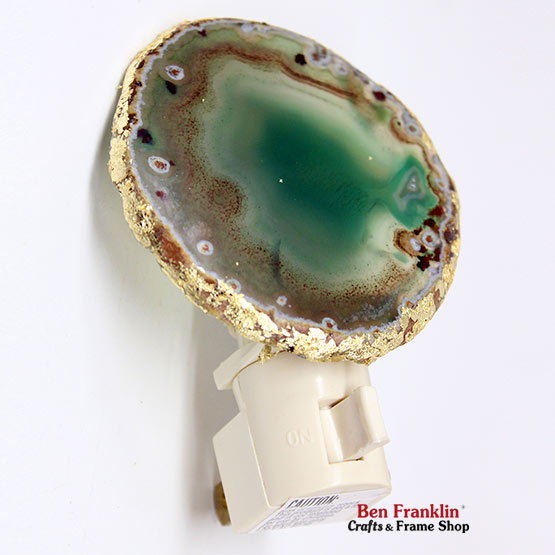
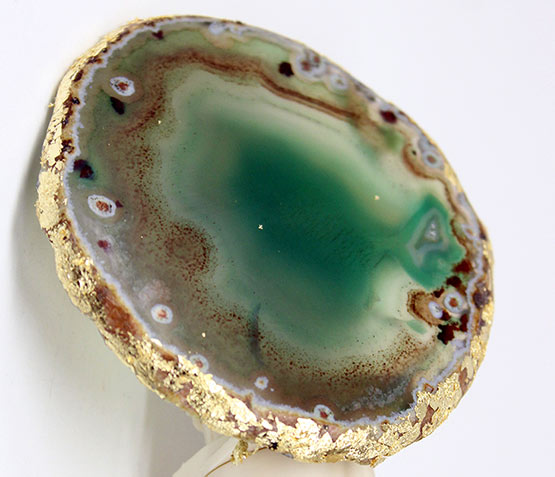
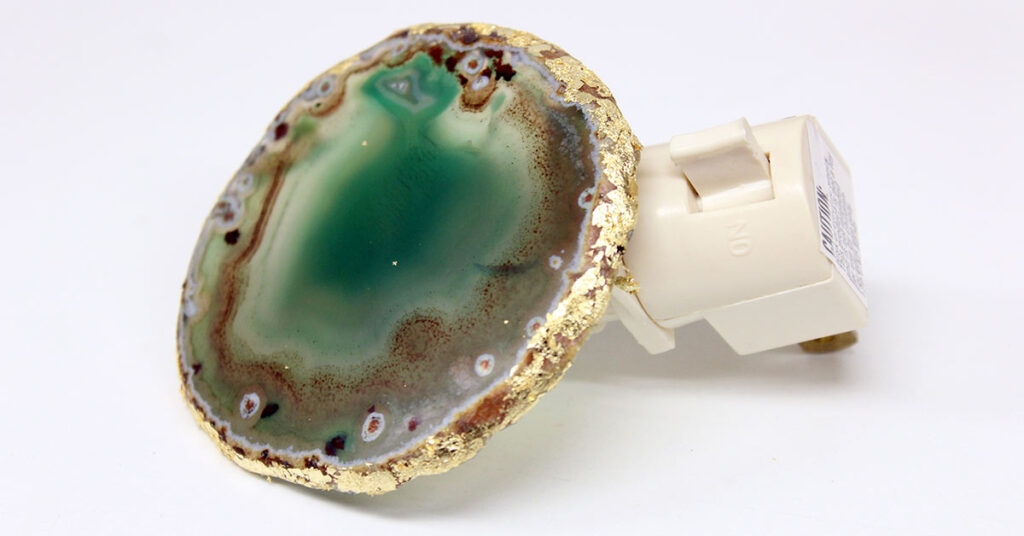
UPDATE: SOLD OUT. Your new DIY Geode Night Light would be a great addition to your hallway or bathroom. You can make this unique geode night light with supplies from our Ben Franklin Crafts & Frame Shop store in Bonney Lake, WA.
SOLD OUT - Supplies needed to make a Geode Night Light
(Kits available at our Bonney Lake store.)
Night Light
Geode
Gold Guilding Flakes
Craft Glue
E6000 Glue

Directions:
To get started, we invite you to watch our video tutorial to follow Angie along.
1. Clean off the geode slice and the back of the night light with a moistened cloth just to get the dust off. Let it dry.
2. Add a thin coat of craft glue to the rough edge all the way around the geode.
3. While the craft glue is still wet, apply the gold flakes directly to the glue on the side of the geode. Brush away any extra flakes with your fingers.
4. Once all the gold flakes are applied, press around the edge of the geode one more time to make sure they are attached.

5. Wait a few hours to make sure it’s dry.
6. For the last step, you’ll add E6000 glue to the back of the night light on the flat area above the switch. Place the geode where you want it. We suggest that you place a small piece of tape from the light to the back of the geode to hold in place while it’s drying. Let it dry 24 hours before using your new night light.
Video Tutorial: How To Make a Geode Night Light
Also available is this video that Angie recorded where she shows you how to make this geode night light. Watch the video for step-by-step instructions. Click HERE.


