
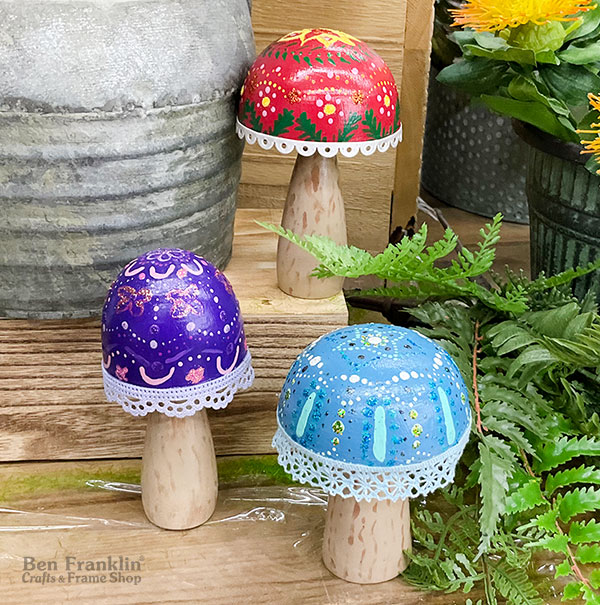
Are you searching for a fun and creative DIY craft project to brighten up your home decor or make a unique handmade gift? Look no further! Our Twinkling Toadstools are the perfect crafts to inspire your artistic side. With just a few simple supplies, you can create adorable, colorful mushrooms that will twinkle with charm and add a whimsical touch to any space.
(Supplies may vary by store, however, special store-to-store orders can be placed with a one-week turnaround. Substitutions will be suggested if a product is no longer available.)
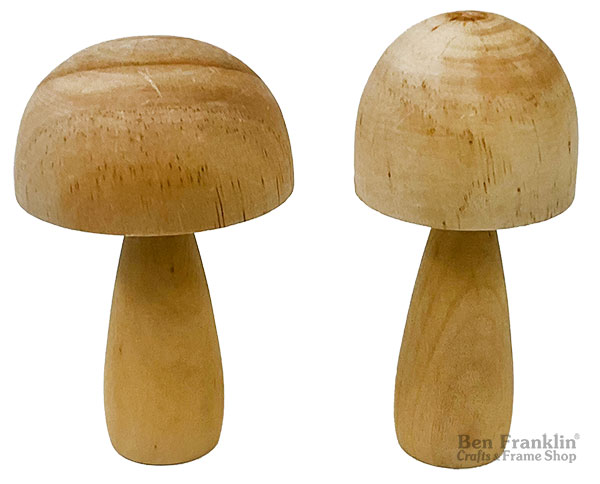
– Wooden Mushrooms
– Acrylic Paint & Paintbrush
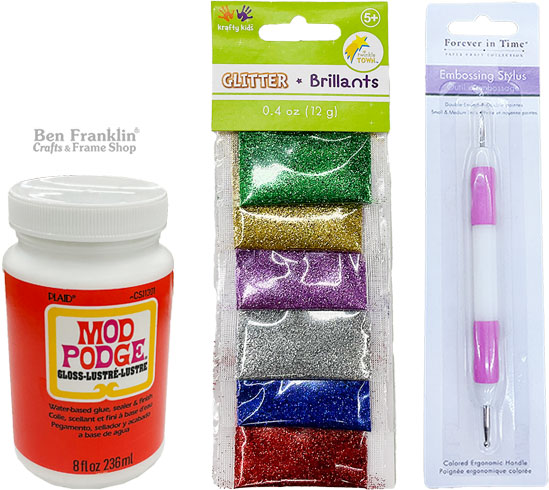
– Dotting Tool (also called Embossing Stylus)
– Mod Podge
– Glitter (optional)
– Ribbon or Lace
Watch this Shorts YouTube video for basic instructions on how to make the DIY Twinkling Toadstools. View it here, of click on the video below.
Start by applying a light brown acrylic paint to the stem and underside of your wooden mushroom. This will serve as the base for your design.
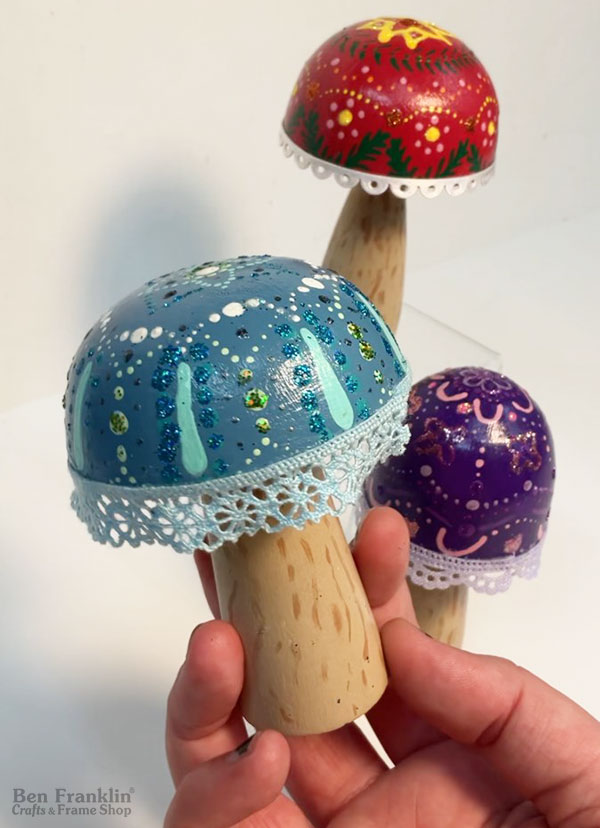
Next, paint the top portion of the mushroom in your choice of color. This is where you can let your creativity shine, choosing vibrant hues or soft pastels.
To give your mushroom a more realistic look, add darker brown lines and texture to the stem and underside using a thin paintbrush.
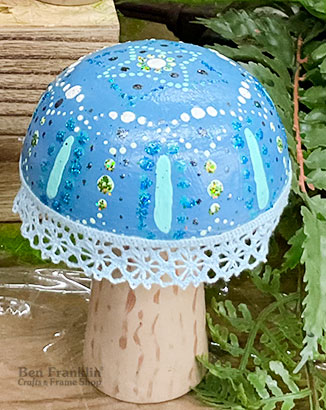
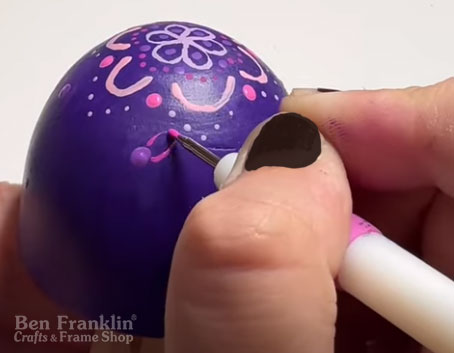
Once the paint is dry, it’s time to get creative with mandala-inspired dot patterns. Use a dotting brush to add intricate designs such as leaves, flowers, geometric shapes, and lines. This step is where your imagination can truly come to life.
After your design is complete and fully dry, seal your toadstool with a layer of Mod Podge. This not only protects your artwork but also gives it a nice finish.
For an extra touch of magic, add glitter to your dot design. Apply a thin layer of Mod Podge over the desired areas and sprinkle glitter on top. Let it dry completely.
Finally, glue a piece of lace or ribbon around the top of your toadstool for added flair. This step adds a whimsical touch to your creation.
At Ben Franklin Crafts and Frame Shop in Bonney Lake and Monroe, WA, we have everything you need to create these charming Twinkling Toadstools. Our stores are stocked with high-quality supplies, and our friendly staff are always ready to help you find exactly what you need.
Crafting is not just a hobby; it’s a way to relax, express yourself, and create something beautiful. Whether you’re a seasoned crafter or just starting out, this project is perfect for all skill levels. So come on in, gather your supplies, and let your creativity soar. We can’t wait to see the wonderful toadstools you create!
Happy crafting!
Don’t forget to save this inspiring project for later by pinning it to your Pinterest board!


Huge savings offered throughout both our Bonney Lake and Monroe stores.