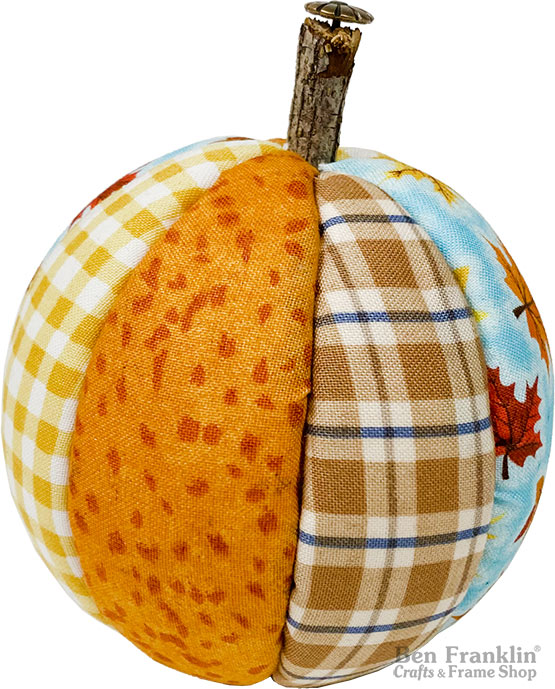

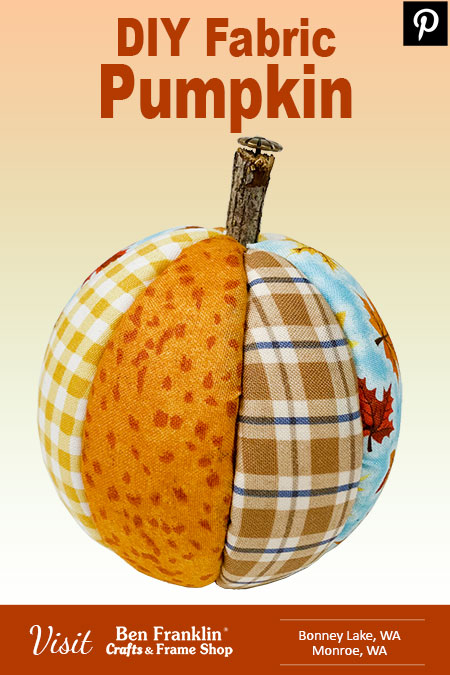
You’ll love how easy it is to make this adorable DIY fabric pumpkin! All you need is a craft foam ball, some fabric and a popsicle stick that will be used to push the fabric in the foam ball. Once you make one, you’ll want to make fabric pumpkins for your co-workers, neighbors, and kids friends!
Scroll down for the step-by-step printable instructions.
(Supplies may vary by store, however, special store-to-store orders can be placed with a one-week turnaround. Substitutions will be suggested if a product is no longer available.)
4” Smooth Foam Ball
4 Styles of Fabric
Small Twig
Decorative Nail
Popsicle Stick
Knife or Foam Cutter
1. Cut your fabric into 7″ x 2.5″ strips. You will need two strips from each fabric of your choosing.
2. Gently cut 8 equal vertical sections into your foam ball to create some grooves.
3. Place a piece of fabric over a section and using your popsicle stick, poke the fabric into the grooves of the ball.
4. Trim any extra fabric as close as you can to the ball. Go back through, poking the trimmed ends of the fabric into the ball until you can’t see them.
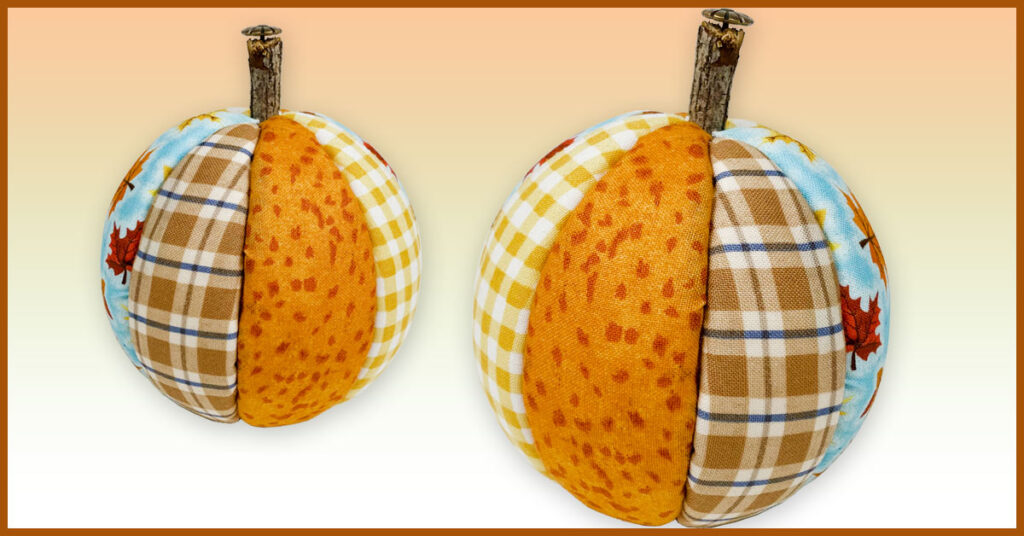
5. Repeat steps 3-4 with all the sections alternating fabrics.
6. Stick the decorative nail into the bottom of the pumpkin and the twig into the top.

Huge savings offered throughout both our Bonney Lake and Monroe stores.