
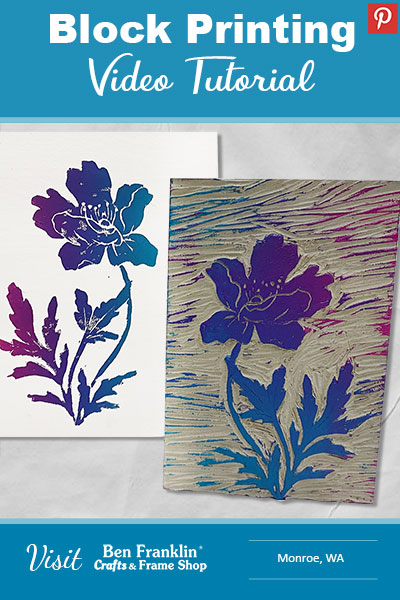
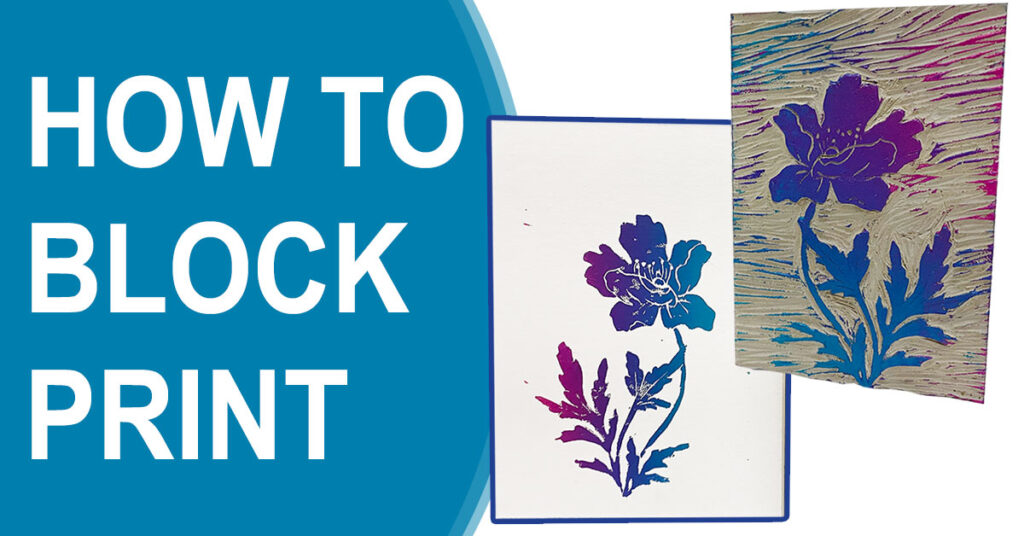
Engrave your own design on a linoleum block to create a stamp that you can use on paper or fabric. This process is called BLOCK PRINTING. If you are wondering how to do block printing, this tutorial (video included) will show you the steps, the supplies you’ll need and the stunning stamp that you can make. The supplies shown here are available only at our Monroe store.
Scroll down for the step-by-step printable instructions and the video tutorial.
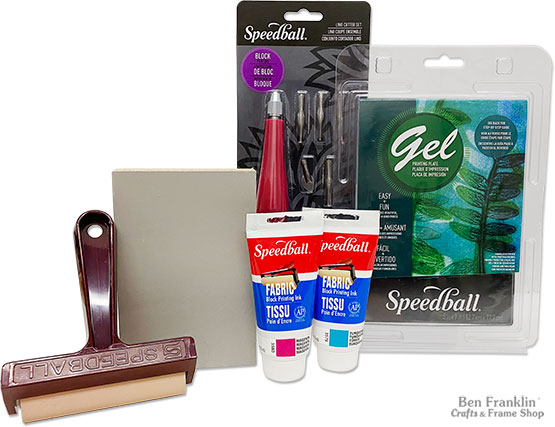
(Supplies may vary by store, however, special store-to-store orders can be placed with a one-week turnaround. Substitutions will be suggested if a product is no longer available.)
Speedball Lino Cutter Set
Speedball Gel Printing Plate
Linoleum Block
Speedball Block Painting Ink (we used Magenta and Turquoise)
Speedball Roller
Pencil
Graphite Transfer Paper (optional)
1. Draw your design onto the linoleum block (either freehand or use Graphite paper to transfer the desired design).
2. Begin carving out the background you DO NOT want to use for the print. (The cutter set includes different sized blades).
3. Brush off the excess block material.
4. Add Block Painting Ink onto the Gel Printing Plate. (Note: the ink to stamp ratio will vary based on the size of the design. Test the stamp to see how much ink you’ll need for a good coverage).
5. Roll the Speedball Roller through the ink until it’s well coated.
6. Transfer the ink from the roller onto the carved printing block.
7. Stamp onto your desired surface and enjoy!


Huge savings offered throughout both our Bonney Lake and Monroe stores.