
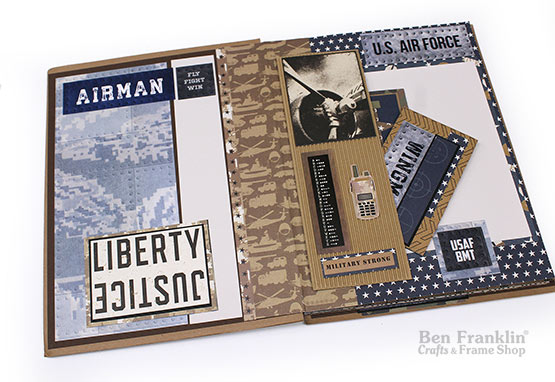
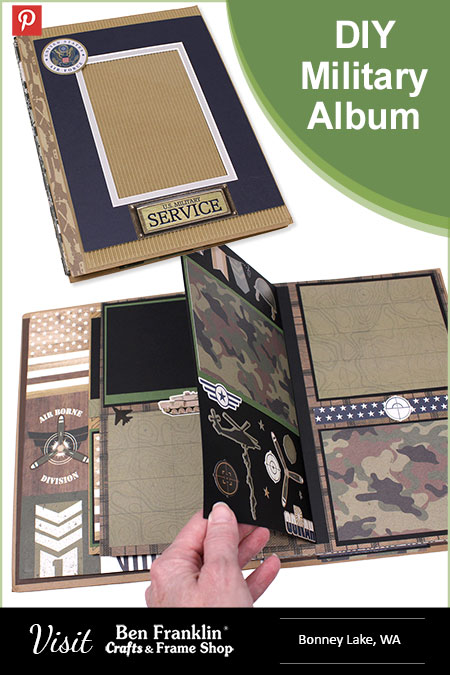
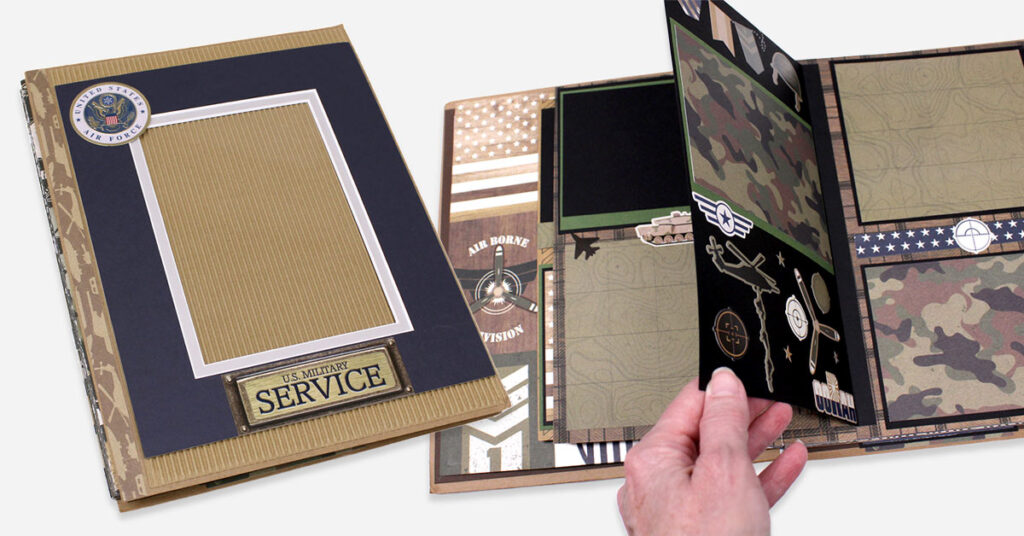
Memorial Day is a solemn occasion to honor the brave men and women who have made the ultimate sacrifice while serving in the military. One thoughtful way to pay tribute to their memory is by creating a Handmade Military Album. This heartfelt project allows you to preserve and share stories, photographs, and mementos, creating a lasting tribute that captures the courage and sacrifice of our military heroes. In this blog post, we will guide you through the process of making a handmade Military Album using our theme paper, chipboard, corrugated paper and a few other essential supplies, ensuring a memorable and meaningful gift for this Memorial Day.
(Supplies may vary by store, however, special store-to-store orders can be placed with a one-week turnaround. Substitutions will be suggested if a product is no longer available.)
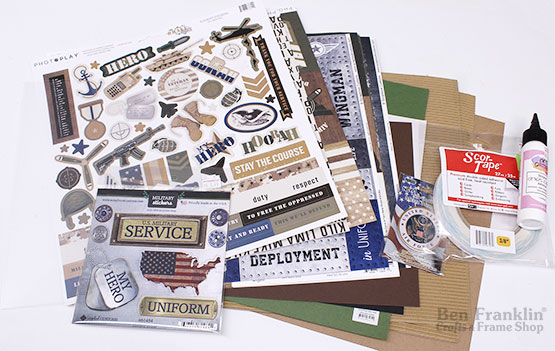
Materials Needed:
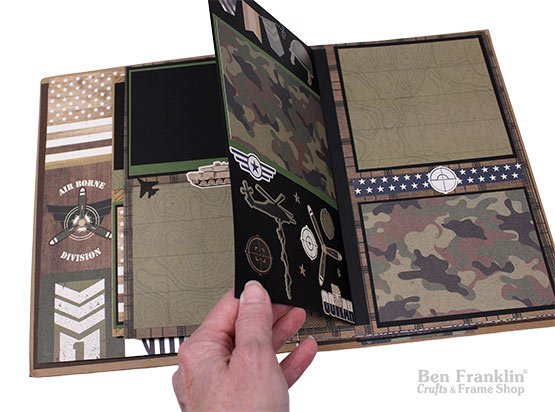
Before diving into the creative process, take some time to plan and organize the contents of your DIY Military Album. Consider the theme or focus you want to convey, such as a specific branch of the military or a family member’s service. Collect photographs, letters, and any other memorabilia that you would like to include. Sort them chronologically or thematically to make the storytelling process easier.
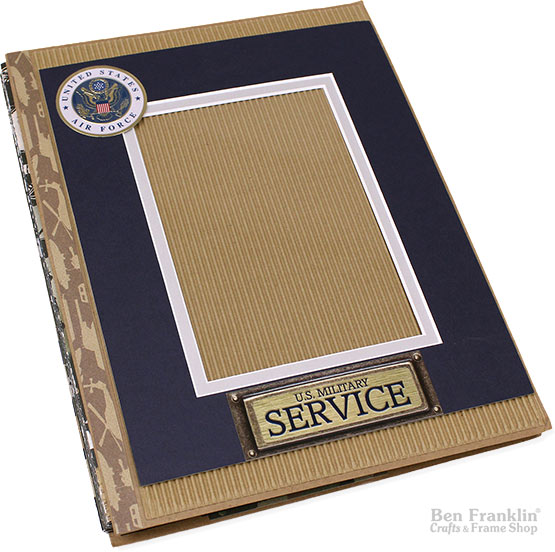
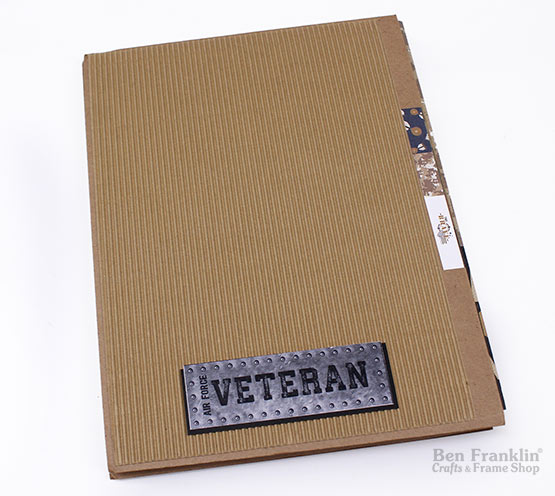
Start with cutting the chipboard to 8.5″ x 11.5″. Then cut the corrugated paper to 8″ x 11.25″. Cut the clear acetate sheet to fit behind the picture mat. Put Art Glitter Glue to the back of the photo mat, then position the acetate sheet in place on the glue. Let dry.
For step-by-step instructions, visit our Ben Franklin Crafts and Frame Shop store in Bonney Lake, WA. The Military Journal model is on display for a limited time, but our staff is always here to help you find your supplies and guide you through the steps you’ll take to create your very own handmade album.
Once you are satisfied with the layout and design, carefully review each page to ensure cohesiveness and accuracy. Pay attention to details such as alignment, spelling, and overall presentation. Ensure that all elements are securely attached to the pages
21121 Hwy 410 E. Bonney Lake, WA, 98391

Huge savings offered throughout both our Bonney Lake and Monroe stores.