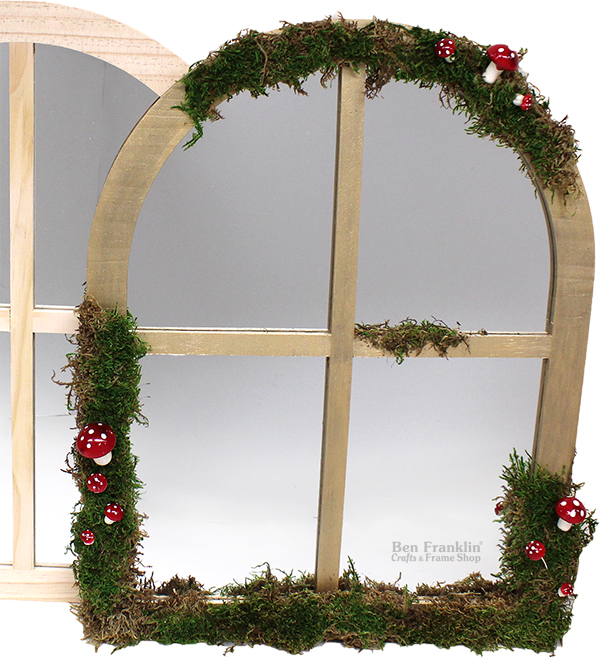
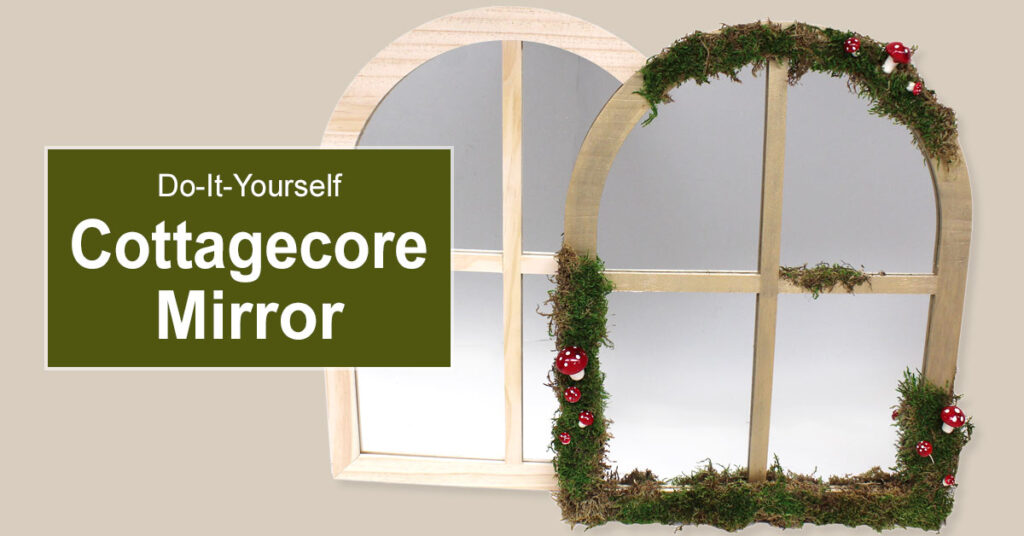
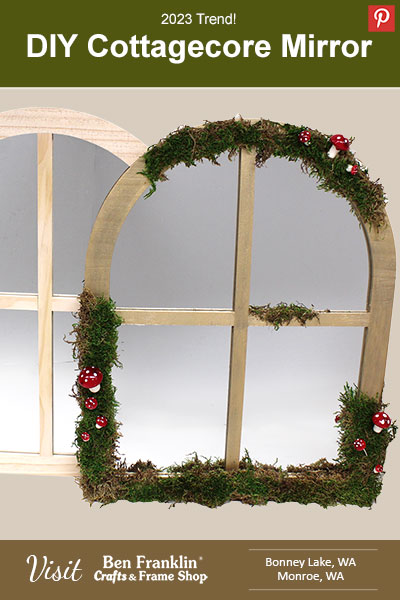
In a world that seems to revolve around technology and urban landscapes, it’s no wonder that people are yearning for a return to simplicity and nature. Enter Cottagecore, a captivating home decor style that transports us to idyllic countrysides, whimsical gardens, and cozy cottages nestled amidst lush landscapes.
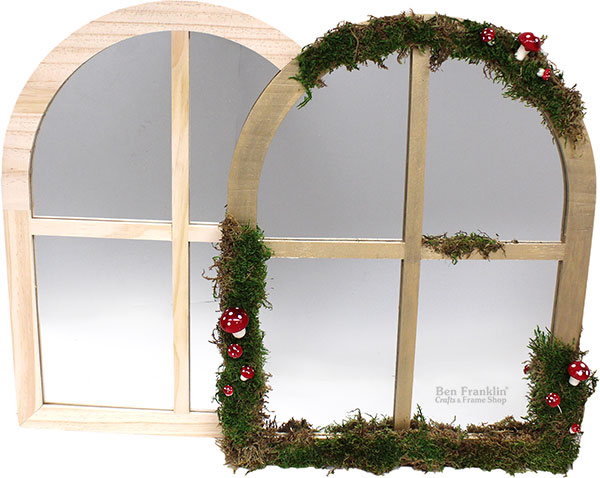
In this blog post, we will give you step-by-step instructions on how to create your own enchanting DIY Cottagecore Mirror using simply supplies that you will find at our Ben Franklin Crafts and Frame Shop stores. Stopping by our store is the perfect way to embark on your Cottagecore journey.
Supplies needed to make 1 DIY Cottagecore Mirror
(Supplies may vary by store, however, special store-to-store orders can be placed with a one-week turnaround. Substitutions will be suggested if a product is no longer available.)
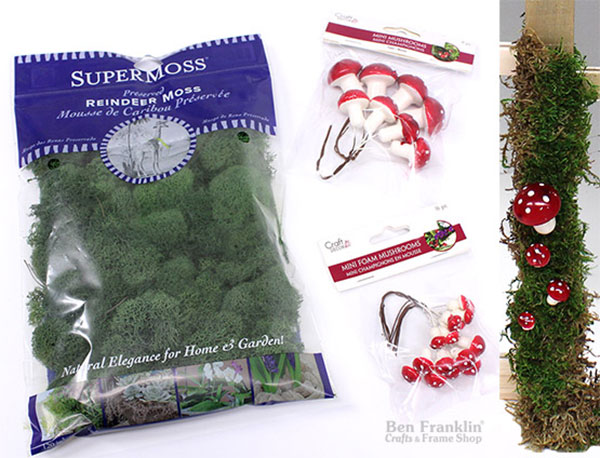
Unfinished Wooden-Framed Mirror (19″ tall x 15″ wide)
Supermoss Preserved Moss
Decorative mushrooms
Paint or Stain (Choose colors that complement your desired Cottagecore theme)
Paintbrushes
Hot Glue Gun & Hot Glue Sticks
Protective gloves and a drop cloth (optional)
Clear sealant (optional)
Step 1: Prepare the Work Area
To ensure a clean and hassle-free crafting experience, set up your workspace by laying down a drop cloth to protect surfaces from paint or glue drips. Consider wearing protective gloves to safeguard your hands during the painting and gluing process.
Step 2: Paint or Stain the Wood Frame
Take your wooden-framed mirror and apply a coat of paint or stain using a paintbrush. Select colors that harmonize with your desired Cottagecore theme. Consider pastel shades, earthy tones, or distressed finishes to achieve a rustic, natural look. Allow the paint or stain to fully dry according to the manufacturer’s instructions.
Step 3: Prepare the Moss
Arrange the preserved or artificial moss according to your creative vision. Cut or tear it into smaller sections if needed, ensuring they fit the desired areas around the mirror. This step allows you to customize the placement and density of moss on the wooden frame.
Step 4: Glue the Moss
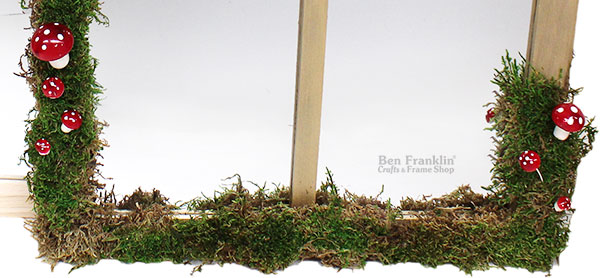
Using a hot glue gun, apply a small amount of glue to the back of each moss section. Carefully press and hold the moss against the wooden frame, adhering it securely. Work in sections to ensure the glue remains hot and malleable throughout the process. Allow the glue to dry completely before proceeding.
Step 5: Arrange and Glue the Decorative Mushrooms
Now, it’s time to bring a touch of woodland wonder to your Cottagecore Mirror. Arrange your decorative mushrooms or other woodland-themed ornaments in small groups on the moss-covered areas. Play around with different shapes, sizes, and colors to create an eye-catching composition. Once satisfied with the arrangement, use the hot glue gun to affix the mushrooms to the moss and secure them in place. Allow the glue to dry completely.
Step 6: Optional: Apply Clear Sealant (Recommended for Outdoor Use)
If you intend to display your Cottagecore Mirror outdoors or in a humid environment, consider applying a clear sealant to protect it from moisture damage. This step ensures the longevity of your creation and helps preserve its beauty for years to come. Follow the manufacturer’s instructions for the specific sealant you choose.
Conclusion:
With the completion of these steps, you have successfully crafted your very own DIY Cottagecore Mirror, infused with the captivating allure of nature and rustic charm. Find the perfect spot to display this enchanting piece, whether it’s in a cozy corner of your home, an outdoor garden nook, or a magical gathering space. Immerse yourself in the whimsical world of cottagecore and revel in the joy of your handmade creation.
