
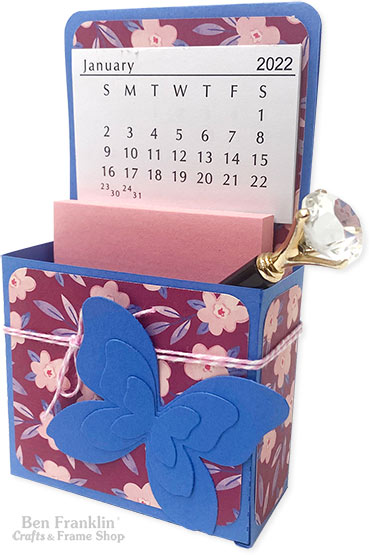

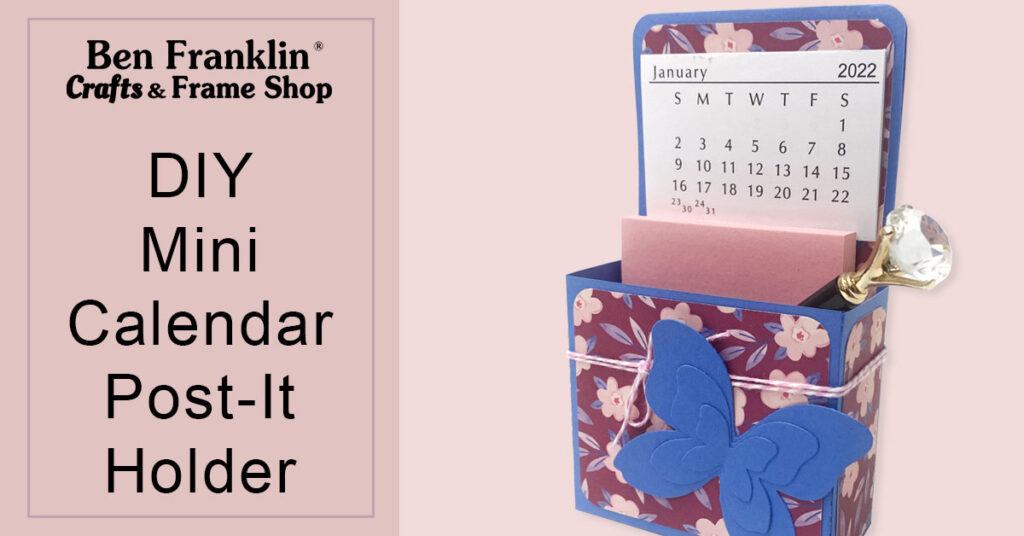
Once you make this cute DIY Mini Calendar Post-It Holder, you will want to make one for all your friends, family members, your kids’ teachers, and maybe even one for your husband’s man cave! Just change the paper design to something that would fit the person’s style, and voila! You’ve just created a personalized gift that they will use.
(Supplies may vary by store, however, special store-to-store orders can be placed with a one-week turnaround. Substitutions will be suggested if a product is no longer available.)
• 12”x12” Cardstock DSP* paper
• Paper Cutter
• Bone Folder
• Adhesive (double-sided tape or glue)
• Corner Rounder
• Embellishments
• Mini Calendar
• Die-Cut Machine Center:
– Ben Franklin Die #J34 (in-store only) for the box
– Ben Franklin Die #183 (in-store only) for the butterfly
*DSP = Designer Series Paper
1. From the DSP paper: Cut two 1 3/16” x 2 3/4” pieces (sides)
2. From the DSP paper: Cut one 2 3/4” x 3 1/8” piece (front)
3. From the DSP paper: Cut one 5 3/4” x 3 1/8” piece (back)
4. Round the corners if desired.
5. Use our die cut shape #J34 on a solid piece of cardstock. This will be the box.
6. Cut off 3/4” from the top of the box (opposite of the flap side)
7. Fold at dotted lines and use adhesive to secure the box together.
8. Cut a 12” x 3 3/8” piece of matching cardstock.
9. Score and fold at 6”. Adhere one half to the inside of the box and the other to the outside of the box.
10. Adhere the mini calendar on top of the piece from last step.
11. Add shapes from steps 1-3 to decorate.
12. Embellish with twine or ribbon, stickers or die cut shapes (we used Die #183 for the butterfly).
13. Add post-it notes or pens and enjoy in your office!

Huge savings offered throughout both our Bonney Lake and Monroe stores.