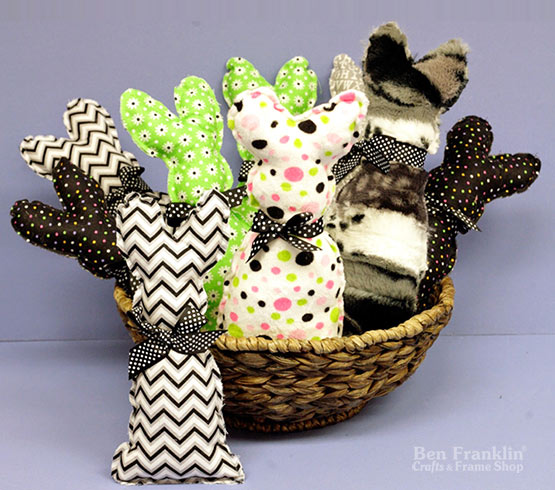
We’ve shown you these handmade bunnies before, but we thought we’d give you some easy instructions so you can sew these Easter fabric bunnies by yourself.
Use our “Print” feature to print a hard copy. It makes it easier to follow along as you’re creating the project. If you have any questions, you can stop by any time to talk to our friendly staff.
Here are the supplies needed to sew Easter fabric bunnies:
(Supplies may vary by store, however, special store-to-store orders can be placed with a one-week turnaround. Substitutions will be suggested if a product is no longer available.)
Fabric (2 pieces approximately 8″ x 6″ wide). Choose a fun cotton pattern or soft, plush fabric.
Ribbon for Bow (approximately 8″ – 10″ long)
Pillow Stuffing
Scissors
Sewing Machine (or you can do it by hand using a thread and needle)
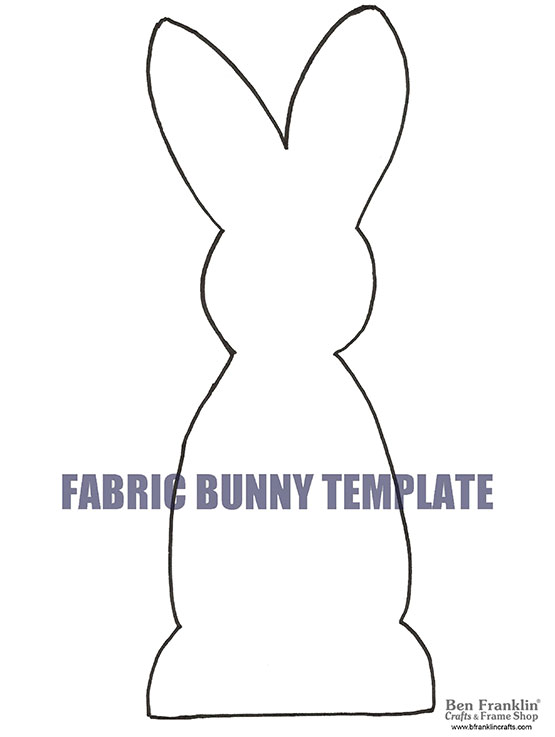
Print the Bunny Pattern HERE (PDF file)
Step-by-Step Tutorial:
1. You’re going to start by putting together two pieces of your fabric with right sides facing each other. Place these 2 pieces of fabric on your pattern and pin it in place so it doesn’t move. By the way, make sure to cut 1/4 inch larger than the pattern. This extra 1/4 inch will be used for the seam allowance. Use your scissors to cut through all layers of fabric. (If you want your bunny to be larger, place the pattern on a large piece of paper and just draw a larger outline.)
2. With your fabric pieces right sides together, stitch the fabric bunny pieces together with your sewing machine (or by hand if you prefer a rustic look). Leave a 2″ opening that you’ll use to insert the pillow stuffing. Turn the fabric right side out. Fill the bunny with the stuffing. Stitch the opening closed by hand with a needle and thread.
3. Your final step is to tie a ribbon bow on the neck of the bunny. The kids will love these adorable bunnies!

