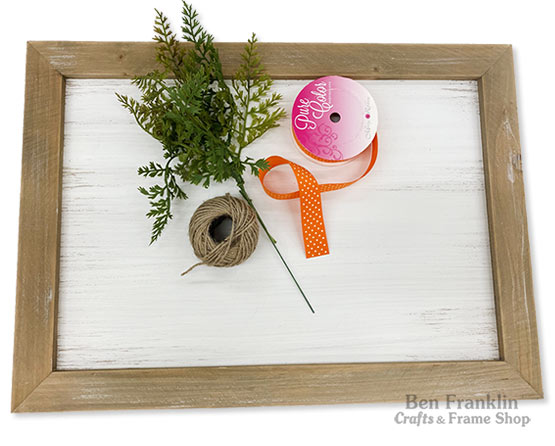
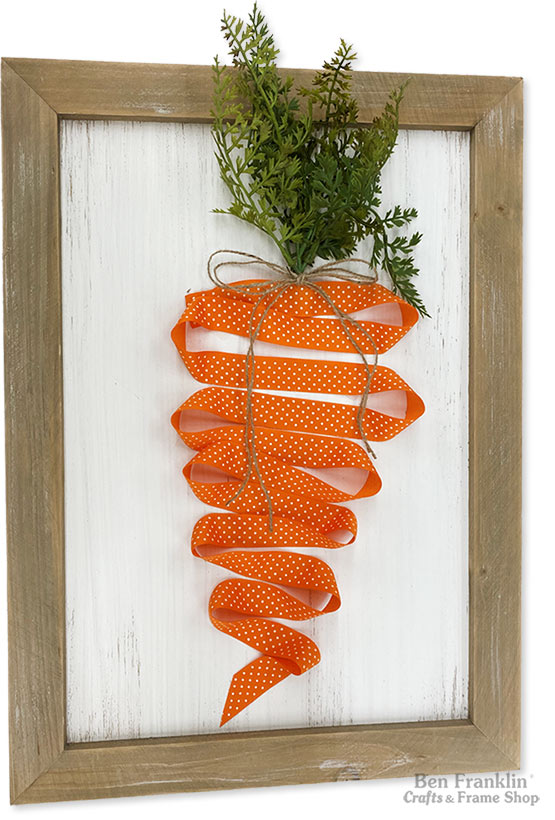
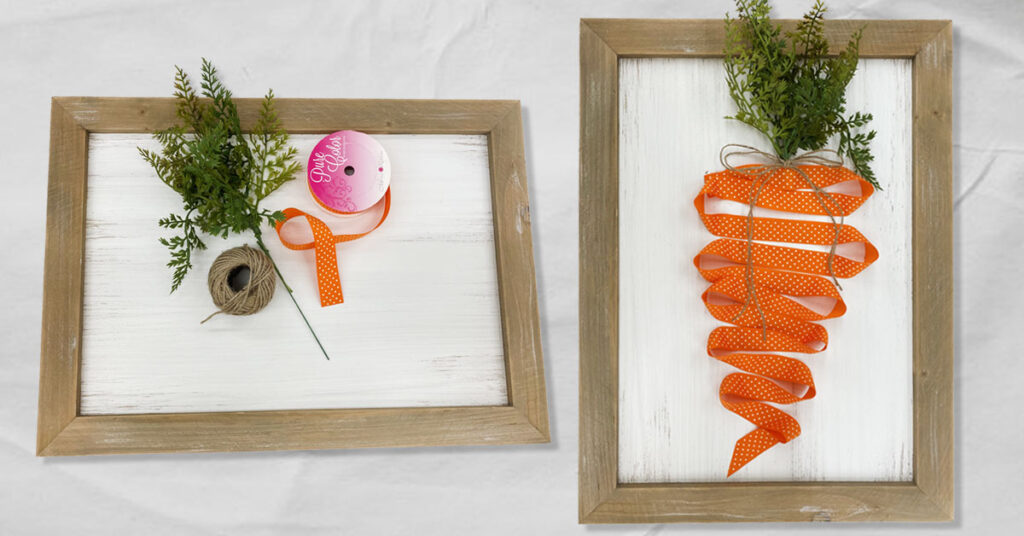
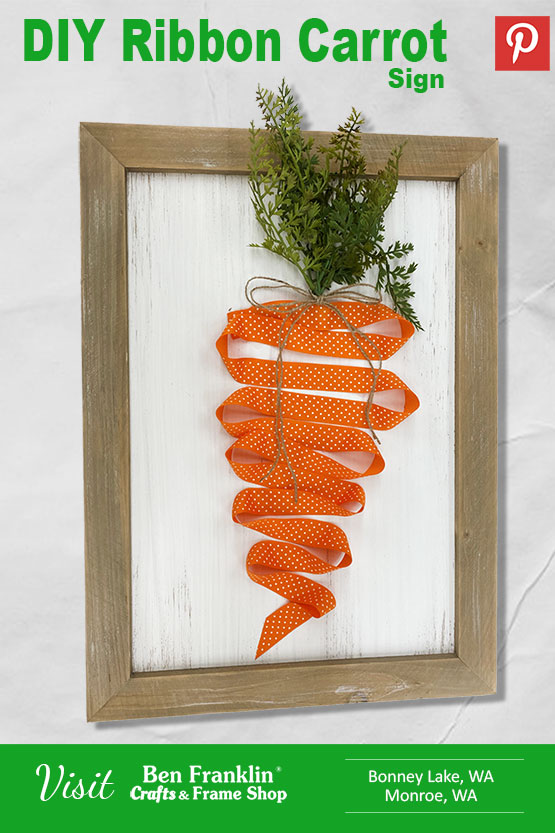
This DIY Ribbon Carrot Sign is made by doing a zig-zag pattern with the ribbon and some glue. It’s a cute Easter project. We created a short video to show you how to make it. Scroll down for the tutorial, and the video.
Supplies needed to make DIY Ribbon Carrot Sign:
(Supplies may vary by store, however, special store-to-store orders can be placed with a one-week turnaround. Substitutions will be suggested if a product is no longer available.)
1” Thick Orange Ribbon
Jute
Hot Glue Gun & Glue Sticks
Pallet Board
Floral Greenery
Wire Cutters


Video tutorial on how to make a DIY Ribbon Carrot Sign:
Tutorial
1. Trim down the stem of your greenery using the wire cutters. Glue it towards the top of your pallet surface.
2. Glue one end of the ribbon just below the greenery and begin zig-zagging back and forth, getting smaller towards the bottom, creating the carrot shape. As you’re doing the zig-zag pattern, glue down each end of the ribbon to secure to the board.
3. Trim off the end of the ribbon to create the tip of the carrot. Glue it to the board.
4. Cut the jute to the length that you’d like to use. Tie it into a bow. Glue it at the intersection of the greenery and the orange ribbon.


