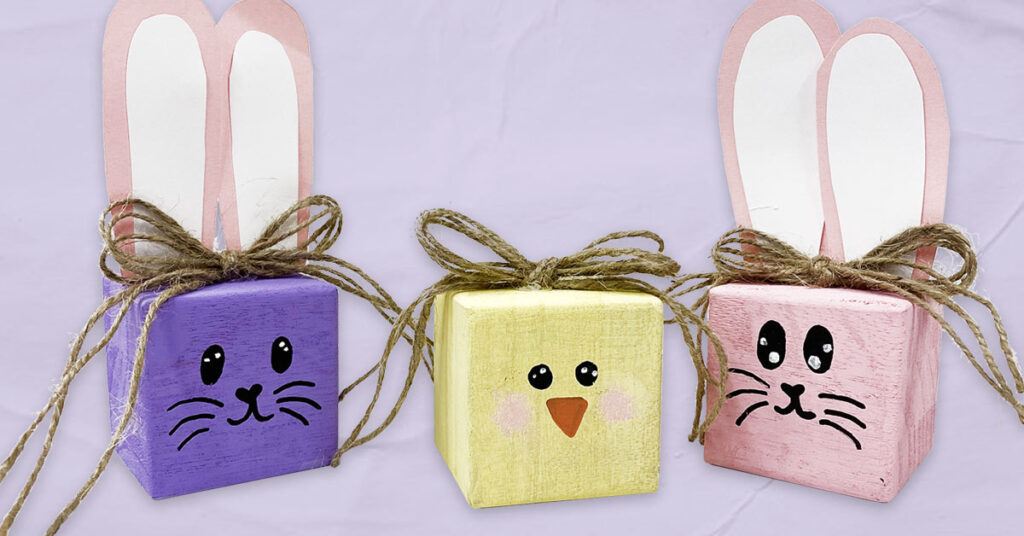
Invite the kids to help you make these DIY Wood Block Bunnies and Chick to display on your table for Easter dinner, or on the mantel, or on your entryway table. They will be so proud to show their new bunnies to all their friends and family. Easter is right around the corner, so come in to gather your supplies. We’re here to help you pick out everything you need to make this fun Easter project.
We created a short video to show you how to make them. Scroll down for the tutorial, and the video.
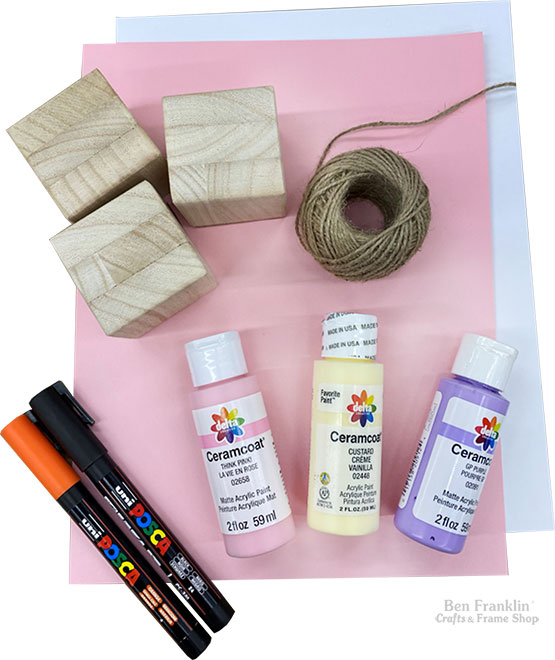
Supplies needed to make DIY Wood Block Bunnies and Chick:
(Supplies may vary by store, however, special store-to-store orders can be placed with a one-week turnaround. Substitutions will be suggested if a product is no longer available.)
2” wood blocks (x3)
Paper (we used pink and white)
Jute
Paint brushes
Acrylic Paint (we used Think Pink!, Custard and GP Purple)
Hot Glue Gun and Glue Stick
Posca Pens (we used black, white and orange)
Video tutorial on how to make DIY Wood Block Bunnies and Chick
Step-by-Step Tutorial:
1. Paint each block purple, yellow and pink. Let them dry completely.
2. While the blocks are drying, cut two 1”x6” strips from the pink and white paper.
3. Take a pink strip and fold it in half. Trim the non-folded side to curve on the outer edge to make the ear shape. (view our video) Now cut the strip along the folded edge to create two matching ears. Repeat using the second pink strip.
4. Repeat these steps with the white strips but trim them smaller in width to create the inner ear.
5. Glue the white strips onto the pink strips to finish creating the ears.
6. Use hot glue to secure each set of ears to the blocks painted pink and purple. (view our video) Those will be your bunnies. The chick doesn’t have ears yet, ha ha.
7. Tie three bows with jute and glue them on top of each block. For the bunnies, set the bows in front of the ears.
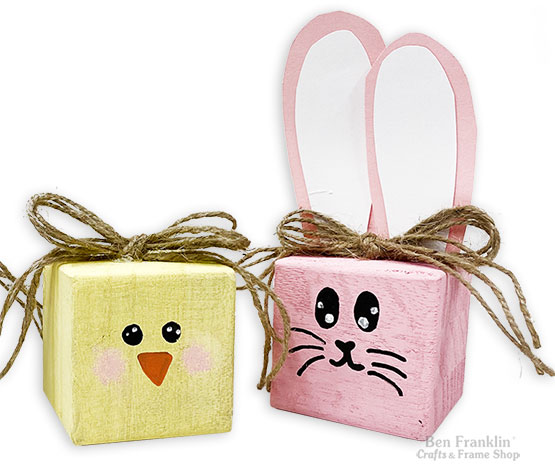
8. Use the Posca Pens to draw the faces on each block. Refer to our picture for ideas.

