
Easy DIY Home Décor Projects For Beginners
Spring is just around the corner, bringing with it a fresh desire to brighten and update our homes. But between busy schedules […]
Easy DIY Home Décor Projects For Beginners Read More »
Spring is just around the corner, bringing with it a fresh desire to brighten and update our homes. But between busy schedules […]
Easy DIY Home Décor Projects For Beginners Read More »

Whether you’re a seasoned crafter or just starting out on your DIY journey, we’re here to support you with a list of

Get ready to hop into Easter crafting fun with these 5 easy Easter crafts! Our friendly staff is here to help you
5 Easy Easter Crafts Read More »

Hey there, crafty comrades! Are you itching to flex those creative muscles but worried about breaking the bank? Fear not! In this
Crafts on a Budget: 7 Projects for National Craft Month Read More »

We’re thrilled to share exciting ways for teachers, parents, and elders to participate in National Craft Month with us! At Ben Franklin Crafts
Ways for Teachers, Parents and Elders to Participate in National Craft Month Read More »

Greetings, noble patrons and fair citizens of Bonney Lake and Monroe, WA and surrounding areas! We are delighted to announce an enchanting
Prepare for the 2024 Washington Renaissance Faire! Read More »
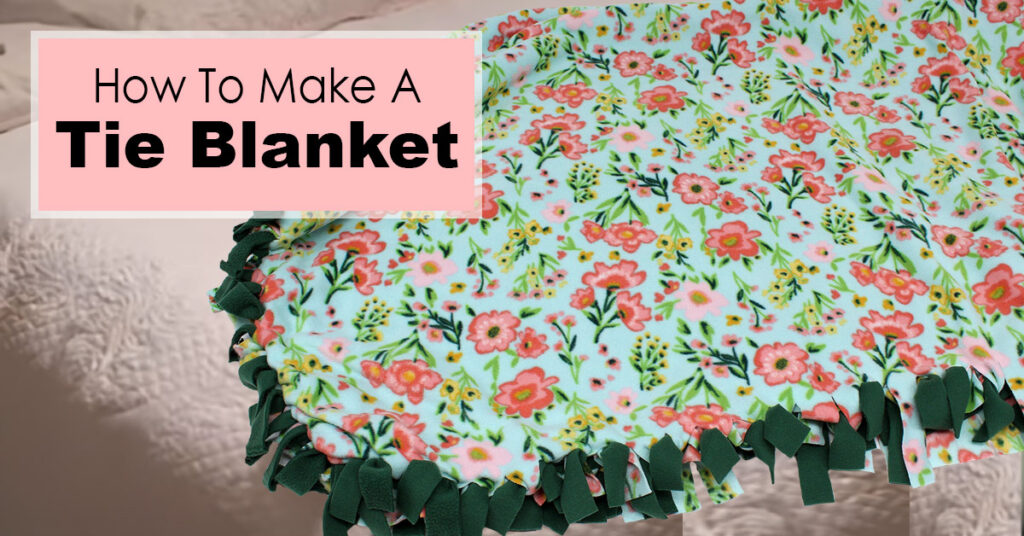
We’re excited to guide you through the process of making a cozy tie blanket without any sewing required. This popular project, featured
How to Make A Tie Blanket Read More »

Are you ready to infuse a vibrant glow into your space without breaking the bank? Unlock the creative process of How to
How to Paint a Faux Neon Sign Read More »

Unlock the therapeutic power of crafting in our latest blog post entitled ‘Crafting Therapy: Elevate Your Mind and Nourish Your Soul.’ Improve
Crafting Therapy: Elevate Your Mind and Nourish Your Soul Read More »

Welcome to “A Guide to Decluttering and Organizing Your Craft Room” brought to you by Ben Franklin Crafts and Frame Shop. Fellow
A Guide to Decluttering and Organizing Your Craft Room Read More »