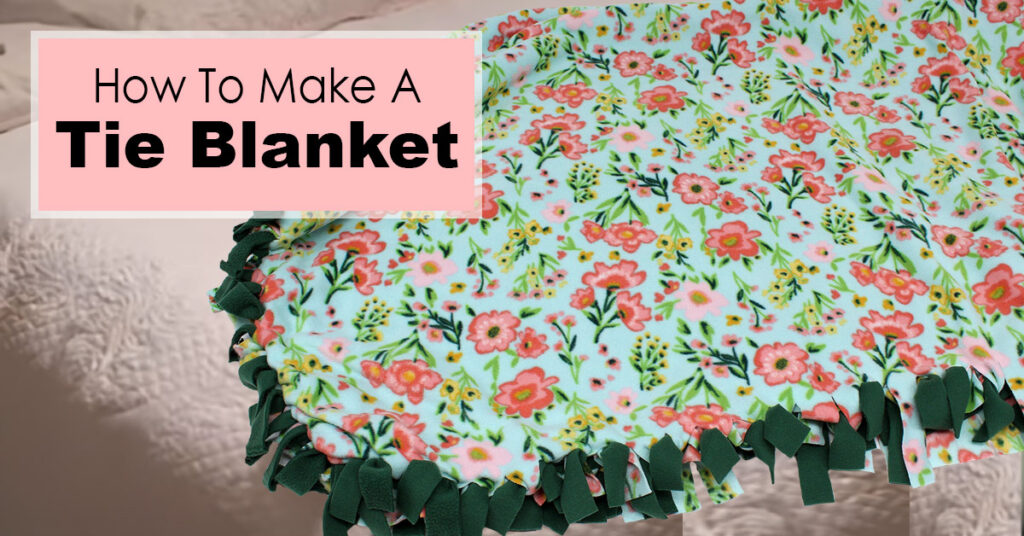
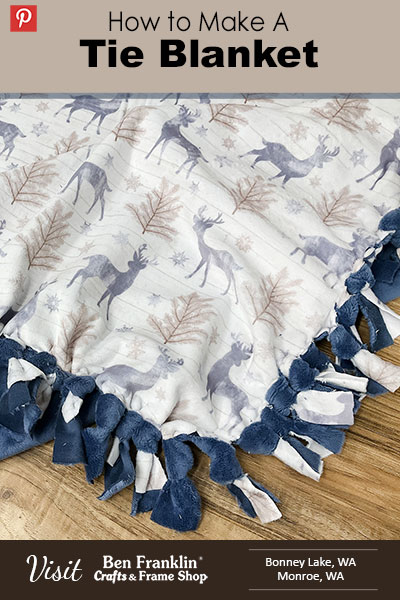
We’re excited to guide you through the process of making a cozy tie blanket without any sewing required. This popular project, featured on TikTok, has captured the crafting community’s attention, and we want to ensure you have the basic instructions to create your own. Plus, we’ve got a Shorts YouTube video to make the process even easier. So let’s get started in making your tie blanket!
Supplies needed to make a tie knot blanket:
(Supplies may vary by store, however, special store-to-store orders can be placed with a one-week turnaround. Substitutions will be suggested if a product is no longer available.)
Two pieces of fleece fabric – or cuddle fabric (1.5 to 2 yards each)
Fabric scissors or rotary cutter
Ruler or measuring tape
Marking tool (optional – we used painter’s tape)
A flat surface for cutting
YouTube video tutorial on how to make a tie blanket:
In just a few minutes, we’ve condensed the process, providing a quick and visual guide to help you learn how to make a tie blanket from fleece. Click on the video below, or go to our YouTube Channel HERE.
STEP-BY-STEP INSTRUCTIONS:
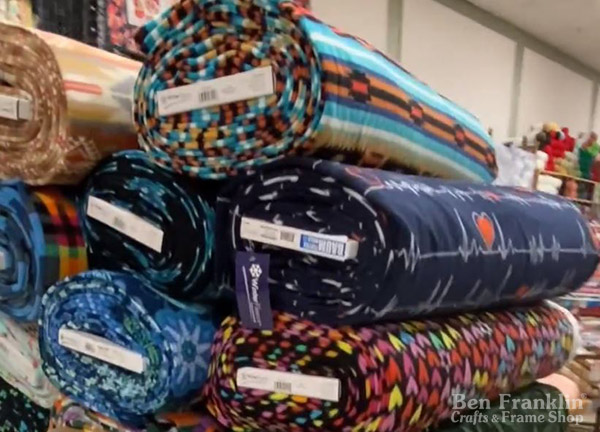
1. Choose Your Fabric
Pick out two fleece (or cuddle) fabrics that vibe together. Also, consider colors and patterns that match your style or home décor. Come in to see our huge selection at our Ben Franklin Crafts and Frame Shop stores in Bonney Lake and Monroe, WA.
2. Prepare the Fabric
In the project featured in the video, we used fleece. If you opt for cuddle fabric, remember to give it a good wash and dry. Before you start, check that your rotary cutter has a new, sharp blade for clean and precise cuts. Also, keep those scissors sharp – it makes a world of difference.
Lay both fleece (or cuddle) pieces on a flat surface, making sure they’re smooth and wrinkle-free. Also, trim any extra edges to keep both pieces with sharp & straight lines and the same size.
3. Measure and Mark
Using a ruler or measuring tape, mark and measure a square of about 5 inches on each corner of both fabric pieces. Carefully cut out the marked squares from each corner.
4. Create the Ties
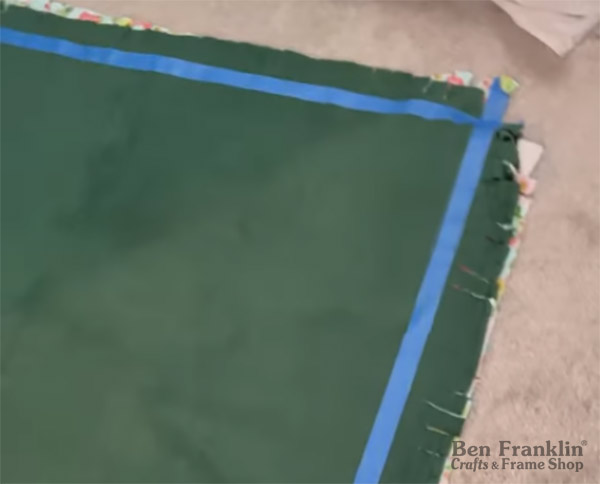
Along each edge, make 1-inch wide, 5-inch long cuts, spaced about 1 inch apart. To ensure precision and consistency in your cuts, consider using painter’s tape as a guide. Simply place the tape from corner to corner about 5 inches from the edge, and make your cuts all the way to the tape. Be sure to cut through both layers of fabric. These strips will become the ties that give your blanket its cool look.
5. Tie It Together
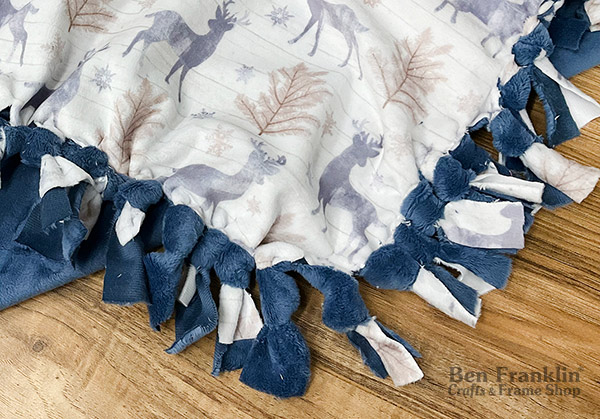
Now comes the fun part! Match up the strips from the top and bottom layers and tie them together into simple knots. Keep it going around the entire blanket for a snug and secure connection.
How to make the knots:
• Pull the fringe over your finger.
• Thread the fringe through the loop.
• Pull the end through, forming a knot. Keep pulling until it’s tight.
6. Finishing Touches
Once all the ties are in place, go around the blanket, adjusting and fluffing the knots to get an even and polished appearance.
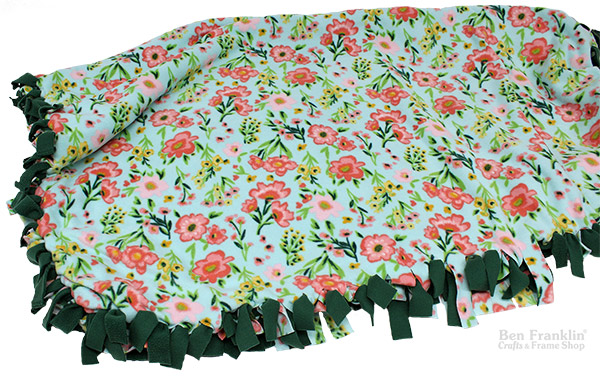
You’ve just created a no-sew tie blanket that’s not only cozy but also a testament to your crafting prowess. Think about making more as heartwarming gifts. As you can see, the possibilities are endless, and the process is very easy.
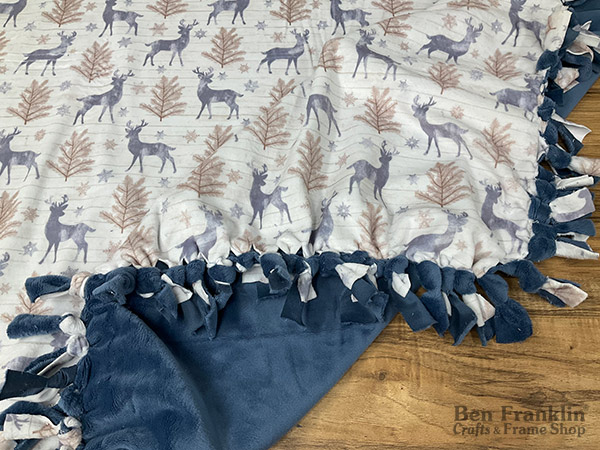
Visit us in-store for your tie blanket supplies:
We invite you to stop by our Ben Franklin Crafts and Frame Shop stores in Bonney Lake and Monroe, WA for all your crafting supplies! ✂️🧵
Subscribe to our YouTube channel for more tutorials and stay tuned for future crafting inspiration. Happy crafting!
PIN it!
Don’t forget to save this inspiring project for later by pinning it to your Pinterest board!

