Welcome to the festive world of holiday crafting at Ben Franklin Crafts and Frame Shop! This season, we invite you to embark on a delightful DIY journey with our easy-to-follow tutorials on creating your very own Snowman Paddle Board and a set of 3 Wooden Christmas Presents. These easy-to-make projects are perfect for adding a touch of handmade warmth to your Christmas décor.

(Supplies may vary by store, however, special store-to-store orders can be placed with a one-week turnaround. Substitutions will be suggested if a product is no longer available.)
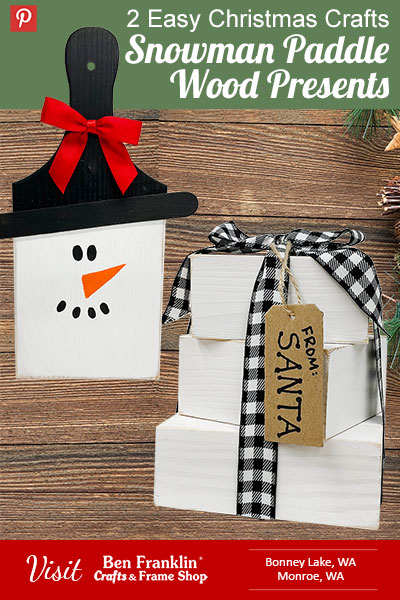
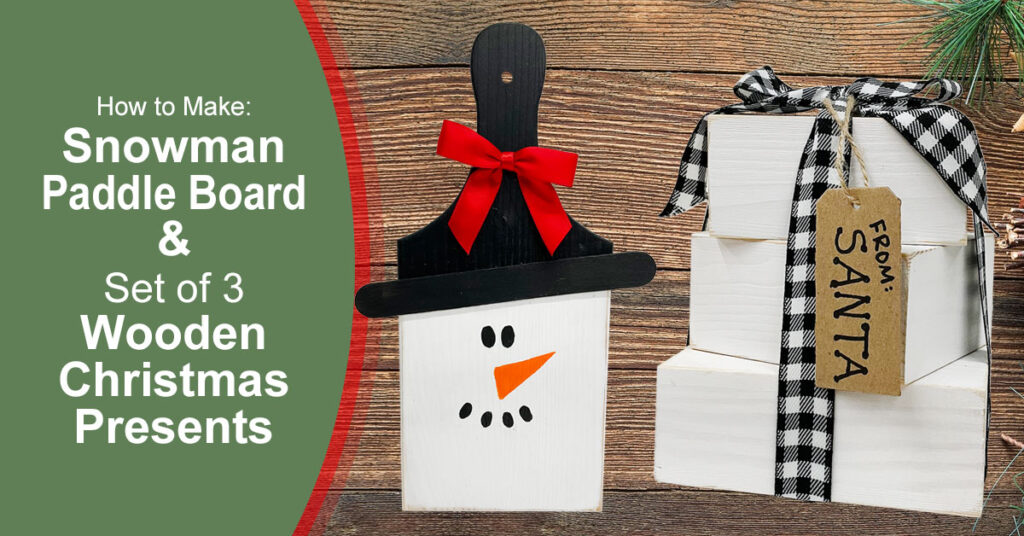
DIY Snowman Paddle Board
Supplies you'll need:
9” Unfinished Wood Paddle Board
One 1” Popsicle Stick
Acrylic Paint (black and white)
Paint Brush
Pre-Made Red Bow
Posca Paint Pens (orange and black)
Glue Dots (or your favorite glue)
Step 1: Prep the Surface
Begin by painting the bottom portion of the paddle in a crisp white hue, leaving about 1” from the top unpainted. This sets the snowy foundation for your cheerful snowman.
Step 2: Define the Silhouette
Paint the remaining portion of the paddle and the handle in a sleek black shade, giving your snowman a stylish silhouette. This creates a striking contrast against the snowy base.
Step 3: Create the Hat
Take the 1” popsicle stick and paint it in a bold black color. Once dry, use glue dots to affix it at an angle on the paddle, creating a fashionable brim for the snowman’s hat. This simple addition adds a touch of whimsy to your creation.
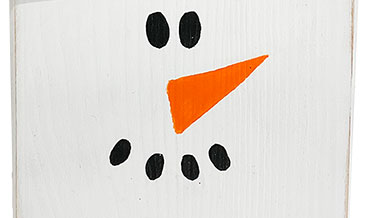
Step 4: Bring Your Snowman to Life
Using Posca Paint Pens in orange and black, skillfully draw a delightful snowman face on the white portion of the paddle. This is where your creativity can shine, giving your snowman a unique personality.
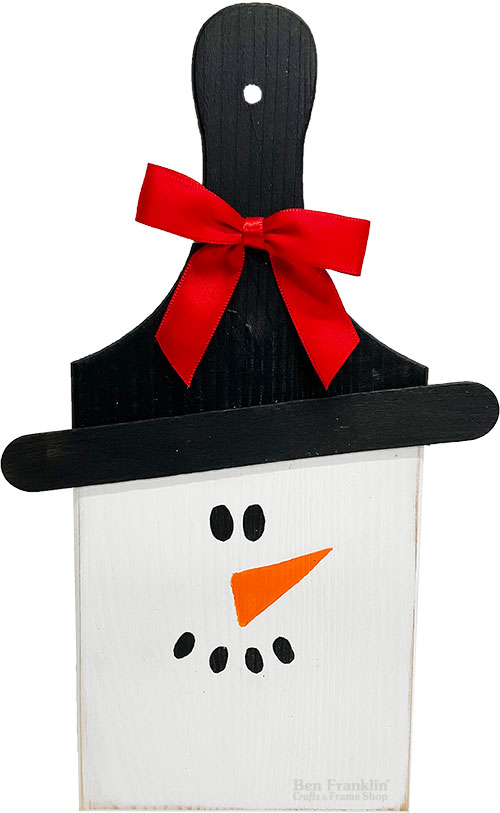
Step 5: Finishing Touches
Complete your masterpiece by attaching a pre-made red bow to the handle of the paddle. This not only adds a pop of festive color but also gives your snowman a dapper finishing touch.
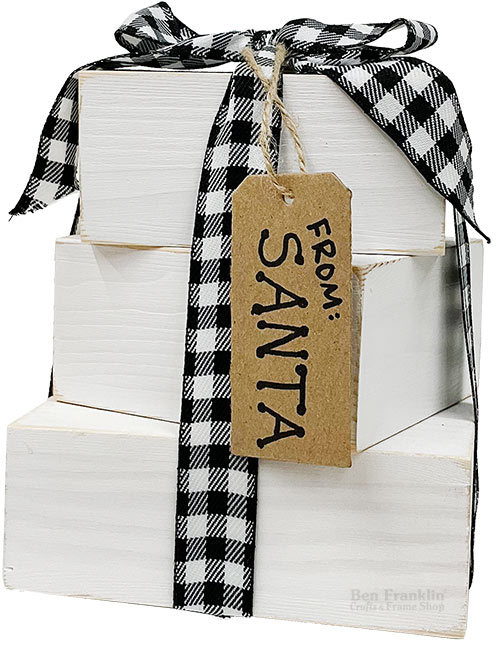
DIY Set of 3 Wooden Christmas Presents
Supplies you'll need:
3 Unfinished Wood Blocks
1” Ribbon
Cardboard Tag
Pen (or Posca Paint Pen)
Your Choice Adhesive
White Acrylic Paint
1 Paint Brush
Jute
Optional: Sanding Paper/Block
Step 1: Prepare the Wood Blocks
Paint each wood block in a crisp white shade and allow them to dry. For an extra touch, consider distressing the corners with sanding paper or a sanding block, giving your blocks a rustic, shabby-chic feel.
Step 2: Build Your Present Base
Adhere the blocks together to create a stack. This not only adds dimension to your blocks but also provides a sturdy foundation for your decorative elements.
Step 3: Wrap It Up with Elegance
Take a 1” ribbon and elegantly wrap it around the blocks, aligning it with each side of the bottom block. Tie a bow on the top, creating a visually appealing and festive presentation.
Step 4: Personalize with a Message
Grab a cardboard tag and write a heartfelt message using a pen or a Posca Paint Pen. For example, write ‘From: [Your Choice]’ to add a personal touch to your present.
Step 5: Finishing Touches
Tie the cardboard tag to the bow using jute, completing the look with a charming and rustic flair. This final touch not only adds visual interest but also allows you to customize your Present Blocks for any occasion.
Your set of 3 wooden Christmas presents are now ready to steal the spotlight at any celebration! Whether you’re gifting them or using them as festive décor, these handmade creations are sure to make a lasting impression.
PIN it!
Don’t forget to save this easy project for later by pinning it to your Pinterest board!