
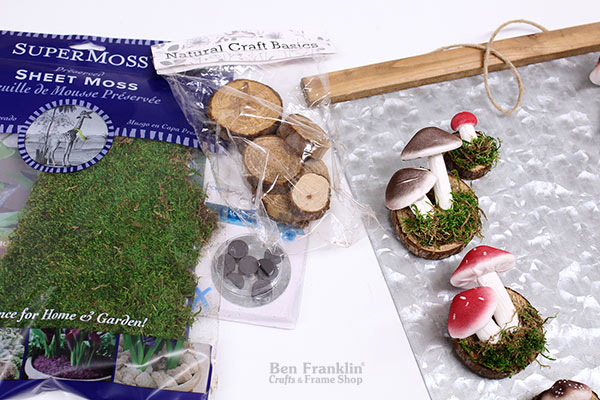

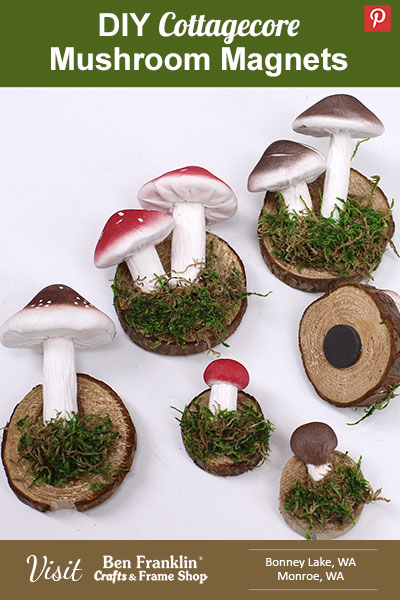
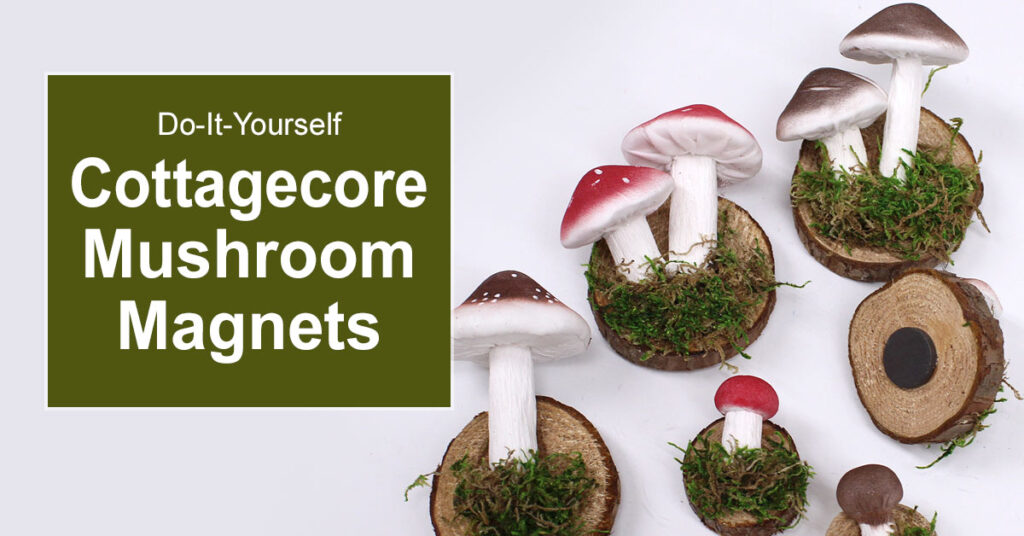
If you’re a crafting enthusiast looking for a charming and nature-inspired project, we have just the thing for you! In this step-by-step guide, we’ll show you how to create a DIY Cottagecore Mushroom Magnet using simple materials like moss, small wood slices, glue, magnets, and decorative mushrooms. Whether you’re a seasoned crafter or just starting out, this delightful craft is sure to bring a touch of whimsy to your space. So, let’s gather our supplies and get started!
(Supplies may vary by store, however, special store-to-store orders can be placed with a one-week turnaround. Substitutions will be suggested if a product is no longer available.)
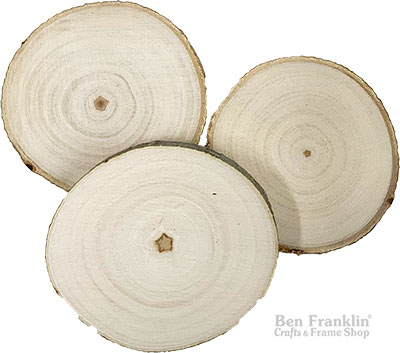
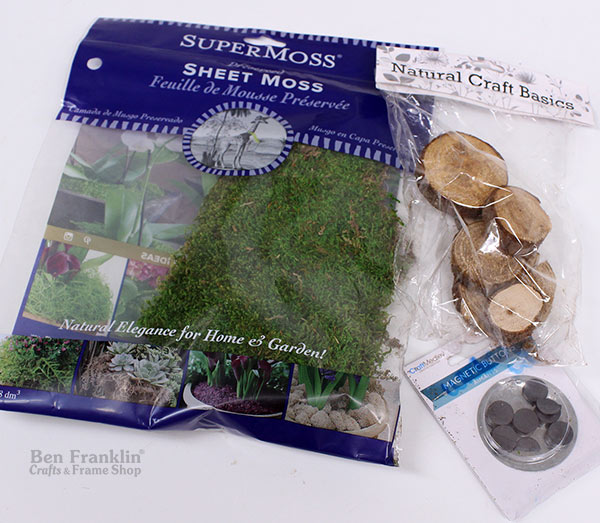
Small wood slices (our selection may vary)
SuperMoss Sheet Moss
E6000 Glue (or your favorite glue)
Small Magnets
Decorative Mushrooms
Scissors (optional)
Protective Gloves (optional)
Before diving into the project, make sure you have a clean and well-lit workspace. Lay down some newspaper or a protective sheet to avoid any mess or damage to your working surface.
Collect all the necessary materials mentioned above. Ensure that your wood slices are of a suitable size to accommodate the decorative mushrooms.
If using our SuperMoss sheet moss, you may need to trim it with scissors to fit the wood slice properly. Experiment with different arrangements until you find a design that appeals to you. Note: SuperMoss mosses have been dried and/or preserved. They are not alive. This makes them perfect for crafting projects like this one.
Using your favorite glue (we used E6000 glue), carefully attach the moss to the wood slice. Apply a small amount of glue to the back of the moss and press it firmly onto the wood slice. Be cautious while handling the glue and consider wearing protective gloves if desired. Allow the glue to dry completely.
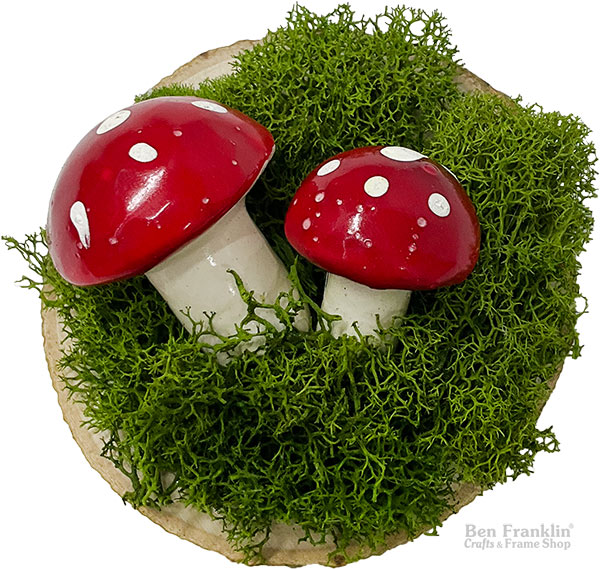
Now, it’s time to add some whimsical charm to your wood disk. Using the glue, attach the decorative mushrooms to the moss-covered wood slice. Be creative with your placement, and don’t be afraid to mix and match different types of mushrooms for a visually appealing result. Allow the glue to dry completely before proceeding.
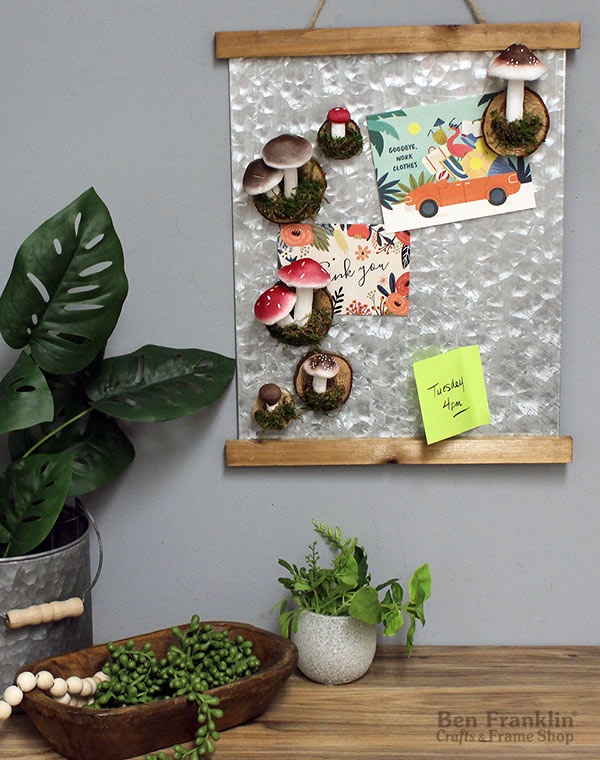
Flip your wood disk over and place a small amount of super glue on the backside. Attach the magnets to the wood slice and press them firmly. Ensure the magnets are properly centered to maintain balance when displayed on metal surfaces such as refrigerators or magnetic boards. Allow the glue to dry thoroughly.
Once the glue has completely dried, inspect your Mushroom Magnet Wood Disk for any loose parts or areas that may require extra adhesive. Make any necessary adjustments or additions to ensure the longevity of your craft.
Whether you’re a beginner or an experienced crafter, this DIY Cottagecore Mushroom Magnet project is a perfect way to explore your creativity. So go ahead, create a few more, and let your imagination run wild as you adorn your fridge or magnetic surface with these charming creations. Enjoy the process and have fun crafting!

Huge savings offered throughout both our Bonney Lake and Monroe stores.