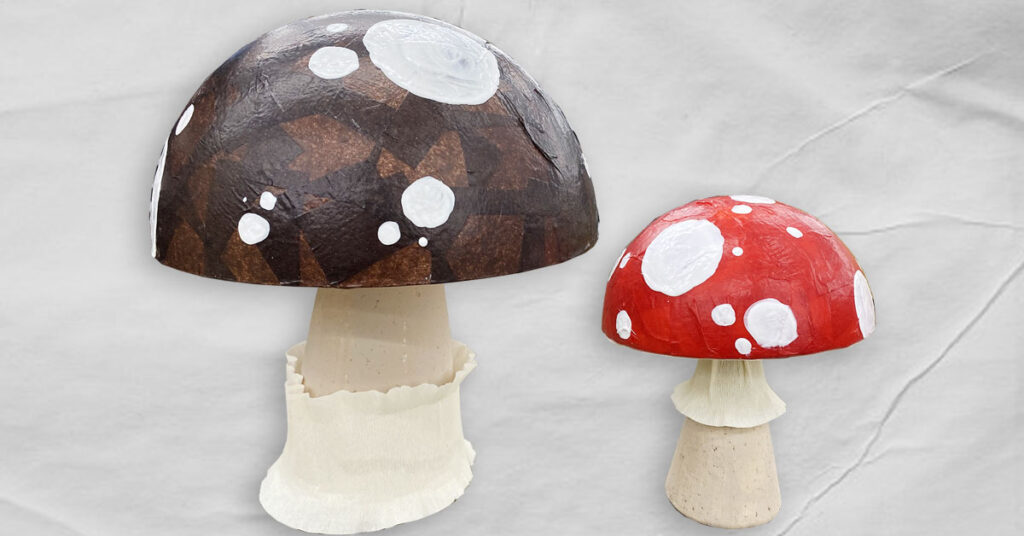
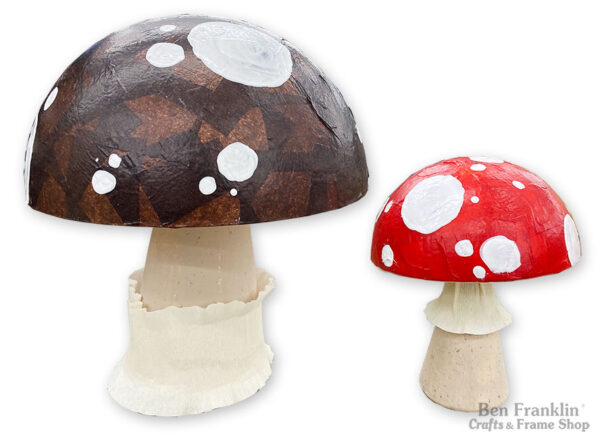
We love these adorable DIY Decorative Mushrooms that Grace, our creative designer, put together in no time! This project would be fun to make with the kids. Let them add the tissue paper to the dome using Mod Podge. Once finished, you can add these decorative mushrooms in your gnome garden, in your home, on your kid’s night table, or even on your desk for a fun colorful accent.
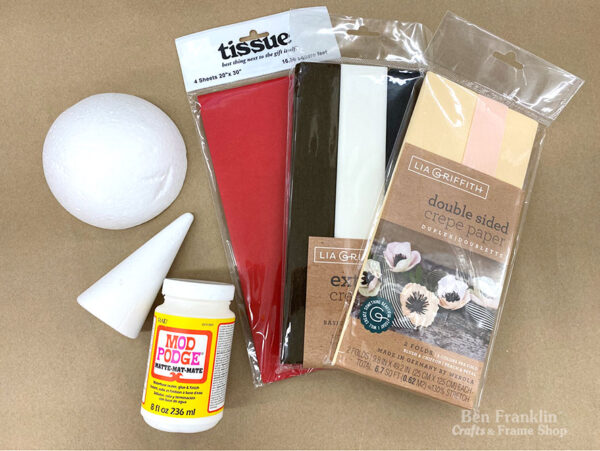
Supplies needed to make DIY Decorative Mushrooms:
(Supplies may vary by store, however, special store-to-store orders can be placed with a one-week turnaround. Substitutions will be suggested if a product is no longer available.)
Tissue Paper (we used red and brown)
Craft Foam Cone
Craft Foam Dome
Hot Glue & Glue Gun
Scissors
Mod Podge
Paint Brush (x2)
Pen/Pencil
Ceramcoat Paint (color Bamboo)
1fl oz Scribbles Shiny 3D Fabric Paint
Crepe Paper
Video tutorial on how to make DIY Decorative Mushrooms:
Step-By-Step Tutorial
1. Cut a strip from the tissue paper at least 1” wide. Then cut that strip into 1” increments, creating 1” x 1” squares of tissue paper.
2. Using your brush, apply Mod Podge to the area of the foam dome where you’ll place your first tissue paper piece. After you have placed your piece, apply another coat of Mod Podge on top of it. Repeat this step until your foam dome is completely covered with tissue paper. Add as many layers of tissue paper as desired. Once you’re done, brush on another coat of Mod Podge to the entire dome to seal and protect your mushroom. Mod Podge will dry clear.
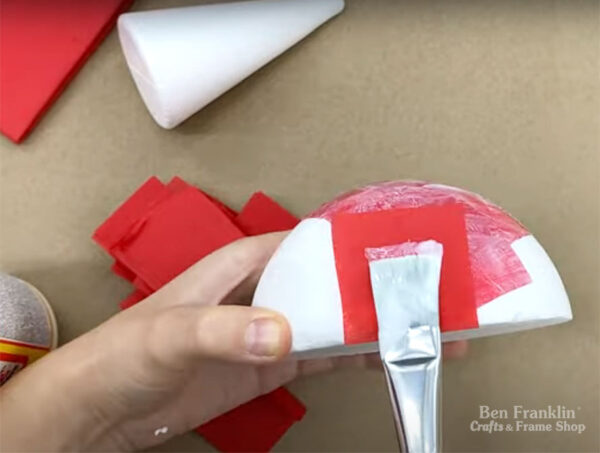
3. With a pen or pencil, puncture a hole on the bottom of your foam cone. Use as a handle and paint the cone with the Ceramcoat Paint (we used the color Bamboo). Let that dry.
4. Use the Scribbles Shiny 3D Fabric Paint to draw and fill in some circles around the top of the dome of the mushroom. Make sure to let this dry completely.
5. Cut a small strip of crepe paper about 1” wide and long enough to wrap around the top of the cone. This will be the skirt of the mushroom. (View the video to understand this step better) Cut little slits on one side of the tissue (side pointing towards the top of the cone). This will help create the folds around the top. Use the hot glue gun on the same end to secure to the cone. Begin fanning the bottom edge of the crepe paper outward to complete the “skirt” of the mushroom.
6. Next, take the dome and use it to trace a circle on the crepe paper, then cut it out. Using a pen/pencil, puncture a hole in the center of the flat side of the dome and cut a hole in the same spot on the crepe paper from the previous step. Glue the crepe paper to the flat side of the dome. This will be the gills of the mushroom.
7. On the flat side of the dome, add hot glue to the hole created at the center, then push the top of the cone inside and let dry.
You’ve just created your first DIY decorative mushroom! Ready to make more?

