


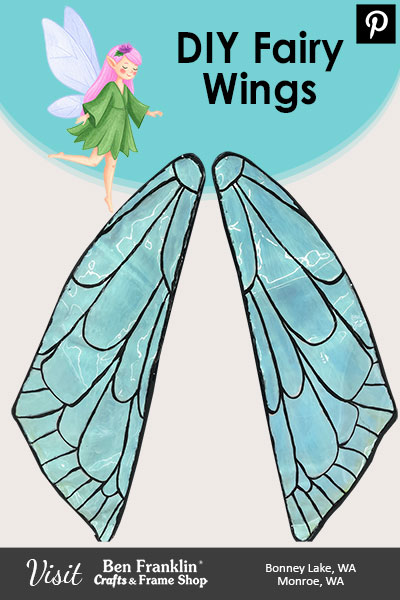

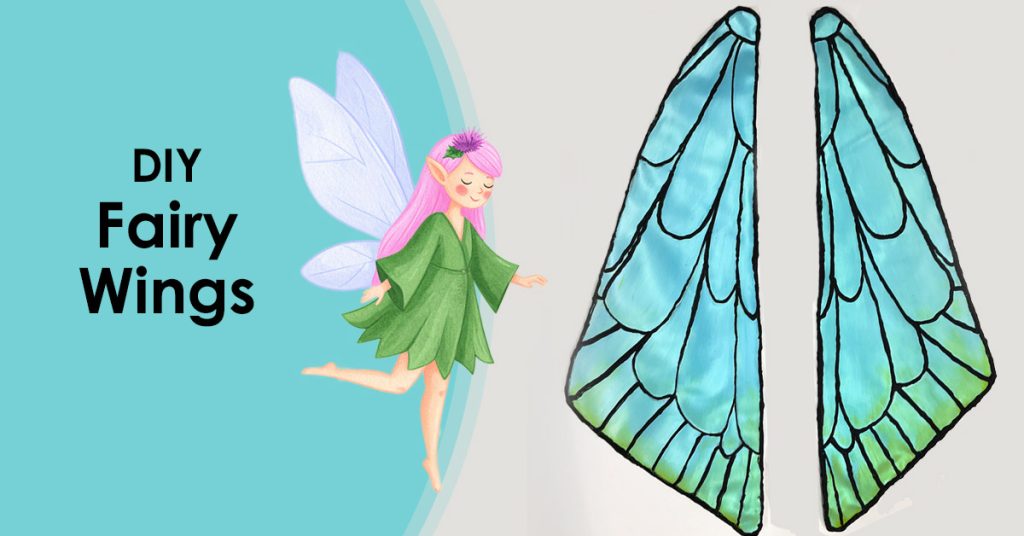
Step into a world of enchantment with this DIY Fairy Wings tutorial! Whether you’re making a costume for Halloween, a photo shoot, or simply for fun, these whimsical wings are surprisingly easy to make with just a few basic supplies. This step-by-step guide will walk you through how to make your own fairy wings using clear vinyl, wire, and acrylic paint. They are lightweight, customizable, and fun to make.
We also have a YouTube video that shows the full process step by step – perfect if you’re a visual learner! (Video available at the bottom of the post)
(Supplies may vary by store, however, special store-to-store orders can be placed with a one-week turnaround. Substitutions will be suggested if a product is no longer available.)
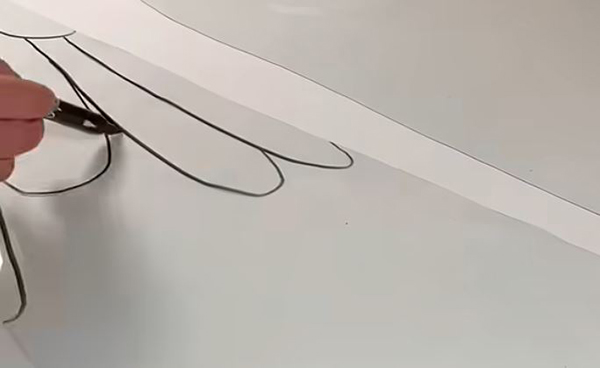
Start by sketching your desired fairy wing shape directly onto the clear plastic vinyl. You’ll need two wing shapes – one for each side – so make sure to mirror the design for symmetry. Use sharp scissors to carefully cut along the lines.
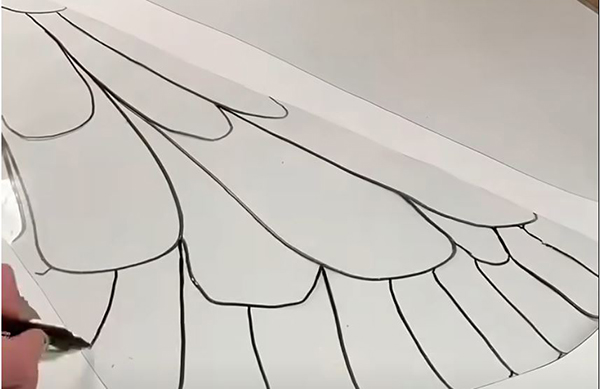
Using a black paint pen or a permanent marker, draw the inner “veins” or linework of your wings. Think of delicate dragonfly wings, butterfly patterns, or create your own fantasy design. Don’t worry about perfection. Organic, flowing lines often look the most magical.
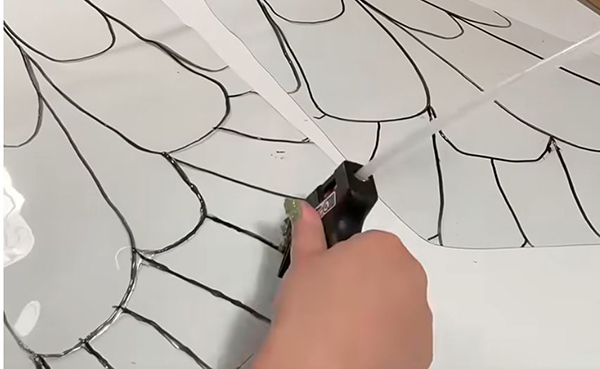
Once your marker lines are fully dry, carefully trace over them with hot glue. This adds dimension and gives your DIY Fairy Wings a beautiful raised effect. Let the glue cool and harden completely before moving on to painting.
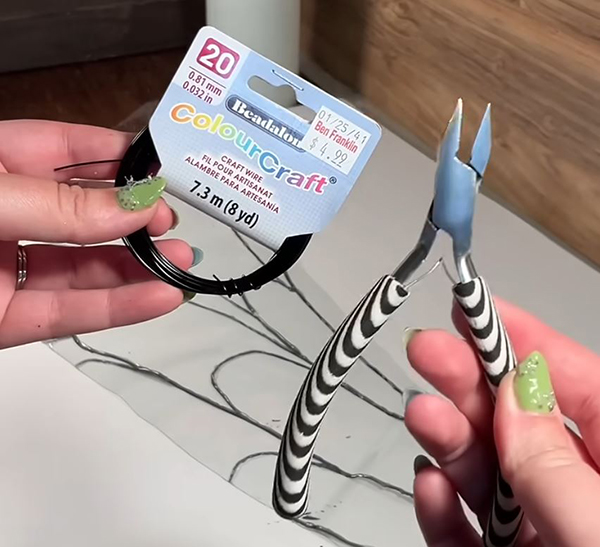
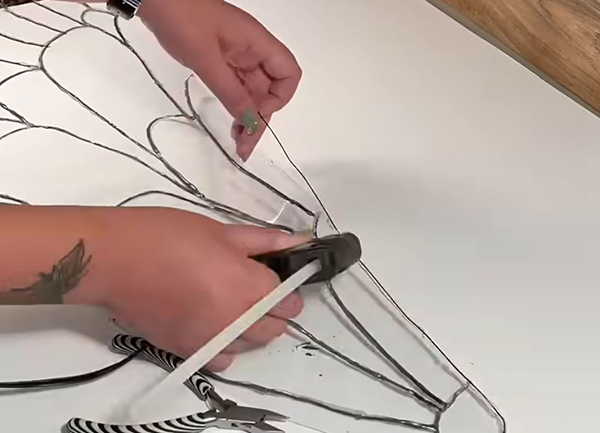
Next, unroll your 18–20 gauge wire and gently shape it to follow the edge of each vinyl wing. Use hot glue to secure the wire in place along the perimeter. This step not only strengthens the wings but also gives them structure, helping them hold their magical shape when worn or displayed.
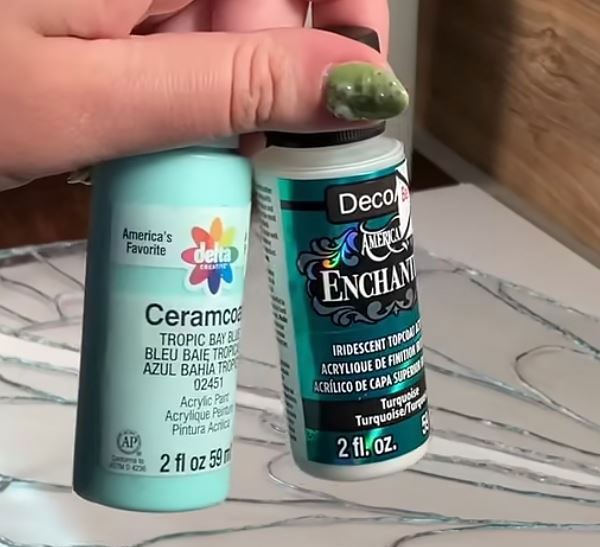
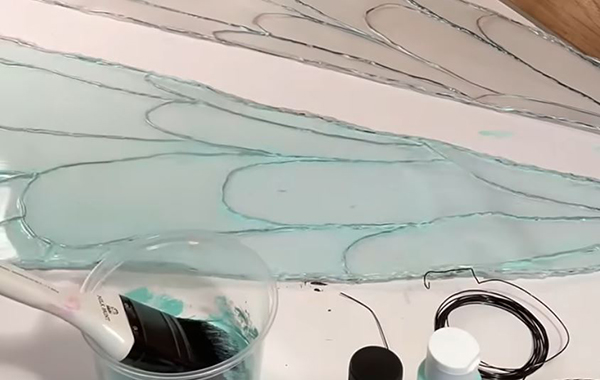
Now it’s time to bring your fairy wings to life! Use acrylic paints – either translucent for a stained glass effect, or regular craft paint for bolder color.
Carefully paint within the glue outlines. You can blend shades, layer washes of color, or add touches of metallics for shimmer. Let the paint dry fully.
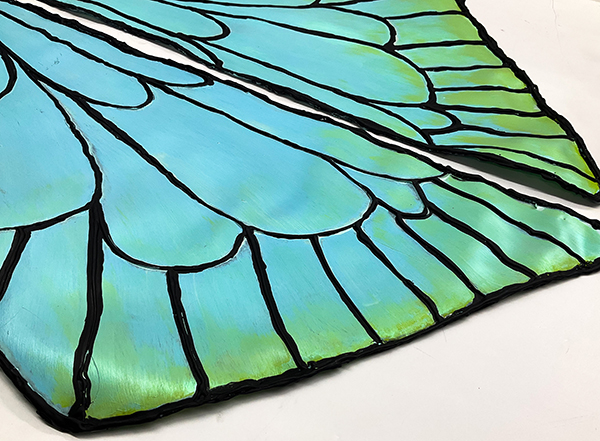
For extra enchantment, brush on a layer of glitter or iridescent top coat after the paint has dried. This catches the light beautifully and gives your wings a magical finish. This step is optional, but highly recommended if you love sparkle!
You have two great options to wear your fairy wings:
Elastic Method:
Hot glue elastic loops to the back of the wings, positioned so they can be worn like backpack straps. This method is secure and great for active wearers or kids.
For a step-by-step visual guide, be sure to check out our YouTube video where we show you exactly how to make this pair of fairy wings. It’s a great way to follow along and ensure your project turns out perfectly!
Don’t forget to save this DIY No-Sew Princess & Wizard Hats craft project for later by pinning it to your Pinterest board!
Ready to create your DIY Fairy Wings? Visit Ben Franklin Crafts & Frame Shop in Bonney Lake or Monroe, WA, to find everything you need.


Huge savings offered throughout both our Bonney Lake and Monroe stores.