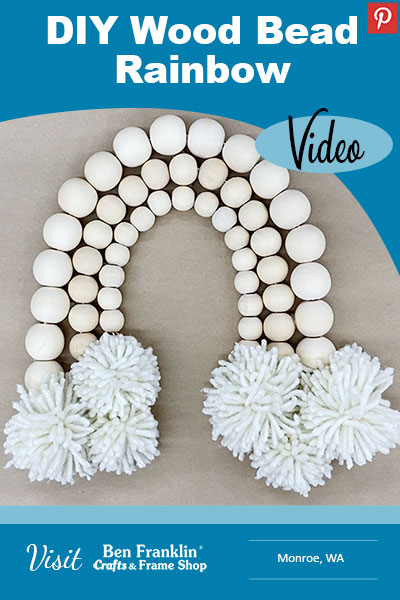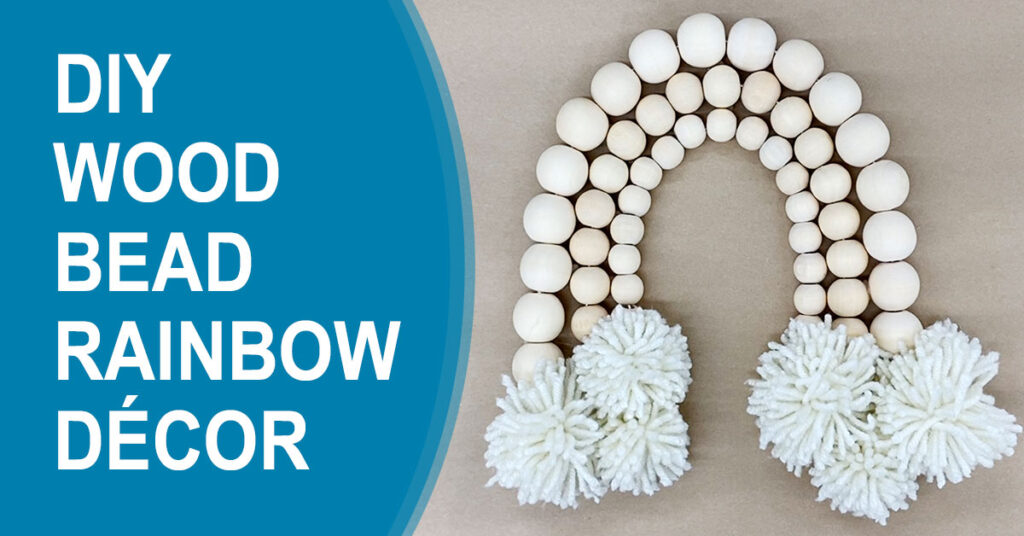
Our unfinished wood beads make great DIY boho décor like this DIY Wood Bead Rainbow! Follow along to create your own as a gift or for a nursery!
Scroll down for the step-by-step printable instructions and the video tutorial.

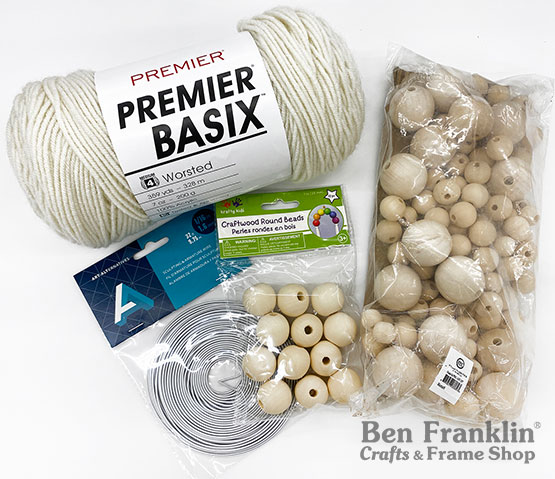
Here are the supplies needed to make a DIY Wood Bead Rainbow:
(Supplies may vary by store, however, special store-to-store orders can be placed with a one-week turnaround. Substitutions will be suggested if a product is no longer available.)
Sculpting & Armature Wire
Premier Basix Yarn (we used color Aran)
1” Craftwood Round Beads
Craftwood Round Beads Variety Pack
Wire Cutters
Hot Glue Gun & Hot Glue Sticks
Scissors
Video tutorial on how to make a DIY Wood Bead Rainbow:
Step-by-Step Tutorial:
1. Starting with the outer line of the rainbow, add 1” wood beads to the Sculpting Armature Wire. We added 17 large round beads.
2. Leave excess wire at both ends. Cut the wire and then bend each end to keep beads from falling off. Bend in an arch shape.
3. Repeat steps 1 & 2 with medium beads. We used 17 medium beads from variety pack.
4. Repeat steps 1 & 2 with small beads. We used 17 small beads from variety pack.
5. Coil each end of the wire to create a base for the pom poms (clouds) to be glued on. Add hot glue to the wire ends and secure the last wood bead on each arch.
6. Create pom pom clouds using the Premier Basix yarn and following along with our video tutorial. Create 3 sets of pom pom clouds of different sizes.
7. Connect each arch of beads by adding hot glue to the back/inner sides. Let dry.
9. Add glue to the wire ends to attach the yarn clouds.
Pin it for later: