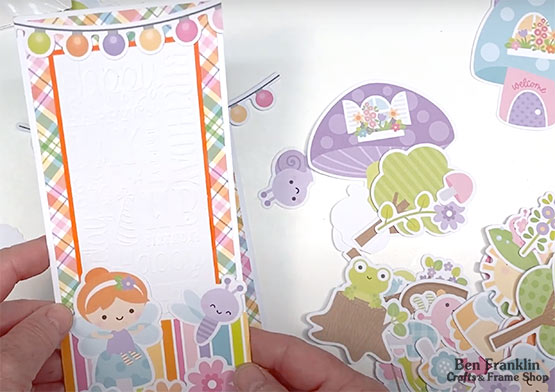
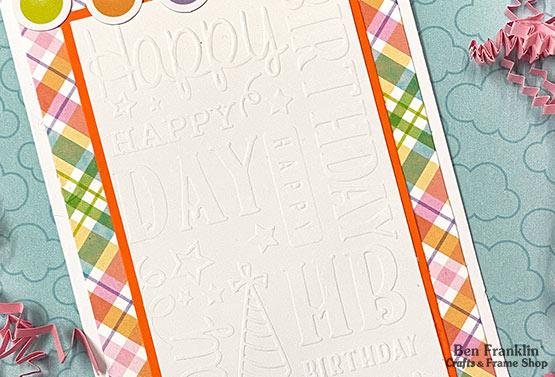
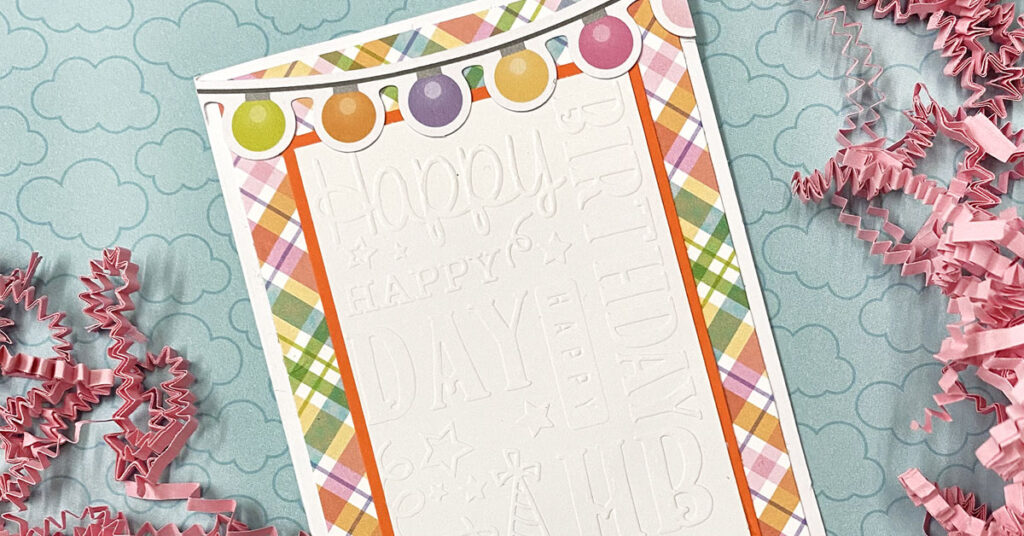
Once you make this embossed birthday card, you’ll want to make a card for every occasion that comes up. Melanie has made a video to show you all the steps to create it. Follow along and start your embossing journey today!
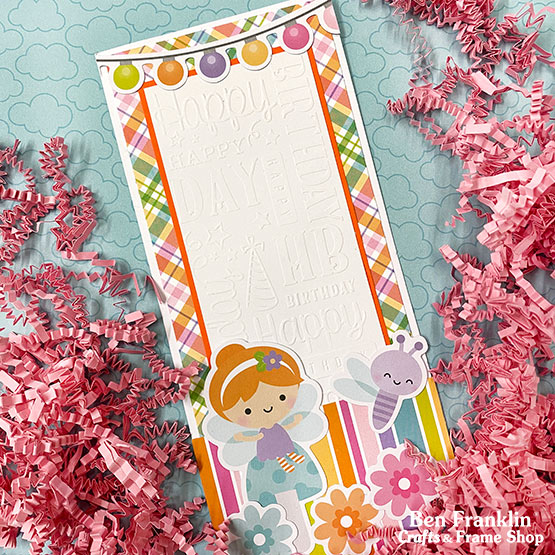
Supplies needed to make an Embossed Birthday Card:
(Supplies may vary by store, however, special store-to-store orders can be placed with a one-week turnaround. Substitutions will be suggested if a product is no longer available.)
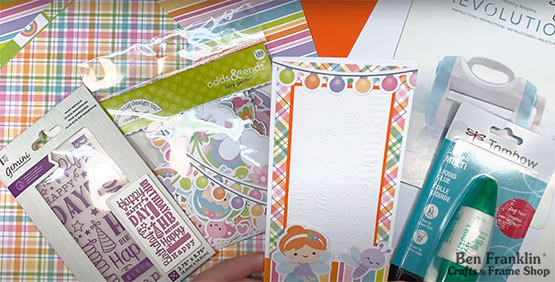
• Gemini Embossing Folder (Happy Birthday)
• Revolution Cutting & Embossing Machine
• Favorite adhesive
• Two 8½” pieces of solid color paper (different colors – we used white and orange)
• Odds & Ends cut-outs “Fairy Garden” edition from Doodlebug Designs
• Two 12”x12” sheets with different patterns (or you can also use one Designer Series paper if you like the designs on both sides – we used paper from the Fairy Garden collection by Doodlebug Designs)
• Scoreboard & bonefolder
Directions:
Watch the video for step-by-step instructions. Click HERE.
1. Cut out the card to 7½” x 8½” using the white paper. Score in the center at 3¾” then fold in half. Save the extra for next step.
2. Cut the excess white paper to 2⅝” x 5½”. We will emboss this in step 6.
3. Cut one 12” x 12” paper to 3½” x 8½”.
4. Cut the other 12” x 12” paper to 3¾” x 2¾”.
5. Cut the orange paper to 5¾” x 2¾”.
6. Take the white paper from step 2 and place it inside the Gemini Embossing Folder. (Watch Melanie to see how she did it) Place onto the plates as directed for the Revolution and roll through.
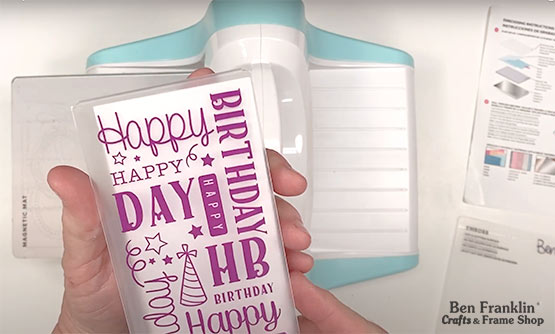
7. Take the cut out from step 3 and glue it onto the card from step 1. Then glue the orange paper from step 5 on top of that (keep the sides and top space even). Lastly, glue the embossed cut out from step 6 on top of the orange paper.
8. Glue the cut out from step 4 at the bottom, partially covering the embossed layer.
9. Add your favorite cut-outs from the Odds & Ends packet.
