
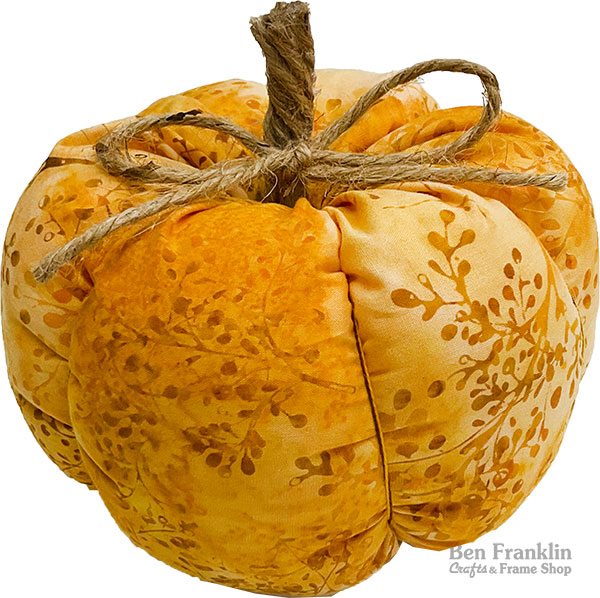
Fall is just around the corner, and what better way to welcome this cozy season than with a fun and creative craft project? At Ben Franklin Crafts and Frame Shop, your local, family-owned store, we’ve got all the supplies you need to make adorable fabric pumpkins that will freshen up your fall decor. In this step-by-step guide, we’ll show you how to craft these charming fabric pumpkins using a few simple materials available in our store. So, roll up your sleeves and get ready to bring a touch of autumn into your home!
(Supplies may vary by store, however, special store-to-store orders can be placed with a one-week turnaround. Substitutions will be suggested if a product is no longer available.)
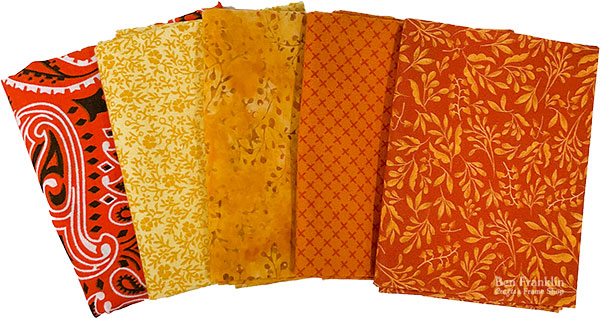
– 1 Bandana or Fabric Fat Quarter (selection varies by store)
– Embroidery Thread
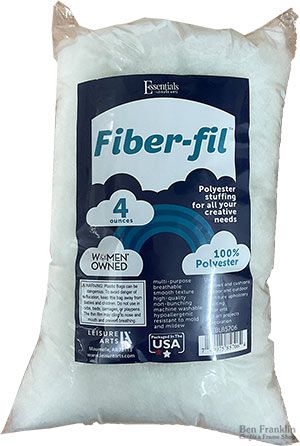
– Fiber Fill Stuffing
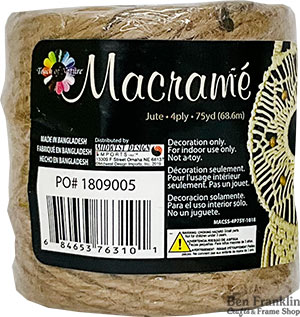
– Jute Twine
– Needle
– Scissors
– Hot Glue & Hot Glue Gun
– Start by cutting a rectangle from your bandana or fat quarter. This rectangle should be twice as long as it is wide (e.g., 7”W x 14”L or 9”W x 18”L).
– Fold the rectangle over itself with the printed surface facing each other (the “right” side). Hot glue the short ends together to create a tube or cylinder.
– Carefully turn the tube inside out so that the printed side is facing out.
– Thread your needle with embroidery floss.
– Use a running stitch (passing the needle in and out of the fabric at regular intervals) to hand stitch along one of the edges.
– After sewing all the way around, pull both ends of the floss tight and tie it off securely, ensuring that the fabric is fully closed. This will create a puckered effect.
– Flip the fabric tube.
– Add Fiber Fill stuffing into the tube until it reaches the top of the fabric.
– Repeat step 2 to stitch the open edge.
– Pull it closed and tie it off.
– Thread your needle with enough embroidery floss to create the ridges of the pumpkin.
– Pass the needle through the center, leaving a 2” tail of floss at the end, and bring it through to the other puckered center.
– Bring the floss around the side of the pumpkin and re-enter the needle into the center you first went into. Pull it tight to create a “ridge” of a pumpkin. Repeat this step five or six times, evenly spacing the ridges. Tie off the floss.
– Cut 12 pieces of jute twine, each 1.5” in length.
– Hot glue the ends of the twine together to form a circular shape.
– Apply hot glue in the center of the 12 strands and twist them together to create the stem. Trim any uneven pieces.
– Hot glue the stem to one of the puckered centers of the pumpkin.
– Take a 12” strip of jute twine and tie it into a small bow.
– Glue the bow onto the base of the pumpkin stem for a finishing touch.
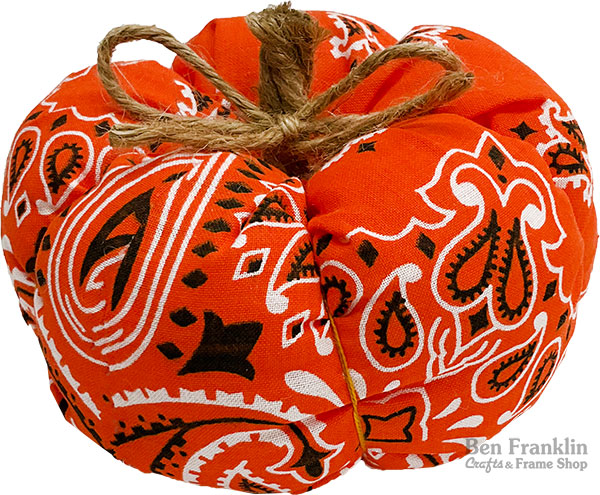
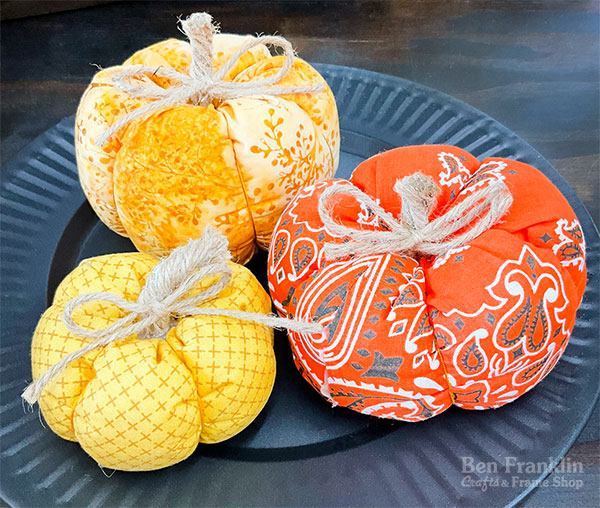
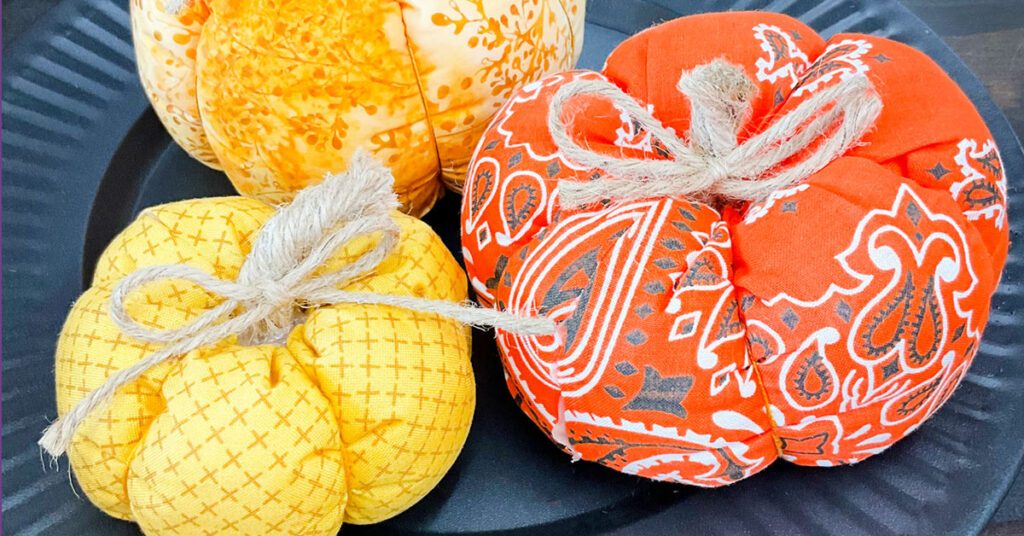
These DIY fabric pumpkins are not only adorable but also a perfect addition to your fall decor. We invite you to visit our Ben Franklin Crafts and Frame Shop store to find all the supplies you need for this project and more. Our friendly staff is here to assist you, and we look forward to helping you make your home cozy and inviting this fall season. Happy crafting!
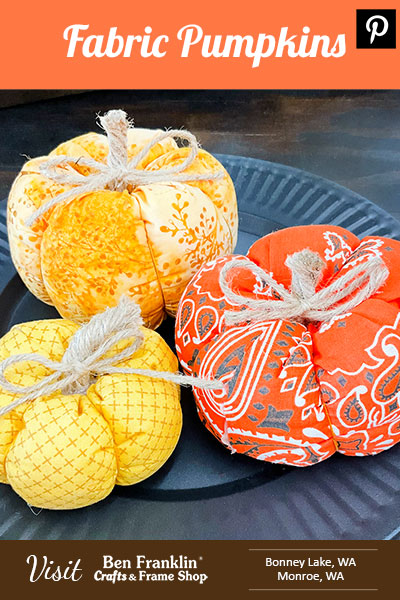
Don’t forget to save this inspiring project for later by pinning it to your Pinterest board!

Huge savings offered throughout both our Bonney Lake and Monroe stores.