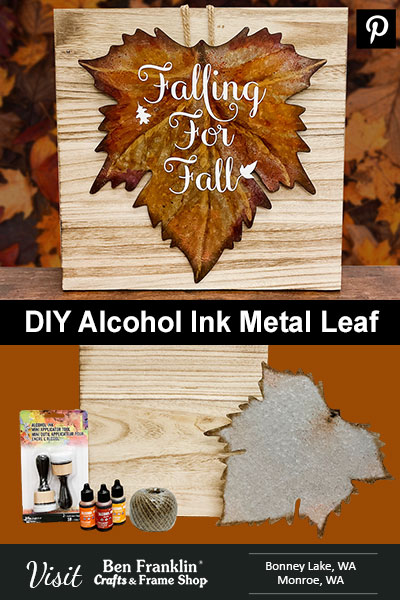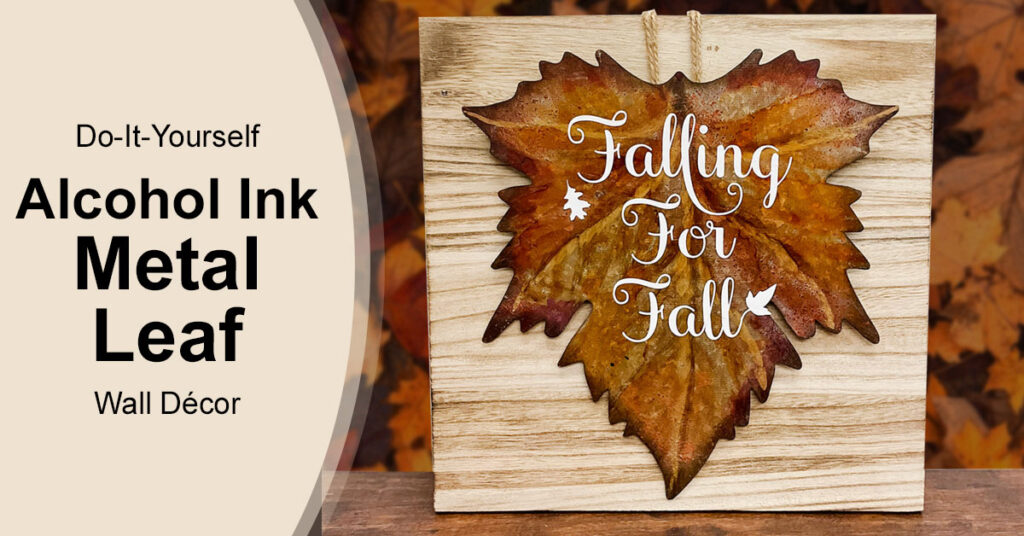
DIY Alcohol Ink Metal Leaf: Whether you’re a crafting beginner or an advanced enthusiast, this tutorial is tailored to help you achieve stunning results on a metal leaf using Tim Holtz® Alcohol Inks. So, grab your supplies, let your imagination run wild, and let’s get started!
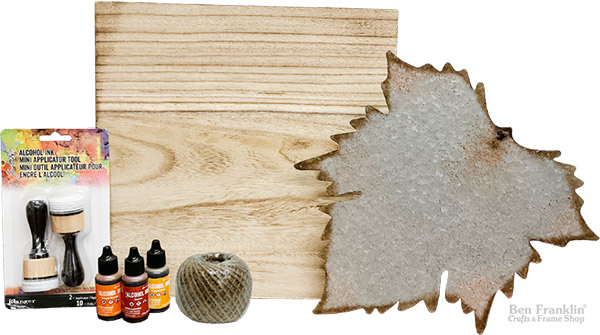
Supplies needed to create a DIY Alcohol Ink Metal Leaf:
(Supplies may vary by store, however, special store-to-store orders can be placed with a one-week turnaround. Substitutions will be suggested if a product is no longer available.)

– 12”x12” Unfinished Wood Board
– Unfinished Metal Leaf Surface
– Tim Holtz® Alcohol Inks from Ranger (colors of your choice)
– Tim Holtz® Alcohol Ink Applicator Tool from Ranger
– Self-Adhesive Vinyl Wording (optional)
– Jute
– Nail & Hammer
Step 1. Create Your Color Palette
Begin by selecting your Tim Holtz® Alcohol Ink colors. For beginners, we recommend starting with a lighter color as your base and gradually adding darker colors for depth and detail. The beauty of Ranger Alcohol Inks is that they blend seamlessly, allowing you to experiment and achieve unique effects. Pro Tip: Experiment on a scrap piece of metal leaf or paper to get a feel for how the inks interact before applying them to your project. This DIY Alcohol Ink Metal Leaf décor piece is a great project to experiment with fall colors!
When you’re ready, apply the chosen colors to your applicator tool.

About Alcohol Inks:
“Acid-free, fast drying transparent coordinating dye inks specially formulated to create a colorful, polished stone effect. Use on glossy paper, dominoes, metal, shrink plastic, glass, and other slick surfaces. Available in multiple color palettes. Use the Tim Holtz® Alcohol Ink Applicator to apply Alcohol Inks to paper and other surfaces. ” Source: Rangerink.com
Video: Tim Holtz Alcohol Inks
In addition to this written tutorial, if you’re eager to explore even more techniques and dive deeper into the world of Alcohol Inks, we highly recommend checking out the video tutorial by Tim Holtz on YouTube. Tim’s expertise will take your creativity to the next level, so be sure to watch and learn from the master himself! Here’s the video…
Step 2. Work Your Magic with Alcohol Inks
Gently apply the alcohol inks to your metal leaf surface using the applicator tool. Let your creativity flow as you explore different techniques – blending, stippling, or even dripping ink for an abstract touch. Don’t rush this step; let the inks dry completely to reveal their true vibrancy and beauty.
Step 3. Personalize with Vinyl Wording (Optional)
If you want to add a personalized touch to your DIY Alcohol Ink Metal Leaf masterpiece, consider using Self-Adhesive Vinyl Wording. You can either purchase pre-made vinyl decals or get creative with your Cricut machine to cut your own. Carefully apply the vinyl wording to your metal leaf, ensuring it’s positioned just the way you want it.
Step 4. Adding a Hanging Option
To transform your metal leaf into a stunning wall decoration, you’ll need to add a hanging option. Here’s how:
– Attach a length of jute to the back of the metal leaf. Most metal leaf surfaces come with a hole designed for this purpose.
– Determine where you want your metal leaf to hang on the wooden board.
– Hammer a small nail into the wood at the desired location, ensuring it’s secure.
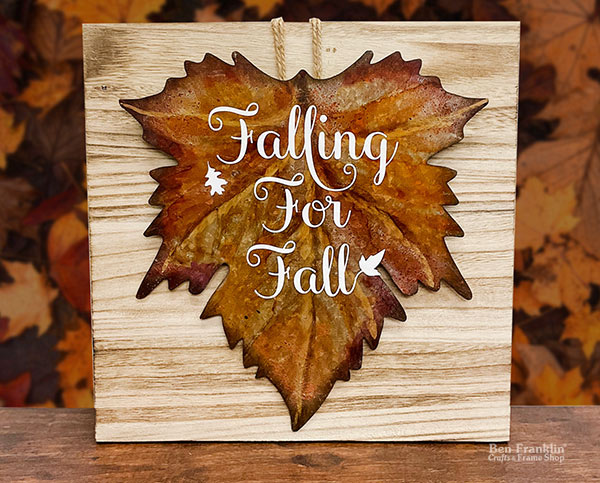
Step 5. Hang Your Creation
Now, the moment of truth has arrived! Hang your finished metal leaf masterpiece on the nail using the jute loop. Step back and admire your handiwork. Your newly decorated alcohol ink metal leaf will add a touch of sophistication and charm to any room.
Visit Us In-Store for Your Crafting Needs
We hope this tutorial inspires you to dive into the world of Alcohol Inks. The process of transforming ordinary non-porous surfaces into beautiful art is a testament to the power of creativity and imagination.
Remember, the key to success in this craft is to experiment, have fun, and embrace the beautiful imperfections that alcohol inks can create. Happy crafting!
Visit our Ben Franklin Crafts and Frame Shop stores in Bonney Lake and Monroe, WA where you’ll find all the supplies used in this project. (while supplies last)
PIN it!
Don’t forget to save this inspiring project for later by pinning it to your Pinterest board!