

Here is a quick Glass Painting Technique tutorial on how to create a masterpiece when painting on glass! All you need is a glass surface, tape, a Sharpie pen and your favorite paints! A 4-minute video is available below.
(Supplies may vary by store, however, special store-to-store orders can be placed with a one-week turnaround. Substitutions will be suggested if a product is no longer available.)
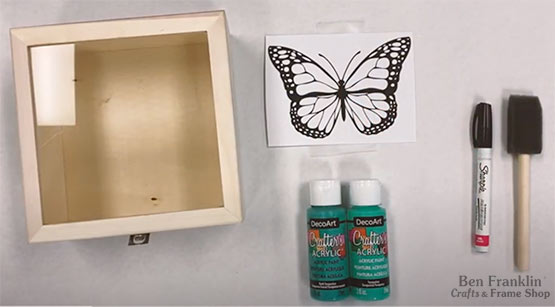
• Glass surface
• Paints (your choice of colors)
• Foam brush (optional to use paint brushes depending on the details)
• Sharpie pen
• Outlined print of design
• Tape
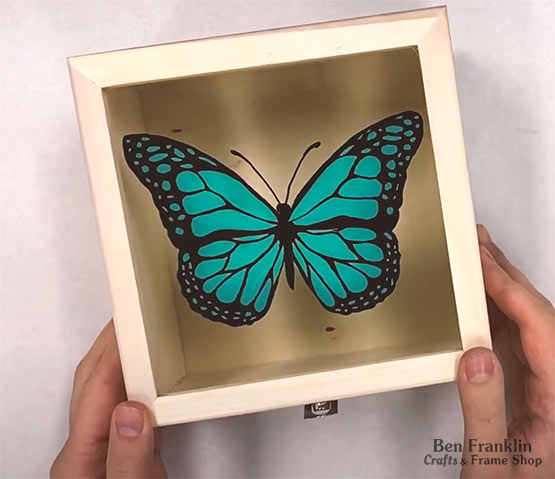
Watch the video for step-by-step instructions. Click HERE.
Directions:
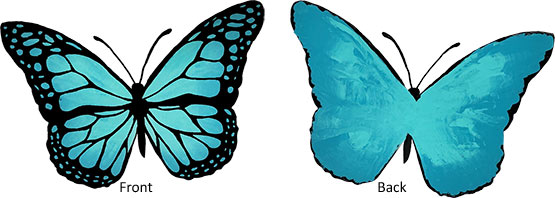
1. Tape your printed design on the opposite side of where you are going to paint.
2. On the side that you will paint, take your sharpie pen and trace your design. Let dry.
3. Peel off the print. Fill in any spaces you might have missed.
4. Begin painting in the lines. The trick is to start with the closest layer that will face closest to you on the other side (ex. If you’re coloring a character with hair, start with the hair, then the eyes and other minor details, then color in the face. Anime characters are the easiest to start with.)


Huge savings offered throughout both our Bonney Lake and Monroe stores.