
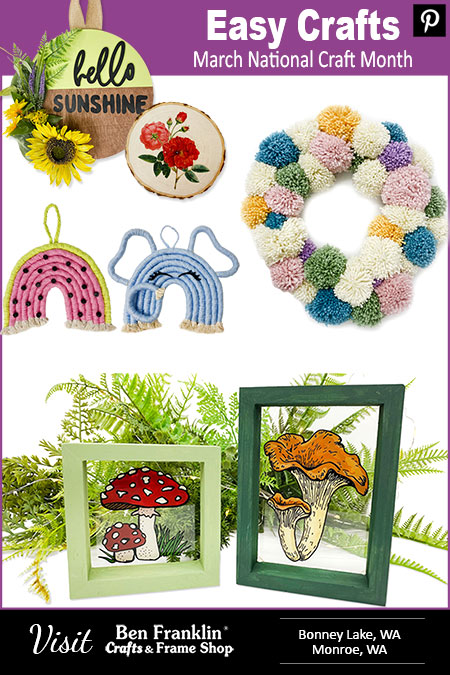
Join us for another March National Craft Month! As you can imagine, this is our favorite month of the year! We spent many hours preparing new crafting ideas that we reveal to you in March to celebrate this crafting month! Our team came up with some fun, easy, and trendy craft projects that we hope you’ll try. These crafts are also a way to teach you how to use some popular techniques that you can reuse on other projects. We hope you’ll enjoy making these projects as much as we did!
(Supplies may vary by store, however, special store-to-store orders can be placed with a one-week turnaround. Substitutions will be suggested if a product is no longer available.)
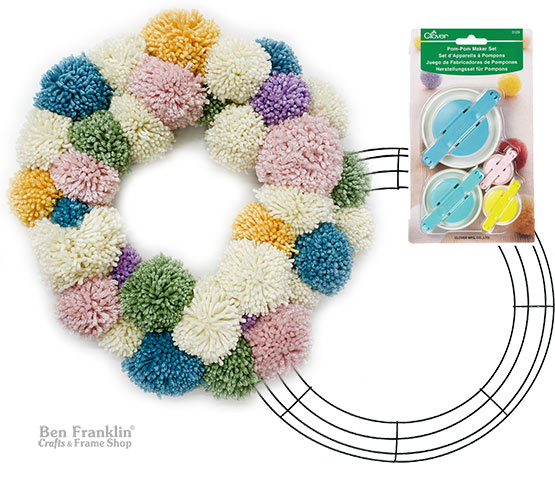
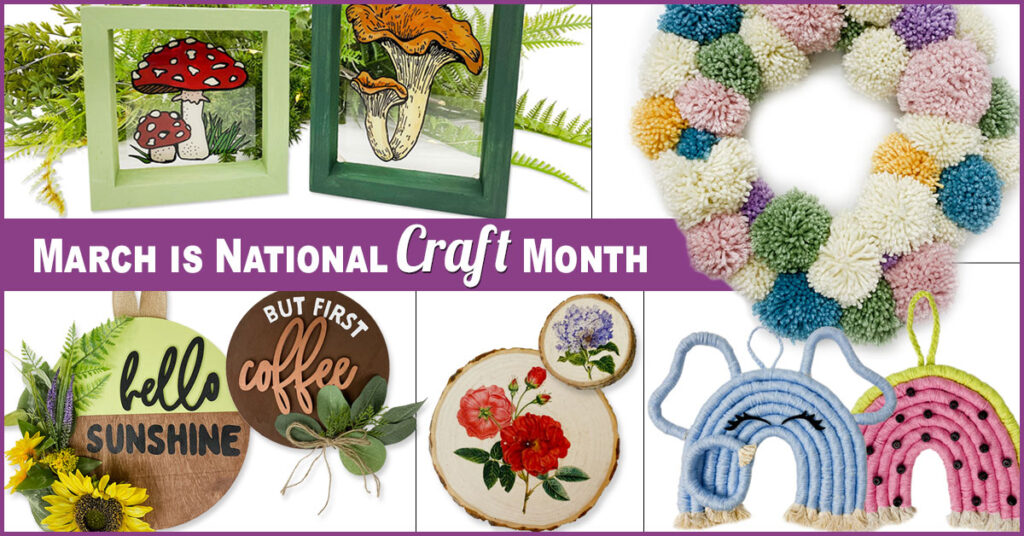
16″ Wire Wreath Form
Pom Pom Maker Set
Yarn of your choice (We used Premier Basix Yarn)
Follow the instructions available with the Pom Pom Maker Set to make 33-36 pom poms using the yarn color of your choice. You can make small, medium and large pom poms to create dimension on your wreath. Tie each one to the wreath frame using the tail of your ball. Slide together on the frame to make sure there are no holes. Use a yarn string to create a loop. Attach this loop to your frame to hang your wreath. Enjoy!
(Supplies may vary by store, however, special store-to-store orders can be placed with a one-week turnaround. Substitutions will be suggested if a product is no longer available.)
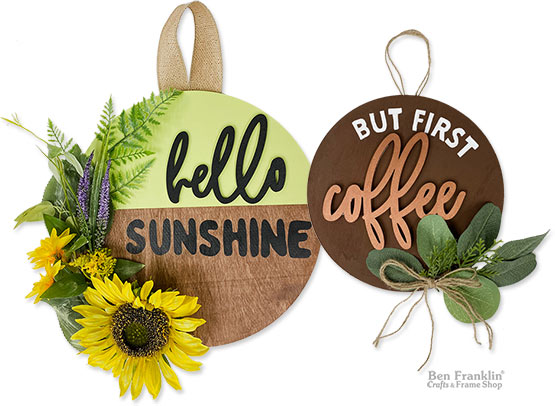
Unfinished Wood Round
Unfinished Wood Words
Acrylic Paints / POSCA Paint Pens
Paint Brush
Floral Picks
Twine or Ribbon / Scissors
E6000 Glue
Staple
These beautiful signs are really easy to make. Paint the wood round and the wood words using the acrylic paint colors that you have chosen. Let dry completely.
Glue the word and flower picks to the wood round. You may also want to handwrite a message using POSCA Pens. Have fun! Make it your own! You can create a loop to hang it using twine or a ribbon. Staple it to the back of the wood round.
(Supplies may vary by store, however, special store-to-store orders can be placed with a one-week turnaround. Substitutions will be suggested if a product is no longer available.)
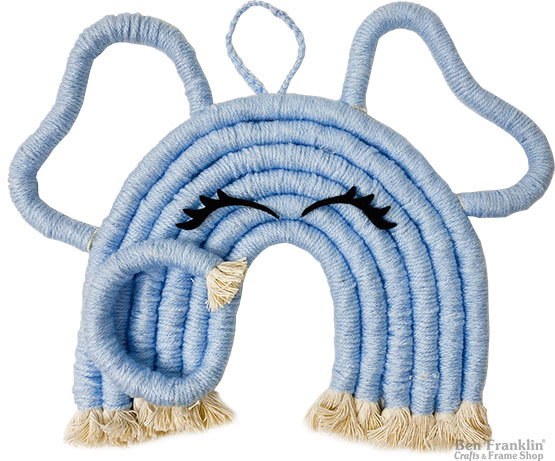
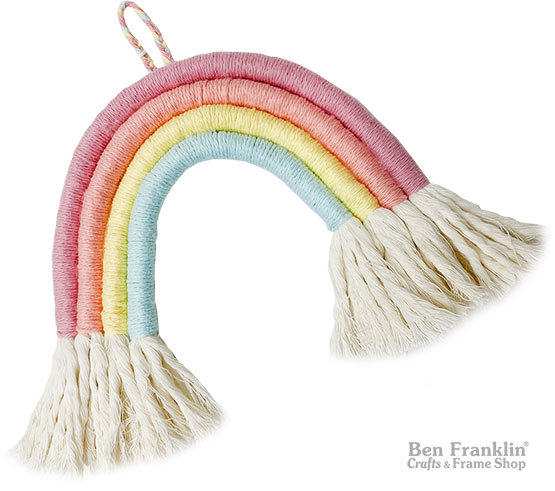
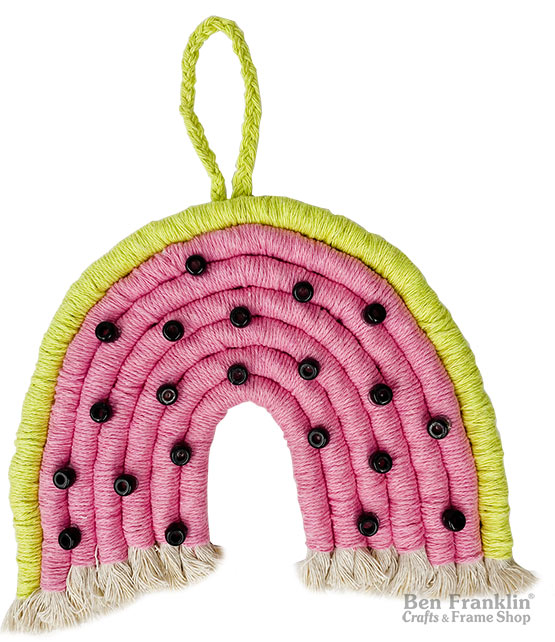
Macramé Cord Cream 6mm
Colored Yarns (your choice of colors)
Hot Glue Gun & Glue Sticks
Take macramé rainbows to a whole new level by adding unique details like buttons for the watermelon seeds and felt eyelashes on the elephant. Use our selection of macramé cord and yarns to create unique designs! Start with the basic rainbow shape and then create something unique to you! INSTRUCTIONS TO BASIC MACRAME RAINBOW >
(Supplies may vary by store, however, special store-to-store orders can be placed with a one-week turnaround. Substitutions will be suggested if a product is no longer available.)
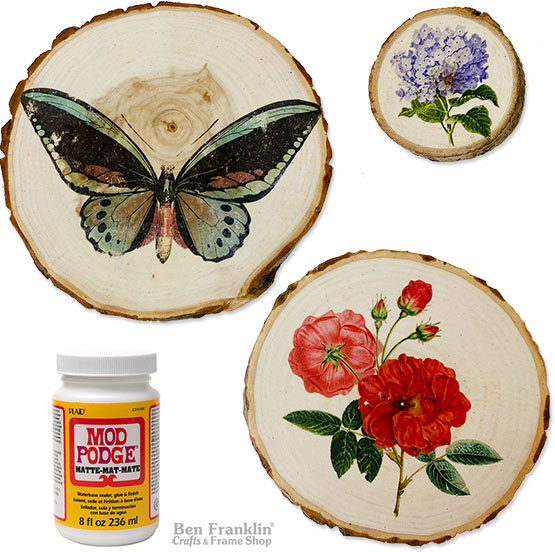
Mod Podge
Unfinished Wood Surface
Image – printed using a laser printer and regular printer paper
Water
You may think that transferring an image on wood is hard, but it’s actually very simple. All you need is your printed image (using a laser printer and regular paper), a bottle of Mod Podge and some water. Head over to our other blog post for full instructions, including a video. SHOW ME >
(Supplies may vary by store, however, special store-to-store orders can be placed with a one-week turnaround. Substitutions will be suggested if a product is no longer available.)
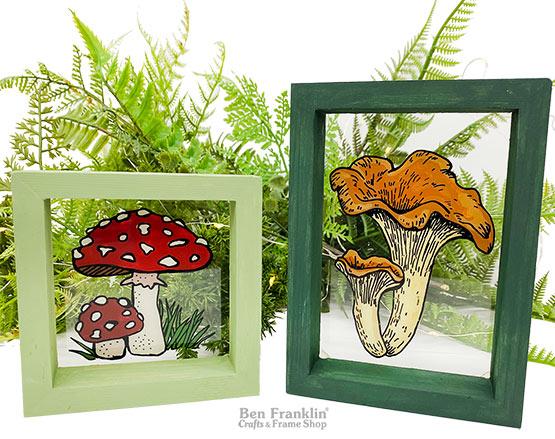
Sharpie Pens
Image you want to trace
Acrylic Paints / Paint Brushes
Glass Surface (Frame, Jar, Glass Block, etc)
Tape (to hold your image in place)
If you’re not sure how to draw an image, we recommend using a design from a coloring book. We have a great selection to choose from. The full tutorial, which includes a video, is available on a different blog post dedicated entirely to the glass painting technique. Check it out HERE >

Huge savings offered throughout both our Bonney Lake and Monroe stores.