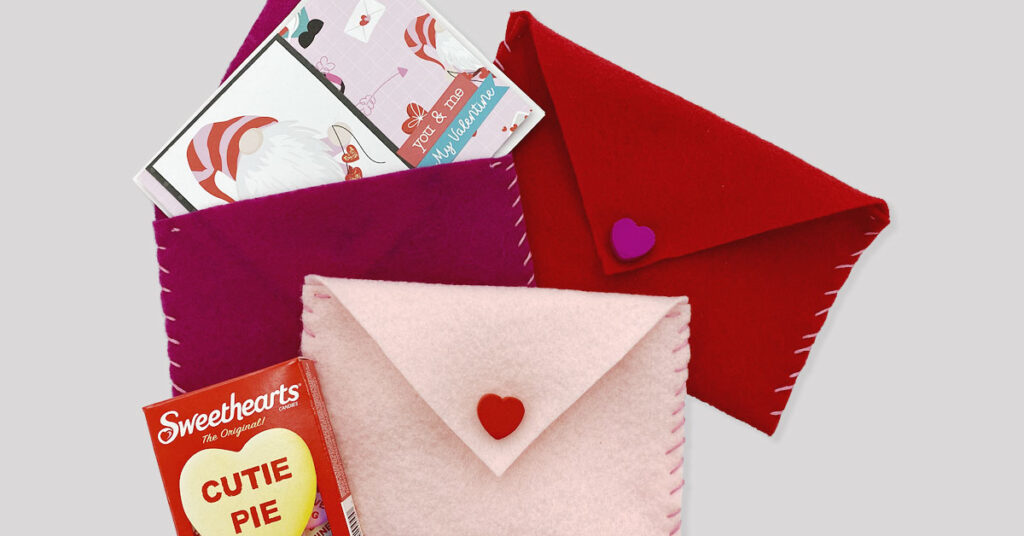
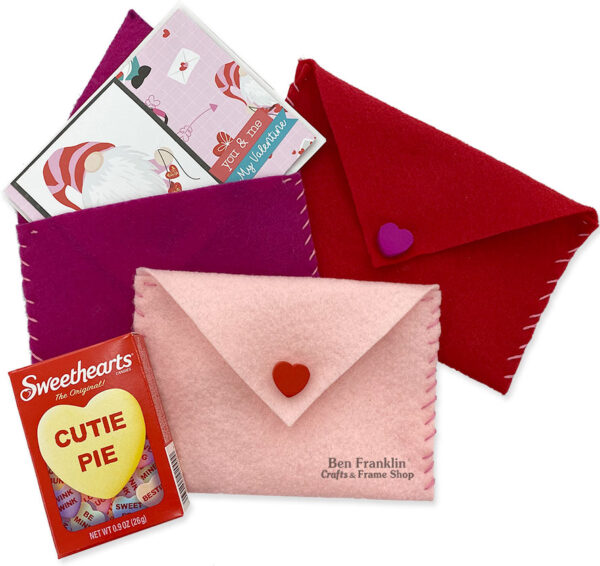
Valentine’s Day is right around the corner, and we know you’re busy, so we’re bringing you today a simple project to make for your loved one. In this tutorial, we’ll show you how to make a felt Valentine envelope using some felt, a pair of scissors and some embroidery floss. Scroll down for the video and step-by-step instructions.
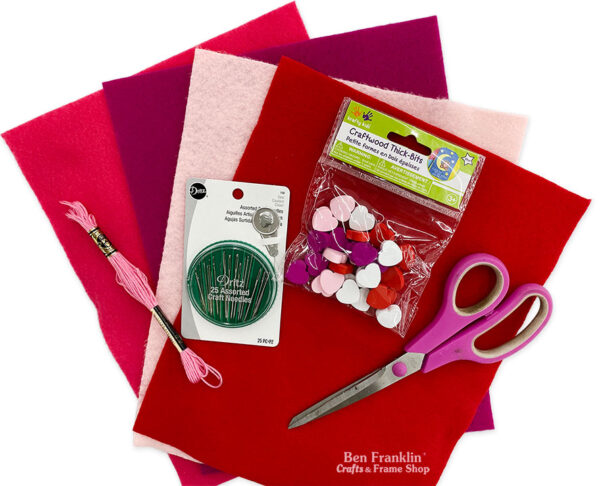
Supplies needed to make a Felt Valentine Envelope
(Supplies may vary by store, however, special store-to-store orders can be placed with a one-week turnaround. Substitutions will be suggested if a product is no longer available.)
Sewing needle
Embroidery floss (your choice of color)
Wooden heart
Felt (your choice of color)
Hot glue, hot glue gun or felt glue
Scissors
Marker
Video Tutorial
Step-By-Step Tutorial
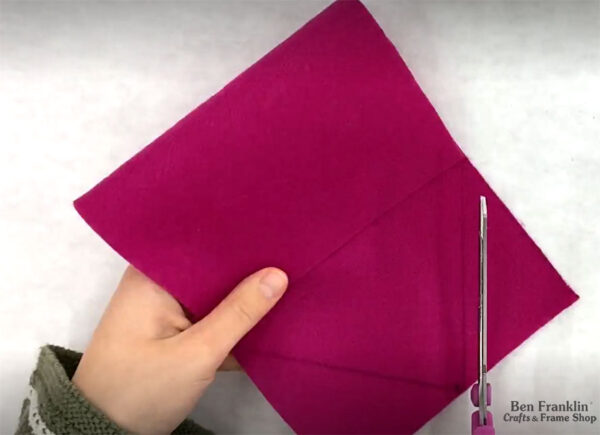
1. Cut your felt to 6”x 11”.
2. From the bottom, fold at 4” and 8”. The two even sections will make the body of the envelope and the smaller section will be the flap.
3. In the smaller section, put a dot at the center of the edge then draw lines from the dot to the outer edges where it will fold (8” mark). Cut at those lines to create the triangular shape of the flap.
4. Stitch the sides of the envelope using the ‘whip stitch’. (see our video)
5. Glue a wooden heart on the outside tip of the triangle. The envelope will remain unlatched from the body of the envelope.
6. Fill the inside with treats or cards!


