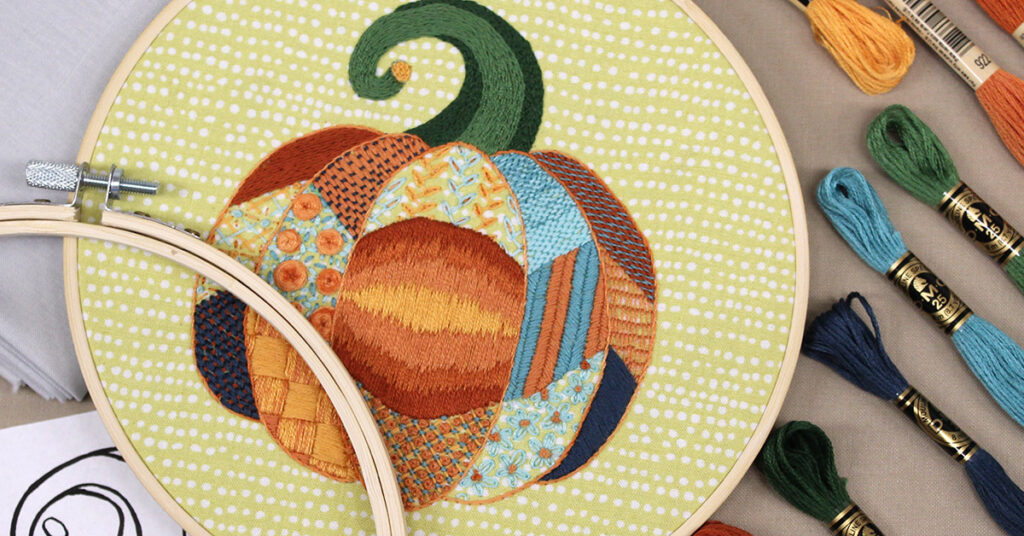
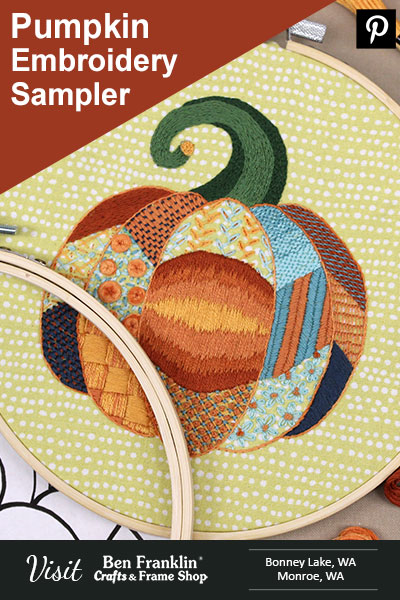
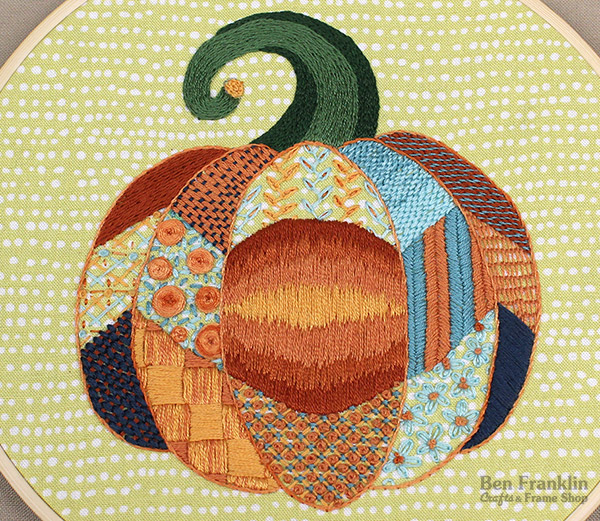
This Pumpkin Embroidey Sampler (designed and created by Julie R. for Ben Franklin Crafts and Frame Shop) is a great way to get inspired, practice stitches and learn new ones, choose colors you otherwise wouldn’t, and hone your skills. They give you an opportunity to play with no rules and yet still can give you a piece you can hang on your wall, turn into a pillow, or whatever you dream up!
Supplies needed to create a Pumpkin Embroidery Sampler:
(Supplies may vary by store, however, special store-to-store orders can be placed with a one-week turnaround. Substitutions will be suggested if a product is no longer available.)
– Fabric, one piece for the front and one piece for the back.
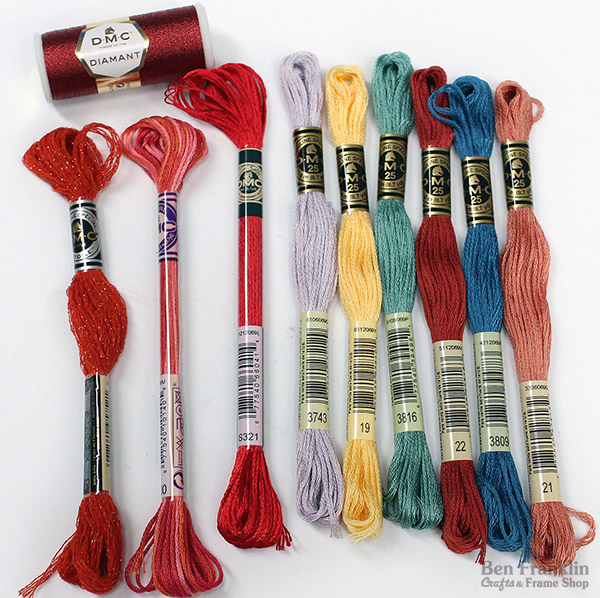
– Thread, the palette of your choice. If you are having a hard time deciding, find a photo that makes you happy and choose colors from it. Don’t forget to try specialty threads like variegated colors and metallics.
– Needles, multiple sizes of embroidery needles are nice to have on hand.
– Embroidery hoop or frame
– Embroidery scissors
– Water soluble marker or heat disappearing marker like a Frixion pen OR Saral tracing paper if your fabric is too dark to trace through.
– Art to transfer, or if you’re feeling up to it you can draw directly on to the fabric
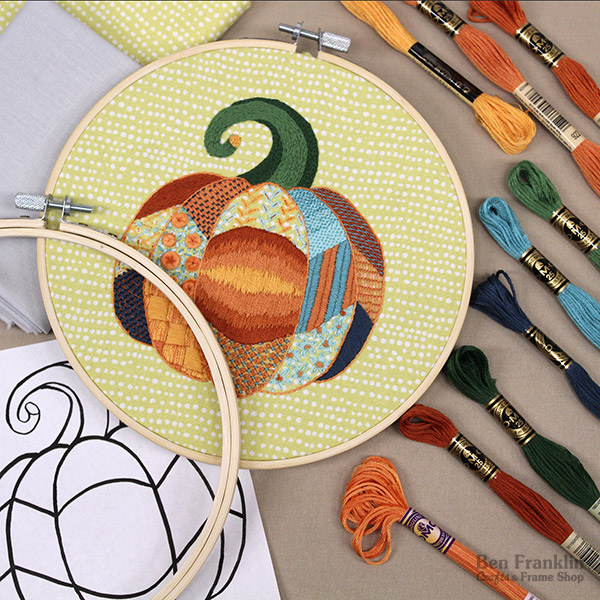
1. Transfer Your Art
Transfer art to the fabric or draw it on if that’s your preference. Another alternative is to draw or print the art on tear-away or water-soluble fabrics that adhere to the front of the fabric and are removed when you are done stitching.
2. Insert Fabric into Hoop
Sandwich fabric(s) into the hoop. I like using two fabrics together so give additional substance for holding the stitches and multiple layers allow you to hide your starting and stopping stitches behind your work. The second layer of fabric also helps to keep the fabric nice and taut in the hoop. I usually pick a white or light colored fabric for the back piece.
3. Decide Which Stitches to Use
Plot out which stitches you would like to fill in which areas in advance or just dig in and start stitching. In addition to using different stitches, you can combine threads and use different numbers of threads to give the sections different looks and textures.
4. Embroidery Stitch Video Tutorials*
In this sampler, Julie used offset rows of backstitch, whipped backstitch, couching, burden stitch, lazy daisies, detached chain stitch, stem stitch, split back stitch, outline stitch, satin stitch, buttonhole stitch, woven wheels, trellis stitch and a few others.
We’ve compiled embroidery stitch tutorials from online sources to assist you in getting underway. *Please note that these videos are completely independent of Ben Franklin Crafts and Frame Shop. The outcomes of your projects are not under our responsibility.
5. DMC Floss - Colors Used in this Project
895 Very Dark Hunter Green
920 Medium Copper
921 Copper 922 Light Copper
924 Very Dark Grey Green
964 Light Sea Green
987 Dark Forest Green
3849 Light Teal Green
3854 Autumn Gold
And DMC Color Variations 4124
Visit Us In-Store for Your Embroidery Supplies
At our Ben Franklin Crafts and Frame Shop stores in Bonney Lake and Monroe, WA, we’re here to be a part of your stitching story. Our aisles are stocked with a wide array of materials – from vibrant threads to versatile hoops, and every tool you need for your stitching adventure. But what truly sets us apart is the warm embrace of our customer service. Our knowledgeable staff is ready to guide you through your selection, offer tips on stitches and techniques, and share in the excitement of your projects. Step inside our store to explore, ask questions, and discover a world of possibilities.
PIN it!
Don’t forget to save this inspiring project for later by pinning it to your Pinterest board!

