

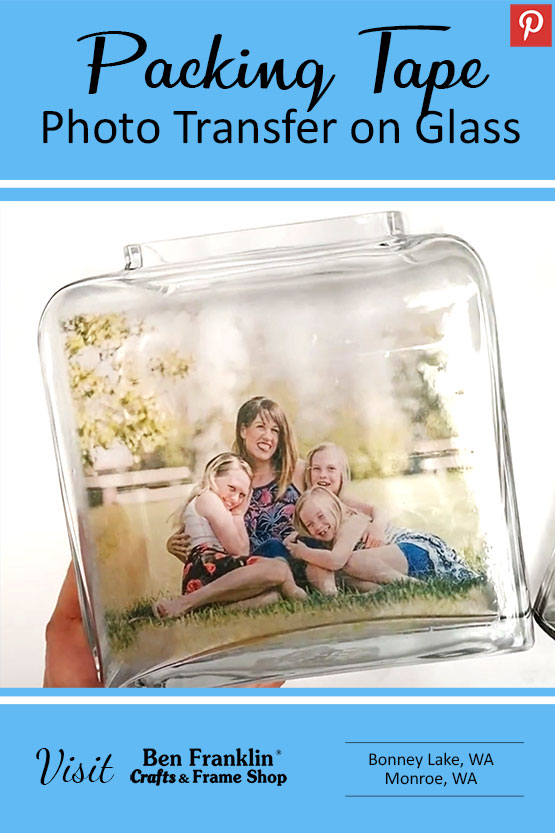
We’re bringing to you this easy technique of using packing tape to transfer a photo onto glass. Grace will guide you step by step in her latest video tutorial (link below). You will then be able to transfer photos using packing tape to any glass surface that you have in the house! They make wonderful personalized gifts.
(Supplies may vary by store, however, special store-to-store orders can be placed with a one-week turnaround. Substitutions will be suggested if a product is no longer available.)
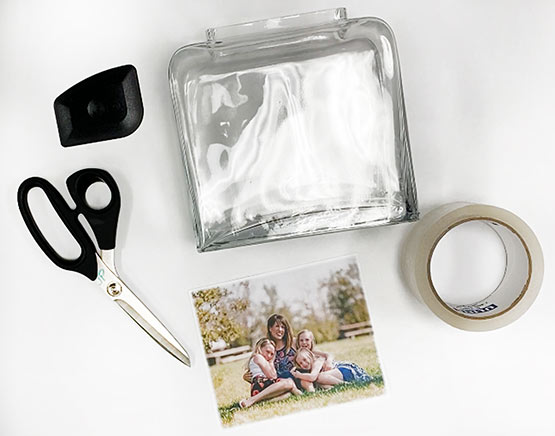
• Photo of your choice (from a laser printer with regular printer paper)
• Packing tape
• Burnishing tool (gift/credit card can work too)
• Bowl filled with warm water
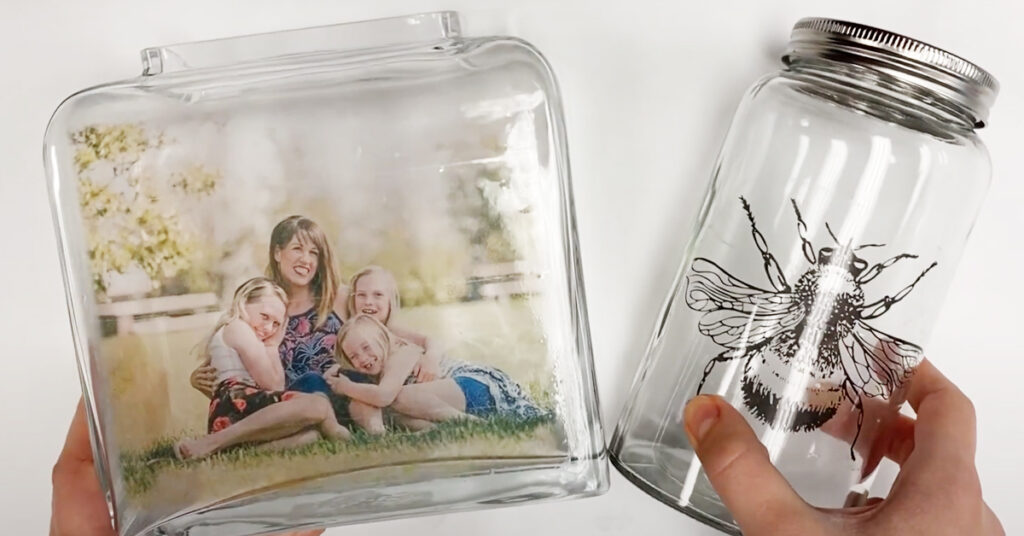
• Glass surface (your choice)
Watch the video for step-by-step instructions. Click HERE.
1. Print your photo from a laser printer with regular printer paper.
2. Apply packaging tape to the top of the photo (cut off excess tape from the sides).
3. Burnish the tape well to the photo using a burnishing tool or a credit card, pressing heavily over the entire photo. Go over the whole photo a few times.
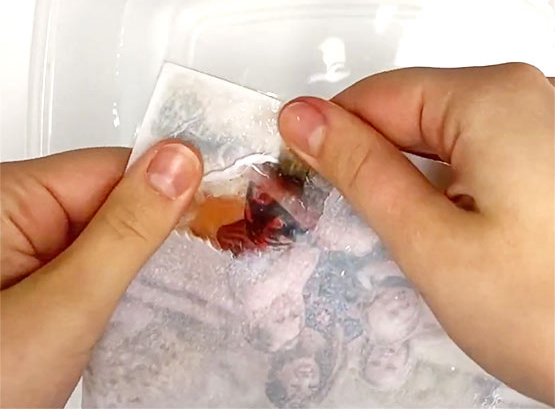
4. Place the taped photo in a bowl of very warm water and leave it there for about 4-5 minutes.
5. Begin rubbing the paper off of the tape using your thumbs and periodically dip it back into the water to help remove the paper until it’s all gone. You should see that your image has transferred onto the tape.
6. Let your image dry. Once dry, it will be sticky again and make a sticker.
7. Place onto your glass surface of choice.

Huge savings offered throughout both our Bonney Lake and Monroe stores.