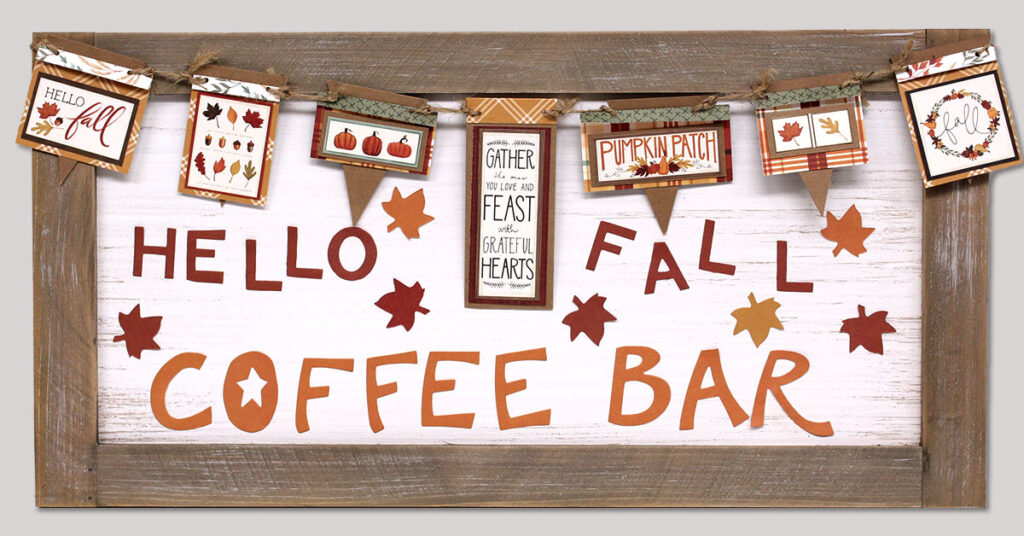
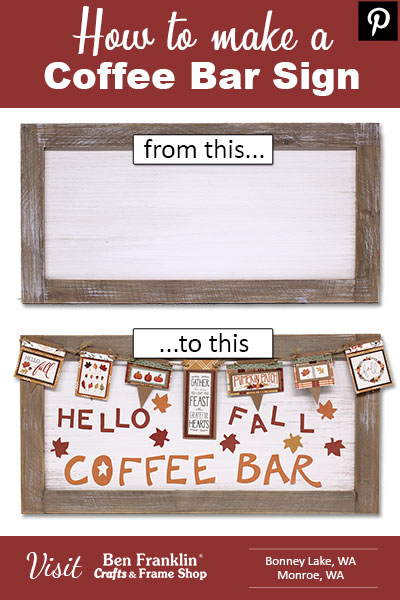
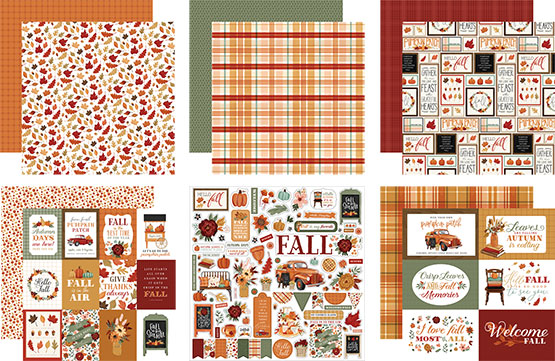
In a few simple steps, we’ll show you how to make a coffee bar sign using a fall paper collection that we love! We used the Welcome Fall collection by Carta Bella Paper Co., but you could use any cut-apart paper that would fit the occasion. Our wood frames with a white board are a perfect surface for adding colorful elements that will highlight the holiday. Change it for each season using the Tombow Mono Multi Liquid Glue that allows removal of the letters and embellishments when you’re ready to change the look.
Here are the supplies needed to make a Coffee Bar Sign
(Supplies may vary by store, however, special store-to-store orders can be placed with a one-week turnaround. Substitutions will be suggested if a product is no longer available.)
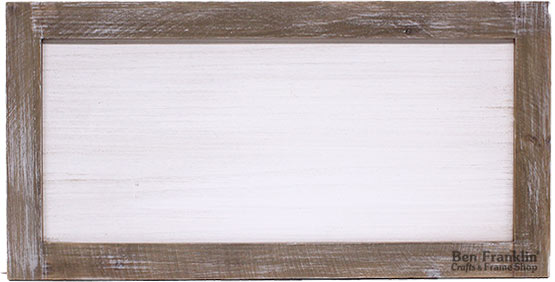
Wood Frame with White Board
“Welcome Fall” Paper Collection by Carta Bella Paper Co. (or any cut-apart paper)
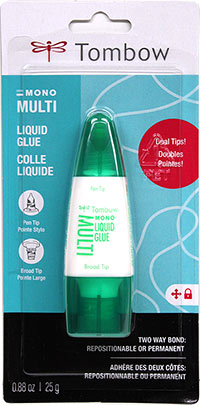
Tombow Mono Multi Liquid Glue
Kraft Chipboard
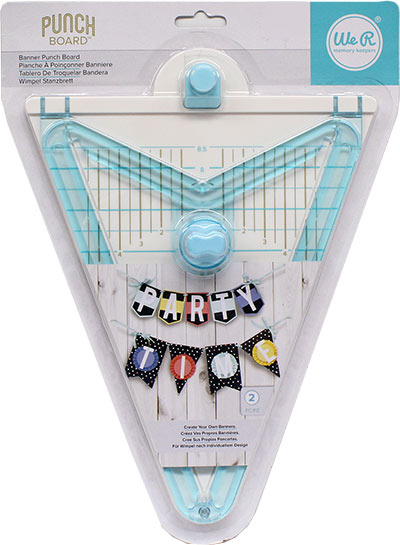
We R Memory Keepers Banner Punch Board
Jute
Hole Punch
Scissors or Paper Cutter
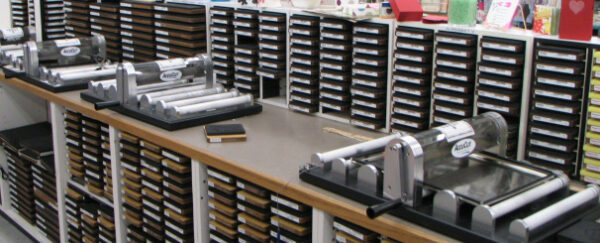
Use of our Die Cut Machine (available in both our stores)
Step-by-Step Tutorial:
1. We invite you to come to our store to use our Die Cut Machines to cut out the letters and leaves using the paper of your choice. (We have 100s of different dies to choose from! Learn more about our Die Cut Machines)
2. Glue the letters and shapes onto the board using Tombow Mono Multi Liquid Glue. It goes on white and if you apply it to the back of the letters, then allow it to dry, it becomes sticky and removeable. (Think sticky notes, you can put them on a paper and it will stick, but you can also remove it without leaving any residue.)

3. Now it’s time to create the mini banner to hang at the top of the frame. We cut the mini banner flags on light Kraft chipboard using the We R Memory Keepers Banner Punch Board. They are 3 ½ inch in height. The folds at the top are 3/8”. Follow the instructions on the Punch Board package for different sizes that you could make.
4. Once your flags are cut, you can start building up your banner. In the paper collection that we chose, there are sheets that offer multiple pieces with quotes and beautiful graphics that you can cut apart and use in projects like home décor pieces, or card making and scrapbooking pages. Cut the ones you want to use in this project.
5. Glue the paper pieces that you just cut on top of the flags using the Tombow glue, but not allowing it to dry first. When placing the glue on the paper, and sticking it down immediately, it becomes permanent.
6. The pieces were hole punched and strung on a piece of jute, then tied to the back of the board. Your board is ready to display!
If you have any questions, we invite you to stop by our stores where you’ll be greeted by our friendly staff!

