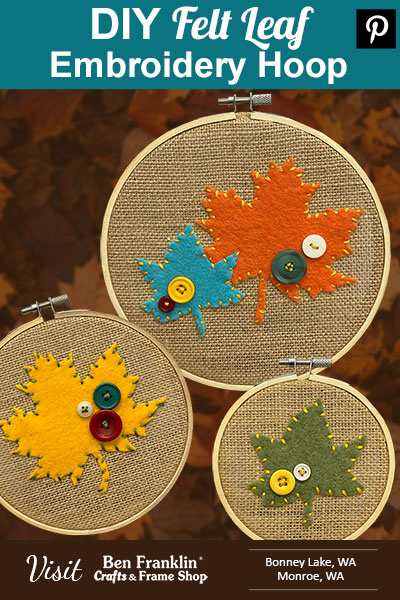
Welcome to our latest craft tutorial! At Ben Franklin Crafts and Frame Shop, with locations in Bonney Lake and Monroe, WA, we’re excited to guide you through the creative process of making a beautiful Felt Leaf Embroidery Hoop. This project is not only fun but also allows you to explore your artistic side. Plus, we carry all the supplies you need for this project, and our friendly and knowledgeable staff is always here to assist you.
Supplies needed to create a Felt Leaf Embroidery Hoop:
(Supplies may vary by store, however, special store-to-store orders can be placed with a one-week turnaround. Substitutions will be suggested if a product is no longer available.)
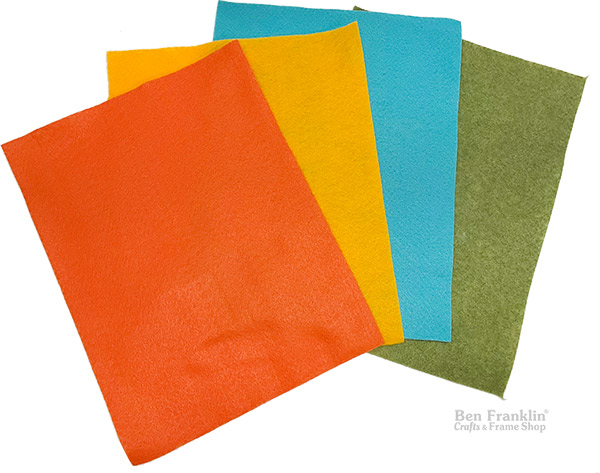

– Felt in your desired color(s)
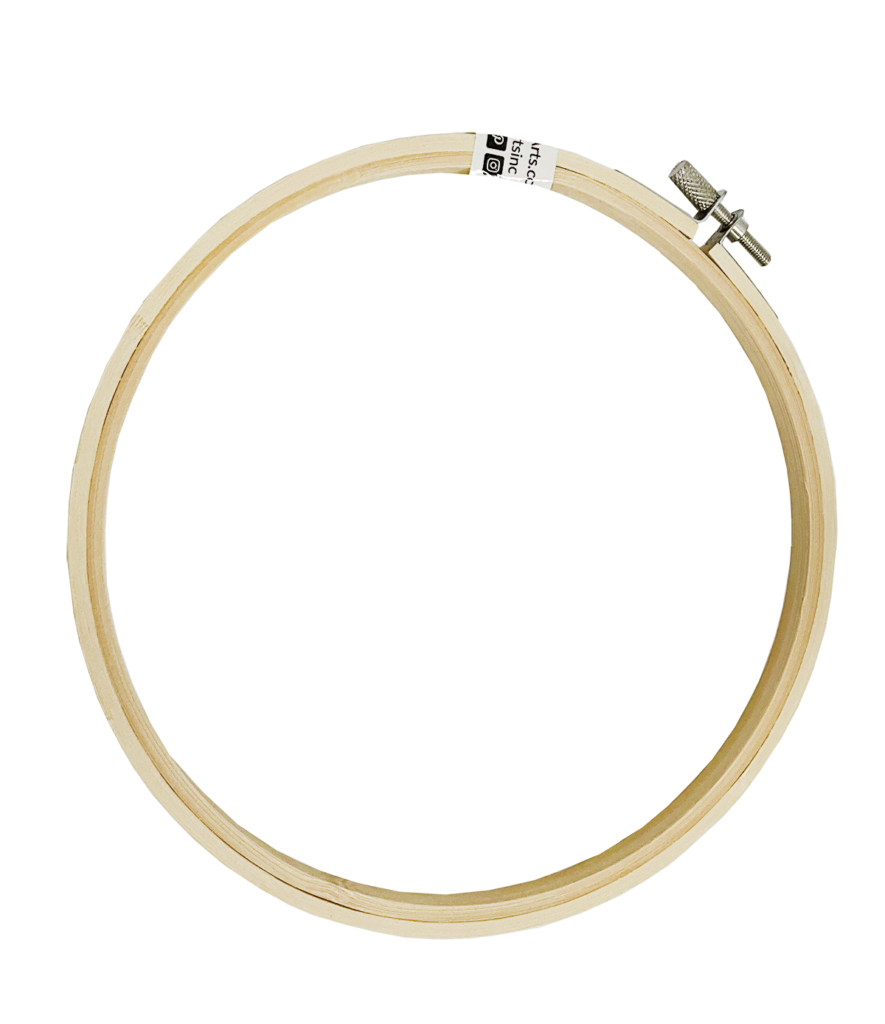
– Embroidery hoop (4″, 6″, or 7″)
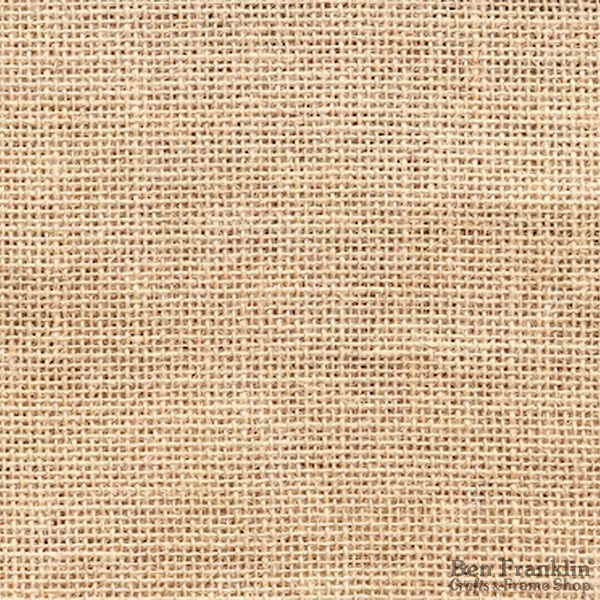
– Burlap
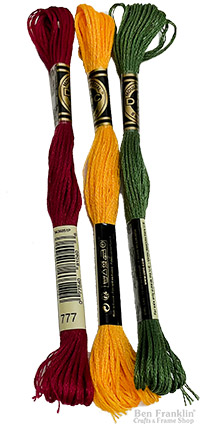
– Embroidery Floss
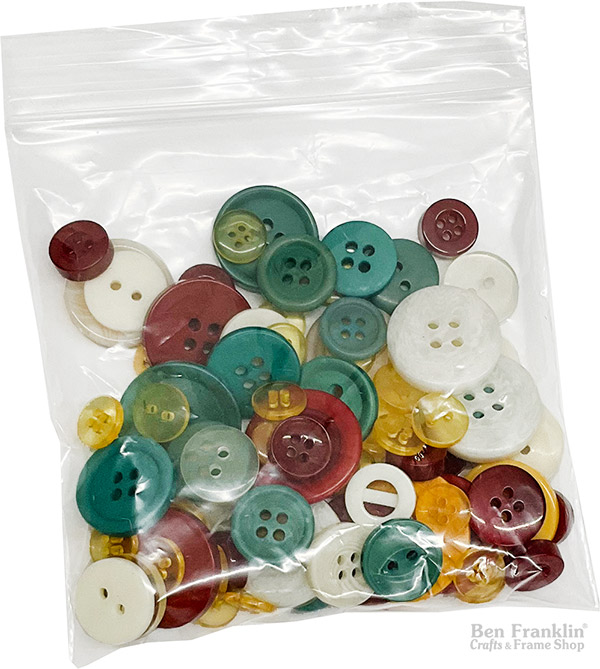
– Buttons
– Needle
– Scissors
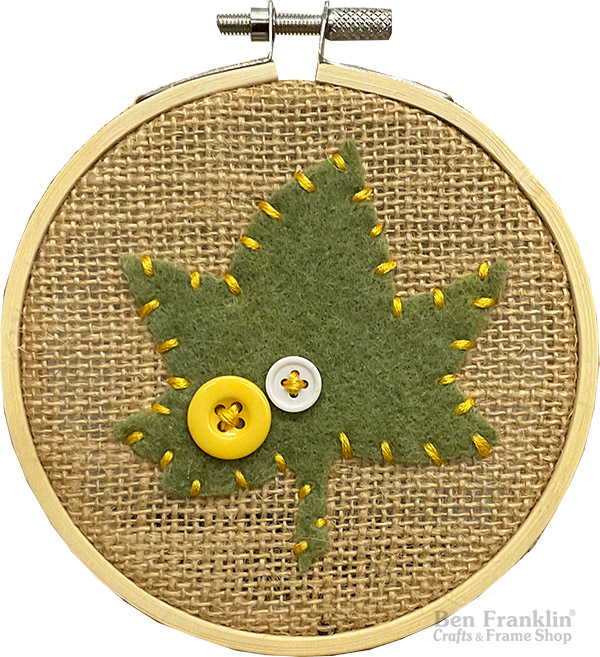
– Felt Leaves: Use our leaf dies available in-store at our Die-Cut Machine Center counter to cut the leaf shapes. Dies selection may vary by store.
Step 1: Cutting Out the Felt Leaves
Begin by cutting out the felt leaves using our dies available at our Die-Cut Center. These specialized dies are available in-store only. If you’d like to know more about our FREE Die-Cut Machine Service, click here.
Step 2: Preparing the Embroidery Hoop
- Separate the rings of the embroidery hoop.
- Place the burlap over the inner hoop, ensuring it’s taut.
- Position the outer hoop over the burlap and inner hoop, and tighten the screw. Pull the burlap evenly through to ensure it’s stretched snugly.
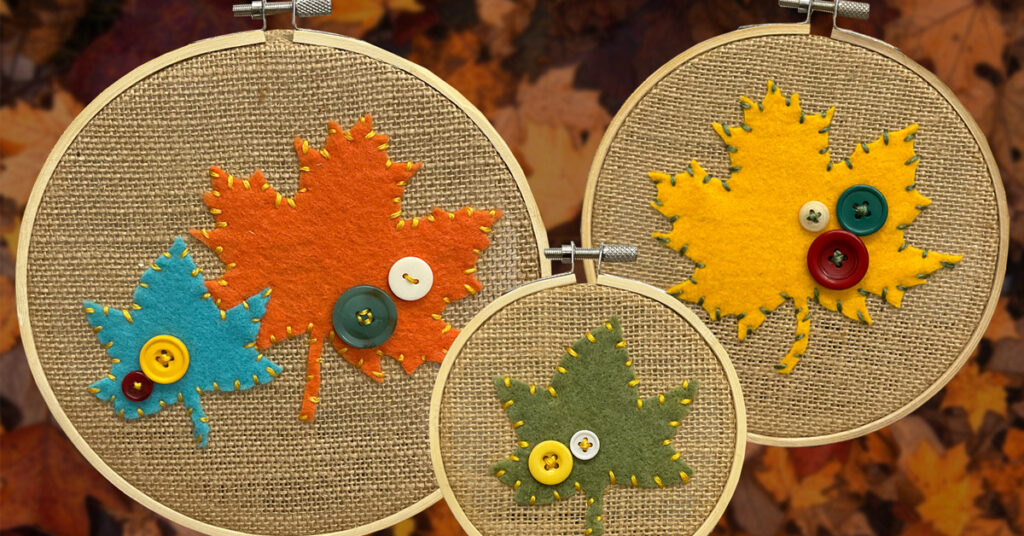
Step 3: Arranging and Stitching the Leaves
– Adjust the placement of your felt leaves on the burlap according to your preference.
– Thread your needle with embroidery floss and tie the end with a triple knot to secure it in place.
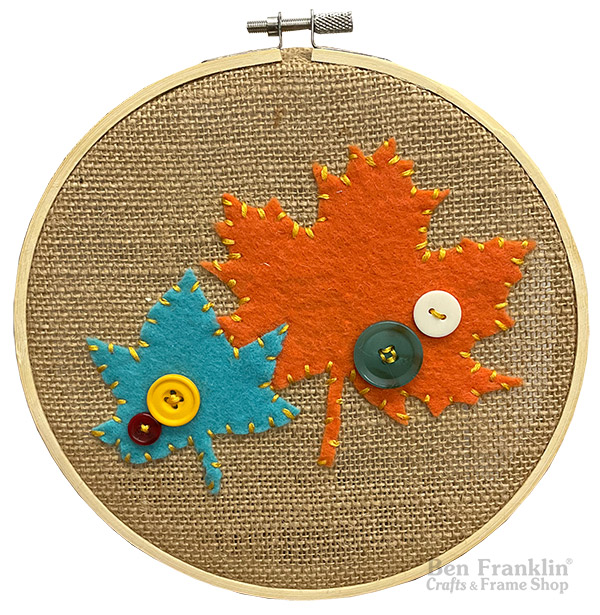
Step 4: Whip Stitching Around the Leaves
Starting from the back of the hoop, push the needle through the burlap and felt, then pull it through.
Whip Stitch: Bring the needle into the burlap past the edge of the felt on the top surface. This stitching technique is known as a “whip stitch.”
Repeat the process: Continue to whip the needle in and out of the felt and burlap pieces, making sure each stitch is evenly spaced and the same length. You can adjust the stitch length according to your preference.
Tighten the stitches: After every few stitches, gently pull the thread tight to ensure the seam is secure and snug. Be careful not to pull too tightly, as it can pucker the felt.
Continue stitching: Keep repeating the whip stitch until you reach the end of the leaf. To secure the stitch at the end, pass the needle through the last loop of thread, creating a small knot or tie off the thread with a knot, and then trim any excess thread.
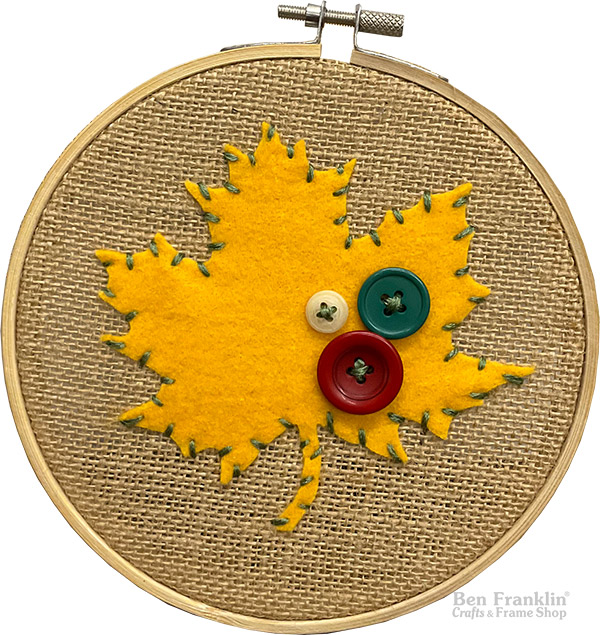
Step 5: Adding Buttons
– Determine the perfect placement for your buttons on the felt leaves.
– Sew the buttons onto the felt to add an extra layer of charm to your embroidery hoop.
Step 6: Finishing Touches
As an optional step, you can choose to trim the excess burlap around the edge of the hoop for a clean finish. Alternatively, leave the burlap edges hanging out for a rustic look.
Conclusion:
Congratulations! You’ve successfully created a stunning Felt Leaf Embroidery Hoop. We hope you enjoyed this craft tutorial brought to you by our creative team here at Ben Franklin Crafts and Frame Shop. Remember, you can find all the necessary supplies for this project in our stores, and our friendly and knowledgeable staff are ready to assist you with any questions or crafting needs you may have. Stay tuned for more exciting craft ideas, and happy crafting!
PIN it!
Don’t forget to save this inspiring project for later by pinning it to your Pinterest board!