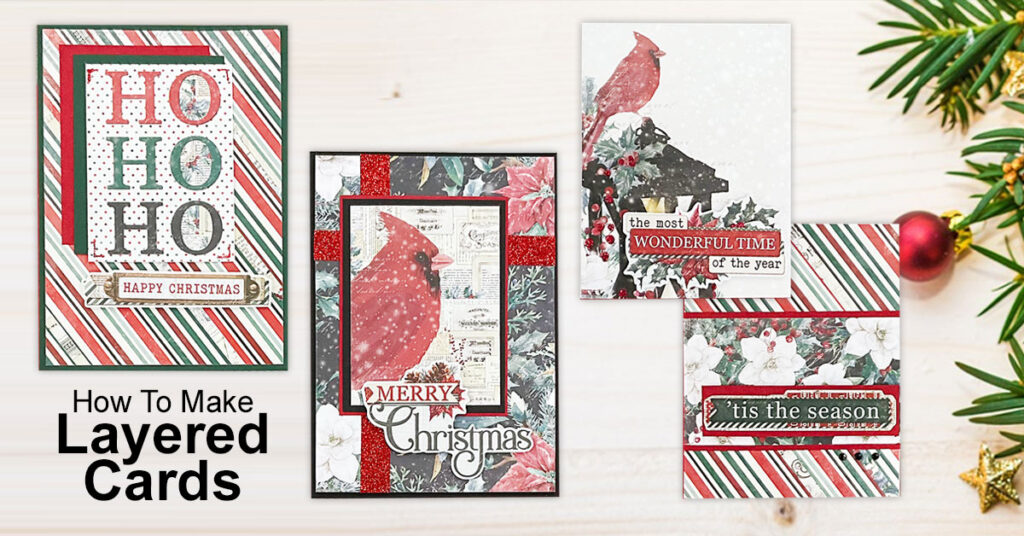
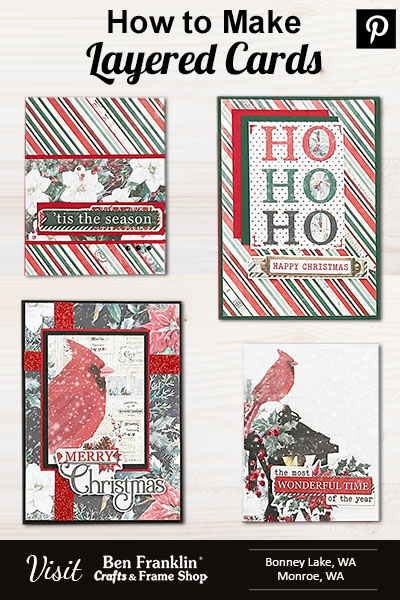
Hey crafty pals, why not forget store-bought greeting cards—let’s sprinkle some homemade magic into this holiday. Picture this: you, a cup of cocoa, and our dazzling scrapbooking paper ready to transform into layered Christmas cards. In this blog post, we’ll guide you through the steps on how to make layered cards using cut-apart scrapbooking paper that your loved ones will cherish and even want to frame. But here’s the cool part – this isn’t just for Christmas. We’re talking birthdays, anniversaries, and any other holiday!

(Supplies may vary by store, however, special store-to-store orders can be placed with a one-week turnaround. Substitutions will be suggested if a product is no longer available.)
Why Choose Cut-Apart Scrapbooking Paper to Create Cards?
Our scrapbooking paper is not just any paper – it’s a canvas of creativity waiting to be explored. Featuring beautiful designs and intricate patterns, our cut-apart paper allows you to transform flat sheets into dynamic, multi-dimensional works of art. The versatility of our paper enables you to craft cards that go beyond the holiday season, making it perfect for all occasions.
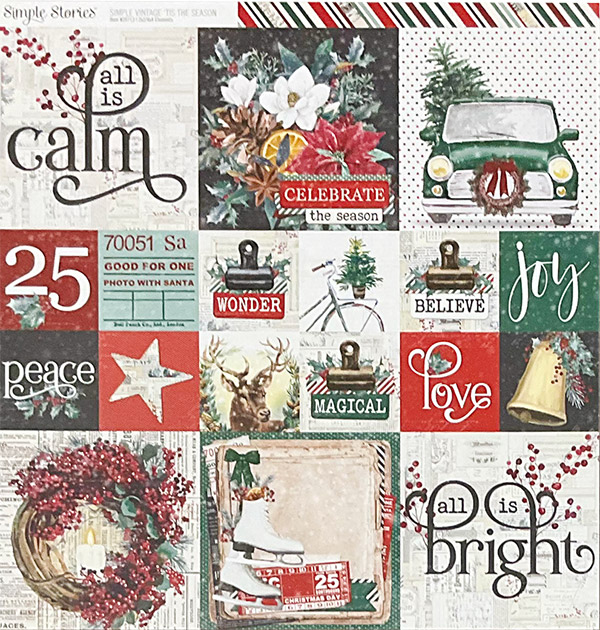
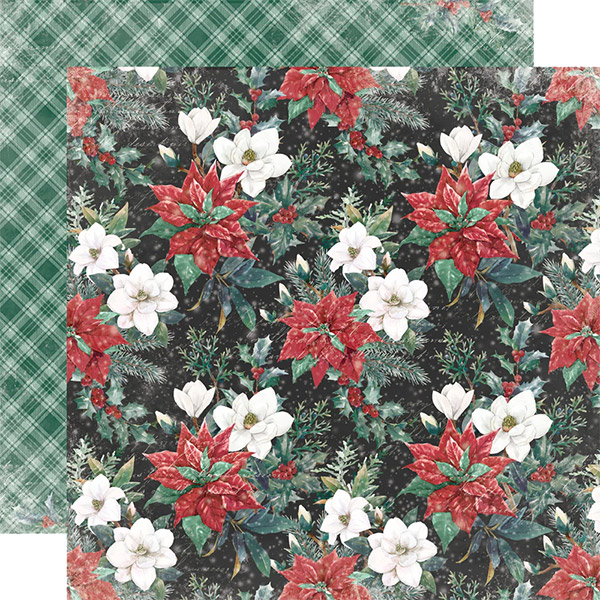
Featured paper collection: Simple Vintage Tis The Season by Simple Stories
1. Scrapbooking Paper
Select from our wide range of scrapbooking paper with festive and elegant designs. The cut-apart feature allows you to easily incorporate various elements into your card designs. Stop by our stores to see our entire selection of cut-apart paper collections.
Featured paper collection: Simple Vintage Tis The Season by Simple Stories
2. Scissors, Craft Knife, Paper Trimmer
Precision is key when cutting out intricate designs. Ensure you have a sharp pair of scissors or a craft knife for clean and accurate cuts. We also carry at our Ben Franklin Crafts and Frame Shop stores in Bonney Lake & Monroe, WA the Tim Holtz Tonic Studios Precision Trimmer that will make your cutting perfect every time. (You’ll find more details about this trimmer below)
3. Cardstock or Blank Cards
Choose a sturdy cardstock or pre-made blank cards as the base for your creations. This provides a solid foundation for the 3D elements and ensures durability.
4. Glue, Double-Sided Tape, and Foam Adhesive Squares or Dots
For adhering the cut-out elements to your cards, use a reliable glue or double-sided tape. This ensures a secure attachment while maintaining a polished finish. Use foam adhesive squares or dots to create a 3D effect on your cards.
5. Embellishments
Get creative with additional embellishments such as ribbons, sequins, or gems to add an extra touch of glamour to your cards.
Step By Step: How to Make Layered Cards
1. Choose Your Design
Browse through our scrapbooking paper collection and select a design that resonates with the festive spirit. Consider elements like snowflakes, ornaments, or winter landscapes for a Christmas-themed card.
When choosing your design for other holidays, you can consider incorporating the following elements:
Valentine’s Day:
– Hearts and arrows
– Romantic patterns
– Love-themed illustrations
– Shades of red, pink, and white
Easter:
– Easter eggs
– Bunnies and chicks
– Spring flowers
– Pastel colors
Halloween
– Pumpkins and jack-o’-lanterns
– Ghosts and goblins
– Spooky trees and haunted houses
– Dark and eerie color palette
Thanksgiving:
– Harvest fruits and vegetables
– Autumn leaves
– Pilgrim hats and turkeys
– Warm earthy tones
New Year’s Eve:
– Champagne glasses and bottles
– Clocks and countdown themes
– Fireworks and stars
– Glittery and metallic colors
Birthday:
– Balloons and confetti
– Cake and candles
– Birthday hats and presents
– Bright and vibrant color scheme
Anniversary:
– Hearts and love symbols
– Rings and diamonds
– Romantic scenery
– Elegant and sophisticated color palette
Graduation:
– Caps and diplomas
– Books and academic symbols
– Graduation gowns
– School colors
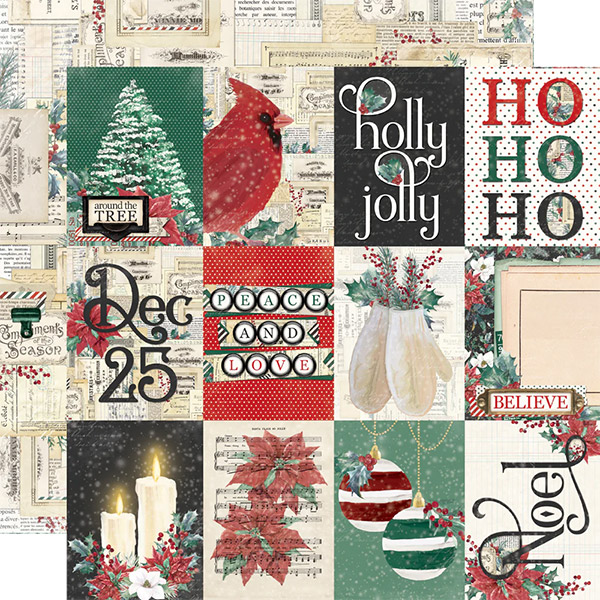
2. Cut Apart the Elements
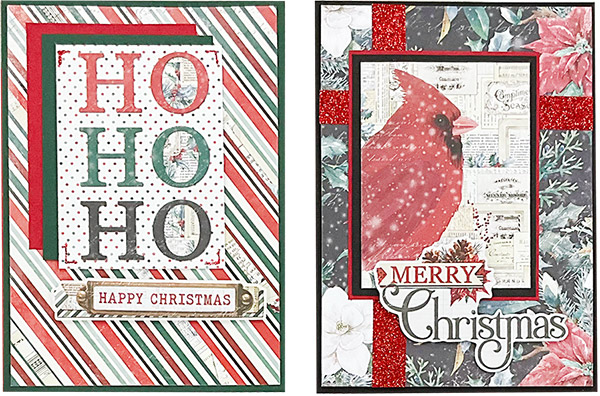
Carefully cut out the individual elements from the scrapbooking paper. This could include festive characters, sentiments, or intricate patterns that will serve as the focal points of your cards.
Featured paper collection: Simple Vintage Tis The Season by Simple Stories
3. Create Dimension
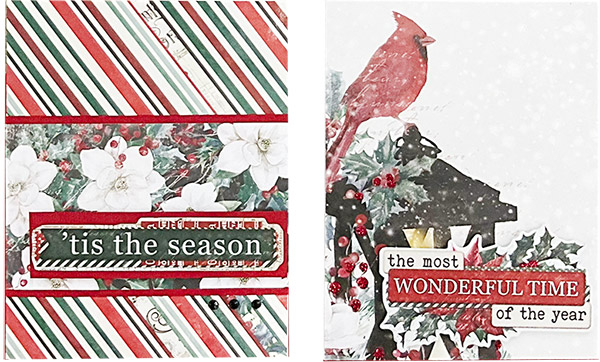
To achieve the layered effect, use foam adhesive squares or dots to lift certain elements off the card base. This creates depth and visual interest, making your cards truly stand out.
Experiment with layering different elements to create a visually appealing composition. Play with arrangement until you find a balance that suits your style.
Layering Papers of Different Sizes
Start by choosing two or more coordinating papers with complementary colors or patterns. Consider varying textures for added visual interest. Begin with the largest paper as your base layer. This will be the foundation of your card. Trim it to your desired card size, whether standard or custom.
Take a smaller piece of paper with a different pattern or color, and cut it slightly smaller than the base layer. This will be the second layer, adding contrast. Apply foam adhesive or double-sided tape to the back of the smaller layer. Ensure even distribution to prevent warping.
Carefully place the smaller layer onto the base layer, aligning the edges. The foam adhesive creates a slight lift, giving your card a 3D effect. If you want additional layers, repeat the process with progressively smaller pieces of paper. Ensure each layer is securely attached.
4. Add A Personal Touch
Include personalized messages or handwritten notes inside the cards to make them extra special. This personal touch will make your creations more meaningful to the recipients.
5. Embellish for Extra Sparkle
Enhance your cards with additional embellishments such as ribbons, sequins, or gems. These small details can elevate the overall look and feel of your creations.
Conclusion: Make your cards with the help of Ben Franklin Crafts and Frame Shop
Making layered cards using our cut-apart scrapbooking paper is not just a creative endeavor; it’s a gesture of love and thoughtfulness. The unique and personalized touch you bring to each card will undoubtedly make them treasured keepsakes for your family and friends. Start this holiday season by spreading joy through your own handmade masterpieces – the kind that people will want to frame and cherish for years to come.
PIN it!
Don’t forget to save this inspiring blog post for later by pinning it to your Pinterest board!
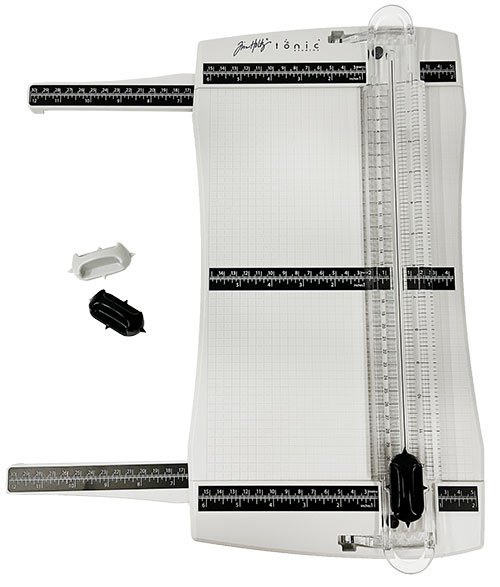
Tonic Precision Trimmer by Tim Holtz
Experience detailed cutting ability with the Tim Holtz Tonic Precision Trimmer available in our stores! (while supplies last) Featuring a spring-lift blade track, and BOTH cutting and scoring blades! This trimmer is designed for papers and cardstock including scrapbook paper, watercolor cardstock and vellum. The trimmer includes both Imperial and Metric Rulers as well as a 1/4” gridded base with top AND bottom guide edges. Watch the Tim Holtz video for more details >
Free Use of Our Die-Cut Machines & Dies
Great news, crafters! If you’re not in the mood to buy our designer cut-apart scrapbook paper, no worries – we’ve got your back. You can use our Accu-Cut Die-Cut Machines for free! That’s right, cut out all the elements you need without spending an extra dime. We have hundred of dies to choose from! Your creativity has no limits when you shop with us at Ben Franklin Crafts and Frame Shop in Bonney Lake and Monroe, WA. (Free to use our die-cut machines with material bought at our store) Details on our website >
We look forward to serving you. Stop by today!